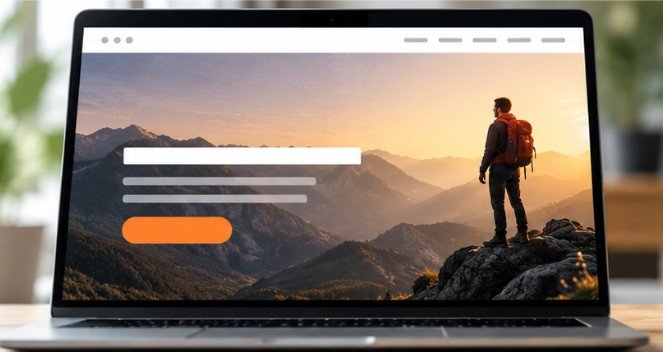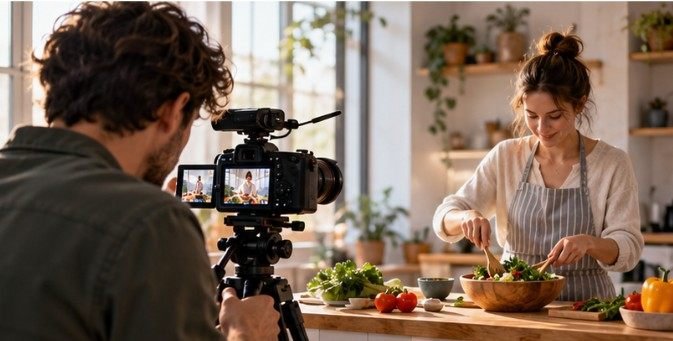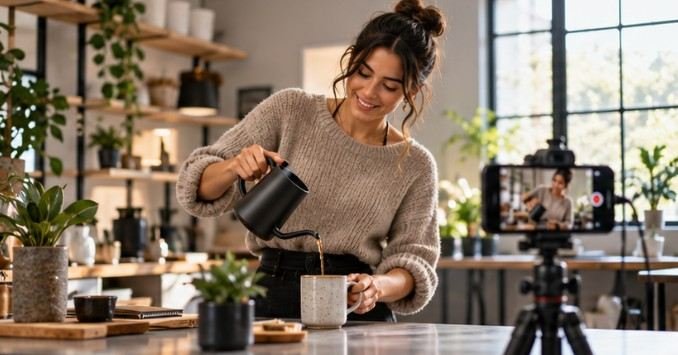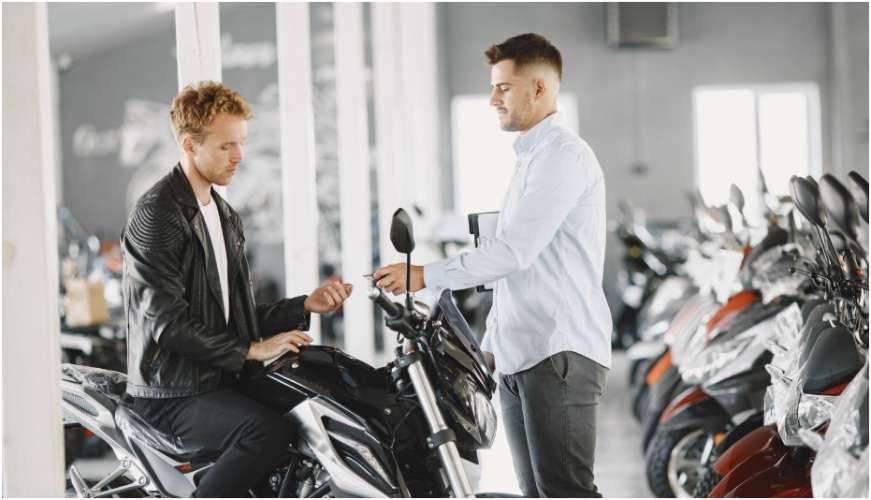
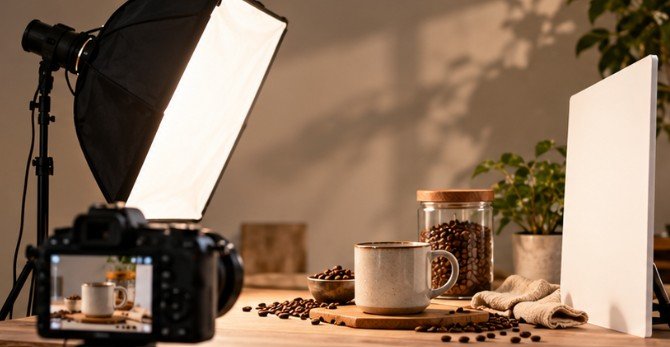
A lifestyle photograph can look beautifully casual while being surprisingly controlled behind the camera. The coffee cup beside a laptop, skincare bottle on a bathroom counter, or backpack sitting near hiking gear may appear naturally illuminated, yet professional photographers often shape that light with diffusion, reflectors, flags, and carefully positioned fixtures.
That balance is the goal of an effective lifestyle product photography lighting setup: the product must remain accurate and visually dominant without making the environment look like a sterile catalog studio.
The easiest way to achieve it is not necessarily adding more lights. It is controlling one good source first, then adding only what the scene actually needs.
Why Lifestyle Product Lighting Is Different
Traditional e-commerce photography usually prioritizes uniformity. Lifestyle imagery has another job: it must show what the product feels like in a believable setting. That makes direction, shadow, texture, and background illumination important.
Flat frontal lighting may reveal every detail but remove the depth that makes a scene convincing. Direct sunlight can provide drama but may create blown highlights, harsh shadows, or distracting reflections.
The Smithsonian’s photography guidance recommends indirect natural light where possible and emphasizes strong compositions rather than indiscriminate flash illumination. The practical lesson is simple: visibility matters, but dimensionality matters too.
Start With One Large, Soft Key Light
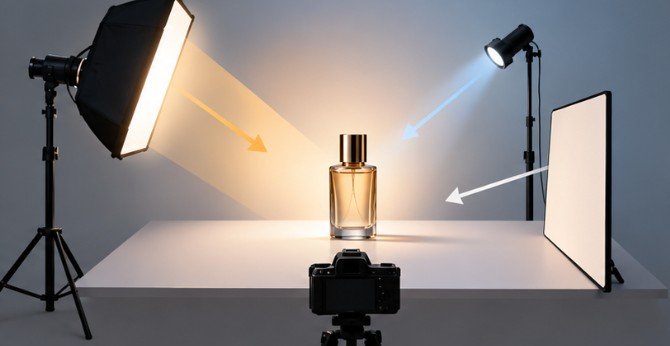
For most products, begin with one large light source approximately 45 degrees to the side and slightly above the subject. A continuous LED, monolight, or strobe can work. Put it through a large softbox, octabox, diffusion panel, or scrim. Why make the light large?
Relative source size affects shadow softness. A large source positioned close to a small product wraps around edges more gradually, creating smoother transitions between highlights and shadows.
If the product is sitting on a kitchen counter, for example, place the softbox where a nearby window could plausibly exist. The photograph then retains a natural visual logic. This approach is particularly useful for food packaging, cosmetics, home products, accessories, and small electronics.
Do the Flashlight Test Before Moving Equipment
Before positioning a heavy light stand, turn off unnecessary room lights and move a phone flashlight around the product. You are not testing exposure. You are testing direction.
Watch how the shadows reveal shape, where reflections appear, and whether embossed labels or textured surfaces become easier to see. Once you find an attractive direction, put the main light there. It can save considerable setup time.
Add Fill Only When the Shadows Need It
Do not automatically introduce a second powered light. First try a white foam board, reflector, or V-flat opposite the key light. Moving it closer brightens shadows; moving it farther away preserves more contrast.
For darker, moodier advertising imagery, reverse the idea. Place black foam board beside the shadow side to absorb stray illumination. Photographers call this negative fill. This can give bottles, shoes, handbags, cookware, and textured packaging stronger dimensional definition.
Your lifestyle product photography lighting setup therefore might contain only one actual lamp. The remaining tools simply control where that light travels.
Use Backlighting for Separation, Not Decoration
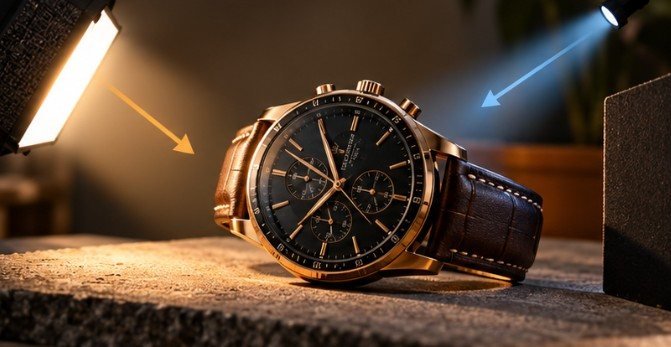
If a dark product disappears into a similarly dark background, introduce controlled illumination from behind.
A strip box, narrow reflector, or small diffused fixture positioned behind and slightly beside the product can create a subtle rim along its edge. Keep it restrained. The viewer should notice the product rather than immediately recognize the lighting technique.
Backlighting becomes especially valuable with glassware, translucent bottles, metallic objects, electronics, hair products, and dark packaging.
Window Light Can Be Excellent—But It Changes
Window light can make lifestyle photography convincing because its direction already feels familiar. Place the product near the window rather than directly in a hard sunbeam. Sheer curtains, diffusion fabric, or a translucent scrim can soften direct sunlight.
Then put white board opposite the window to recover darker details. The limitation is consistency. Clouds, time of day, and changing sun angles continually alter exposure and color. A controlled LED or flash setup is usually easier when dozens of images must match. For photographers working with limited equipment, these indoor photography tips without studio lights provide another useful starting point.
Pay Attention to Color Quality, Not Just Kelvin
Two LEDs labeled 5600K can produce noticeably different colors. Color temperature describes whether illumination appears warmer or cooler; it does not completely describe how faithfully that source reproduces object colors.
NIST explains that the Color Rendering Index, or CRI, evaluates the appearance of objects under artificial illumination, while also noting limitations in how CRI evaluates some modern LED sources.
Rochester Institute of Technology’s color-science research goes deeper into spectral measurement, imaging, and how lighting influences color capture. Its imaging laboratory reports that a high-color-rendering solid-state source achieved accuracy comparable with xenon strobe in simulated artwork imaging.
For commercial work, especially cosmetics, clothing, food, furniture, and branded packaging, choose lights designed for accurate color reproduction rather than buying based on wattage alone.
A Reliable Two-Light Setup
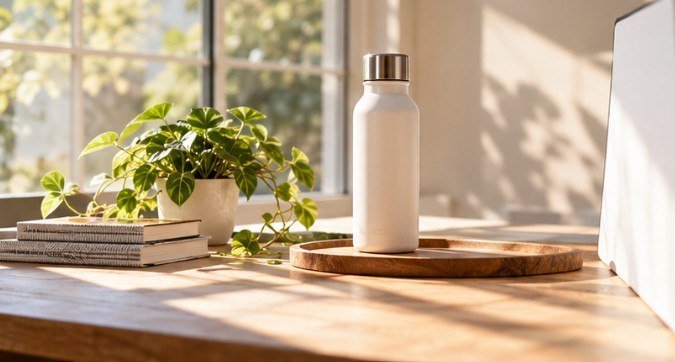
Here is a practical arrangement that works for many lifestyle scenes.
Step 1: Place the Product
Arrange the hero product first, then add supporting objects. Props should explain context without competing for attention. A coffee maker might need beans and a mug; it probably does not need ten unrelated kitchen accessories.
Use simple composition principles to maintain hierarchy. These easy photo composition rules can help when building the scene.
Step 2: Position the Key
Put a large diffused source roughly 45 degrees left or right of the product. Raise it slightly above product level and angle it downward.
Step 3: Control the Shadow Side
Use white board if the shadows are too deep. Use black board if the picture looks flat.
Step 4: Add Background or Rim Light
Position a smaller light behind the product only if additional separation is necessary. Avoid pointing it directly into the lens unless flare is intentional.
Step 5: Turn Off Conflicting Household Lights
A daylight-balanced LED mixed with warm ceiling bulbs can produce different color casts across the same photograph. Either control those fixtures or deliberately incorporate them as visible practical lighting.
Camera Settings: Use These as Starting Points
For stationary products, try ISO 100 or 200 to retain clean detail. An aperture around f/8 often provides enough depth for the product and nearby props, while f/11 can help when greater depth is necessary. However, lifestyle photography sometimes benefits from f/2.8–f/5.6 when environmental separation is part of the creative concept.
With flash, shutter speed should remain within your camera’s supported synchronization range unless high-speed synchronization is being used.
With LEDs and a tripod, shutter speed can be adjusted more freely for exposure because the product is stationary. Before increasing ISO, stabilize the camera and consider a slower shutter speed. For natural-light work, follow good technique for taking sharper photographs in natural light.
One Exception: Light-Sensitive or Valuable Products
Usually, commercial products tolerate photographic lighting without concern. Archival textiles, historic paper goods, collectible photographs, artwork, dyes, and delicate vintage objects may not. The Library of Congress notes that light damage can be cumulative and irreversible for sensitive collection materials.
If photographing irreplaceable objects, reduce unnecessary exposure and avoid leaving powerful lights operating between captures. See theLibrary of Congress guidance on light exposure for preservation considerations.
Frequently Asked Questions
1. What is the easiest lifestyle product photography lighting setup?
Start with one large diffused light approximately 45 degrees from the product and place white foam board opposite it. Add another light only when the background or product edges require separation.
2. Are LED lights or strobes better for product photography?
Both work. LEDs let you see lighting changes immediately and suit mixed photo-video production. Strobes provide high output and excellent motion stopping. Color quality and consistency matter more than the category alone.
3. What aperture should I use for lifestyle product photos?
Start around f/8 when most of the product needs to remain sharp. Use wider apertures such as f/2.8–f/5.6 when intentional background blur supports the composition.
4. Should I use warm or daylight lighting?
Match lighting to the intended environment and brand. Daylight-balanced sources provide a neutral starting point, while warmer lighting can suit home and hospitality scenes. Avoid accidentally mixing incompatible color temperatures.
The Setup Matters Less Than the Control
The polished lifestyle image that appears effortlessly natural usually succeeds because every bright area and shadow has a purpose. Start with one large source. Control it with diffusion, reflection, and negative fill. Add another fixture only after identifying a specific problem that needs solving.
That approach makes a lifestyle product photography lighting setup easier to reproduce, troubleshoot, and adapt from cosmetics to furniture. More importantly, it keeps the product looking like it belongs in the scene rather than like somebody dropped advertising photography into the middle of real life.