
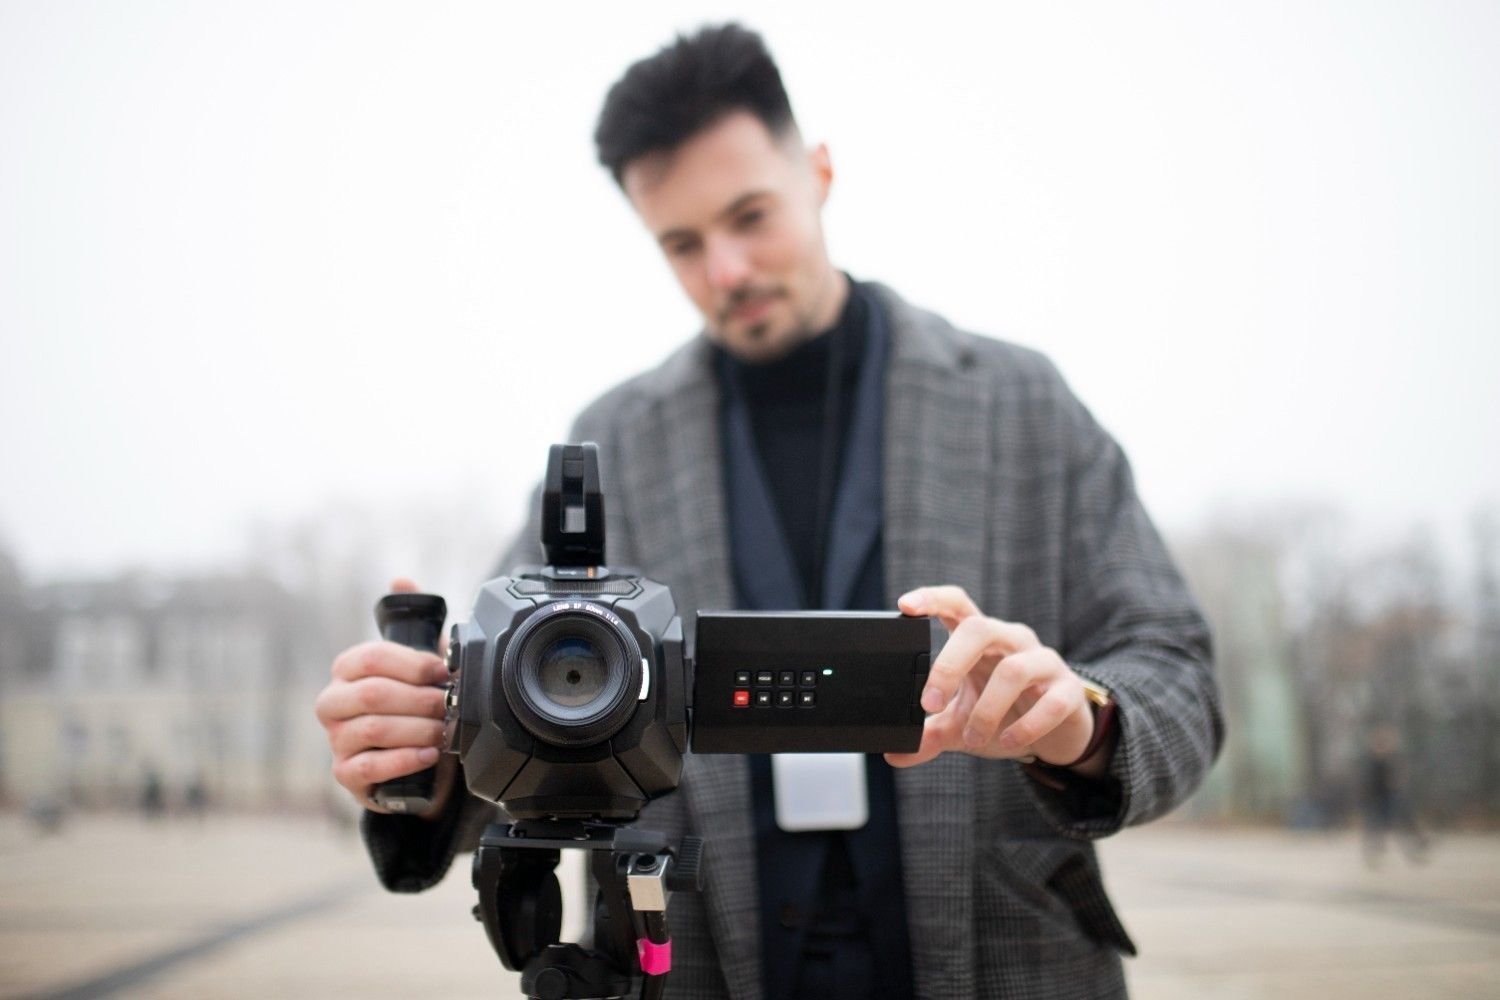
You can create sharp, engaging, professional-looking Instagram Reels with the phone already in your pocket. You do not need a DSLR, cinema lights, a ring light, a gimbal, or a high-end microphone to make content that stands out on social media. What you really need is better control over lighting, framing, audio, camera settings, and editing.
I have seen many creators and small business owners in the US delay content because they think they need expensive gear first. The truth is simple: learning how to film reels without professional equipment can help you create better videos faster, especially if you use smart filming habits and everyday household items.
Can You Really Film Good Reels With Only a Phone?
Yes, you can film high-quality Instagram Reels using only a smartphone. Most modern phones can shoot clean vertical video, especially when you give them enough light and keep the camera stable. The difference between amateur-looking footage and polished Reels usually comes down to small details.
If your videos look blurry, dark, shaky, or flat, the problem is usually not the phone. It may be poor lighting, digital zoom, dirty lenses, echo-filled audio, weak framing, or slow editing. Once you fix these issues, your phone can produce Reels that look much more professional.
This is especially useful for US-based creators, coaches, real estate agents, beauty brands, fitness trainers, restaurants, photographers, local service businesses, and online store owners who need consistent content without spending thousands on equipment.
How Should I Set Up My Phone Before Recording Reels?
Before you press record, clean your phone lens. Fingerprints, dust, and smudges can make even 4K footage look soft. Then switch to the back camera whenever possible. The rear camera usually gives sharper video, better detail, and stronger low-light performance than the selfie camera.
Film vertically in 9:16 because Instagram Reels, TikTok, Facebook Reels, and YouTube Shorts are built for full-screen mobile viewing. If your phone supports it, set your video resolution to 4K at 24fps or 30fps. Use 24fps if you want a slightly cinematic feel and 30fps for a clean social media look. If storage is limited, 1080p still works well for everyday Reels.
Another important step is locking exposure and focus. Tap and hold on your face or subject until AE/AF Lock appears. This stops your phone from constantly shifting brightness or focus while you move. If the shot looks too bright, slide the exposure down slightly to protect skin tones and highlights.
You may also want to turn off HDR (High Dynamic Range) video if your uploads look overly processed, too contrasty, or strange after posting. Some social apps do not always handle HDR video perfectly, so standard video can sometimes look more consistent online.
What Is the Best Lighting for Reels Without a Ring Light?
Lighting is the fastest way to make phone videos look better. The easiest free setup is natural window light. Stand or sit facing a window so soft daylight becomes your main light source. This works well for talking-head videos, tutorials, product demos, beauty content, food videos, and business tips.
Avoid harsh overhead lights because they create shadows under your eyes and make the video look less flattering. If sunlight is too strong, move a few feet away from the window or use a sheer curtain to soften it. You can also sit at a 45-degree angle from the window to create depth and natural shadows.
If you film at night, use a household lamp as your key light. Place it in front of you at an angle instead of directly above you. To soften the glare, bounce the light off a white wall or place diffusion material safely between the lamp and your face. Never place paper, fabric, or a pillowcase directly on a hot bulb. LED lamps are safer, but you should still keep fabric away from heat.
To make the background look more professional, turn on a small warm lamp behind you. This adds separation and creates a subtle glow, which helps you stand out from the wall.
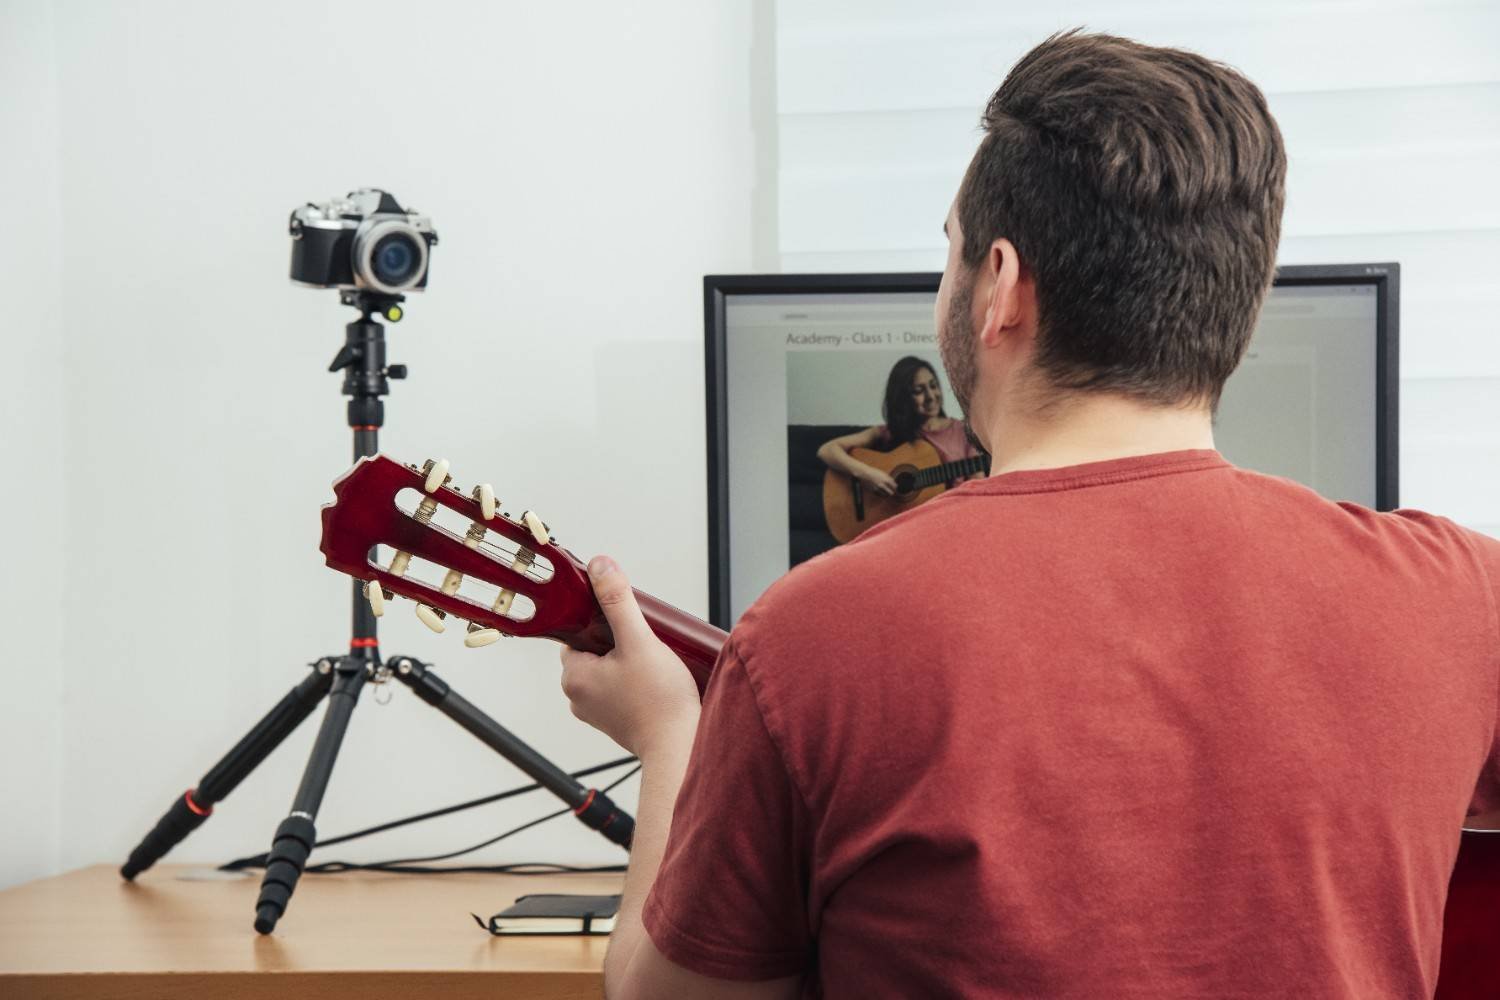
How Can I Keep My Phone Stable Without a Tripod?
Stable footage instantly improves your Reels. You do not need a tripod or gimbal to get steady shots. You can prop your phone between heavy books, place it inside a clean sneaker, lean it against a mug, use a shelf, or position it on a stack of boxes.
If you film alone, use the guess-and-check method. Place a broom, chair, bag, or tall household object where you plan to stand. Frame the shot around that object, press record, replace the object with yourself, and check the clip. This saves time and helps you avoid awkward framing.
For handheld clips, hold the phone with both hands and keep your elbows close to your body. Move slowly instead of swinging the phone around. If you are filming products, food, outfits, packaging, or workspace content, use smooth forward movements, side movements, and close-up shots. These small camera movements can make a simple phone video feel more dynamic.
How Do I Frame Reels So They Look Professional?
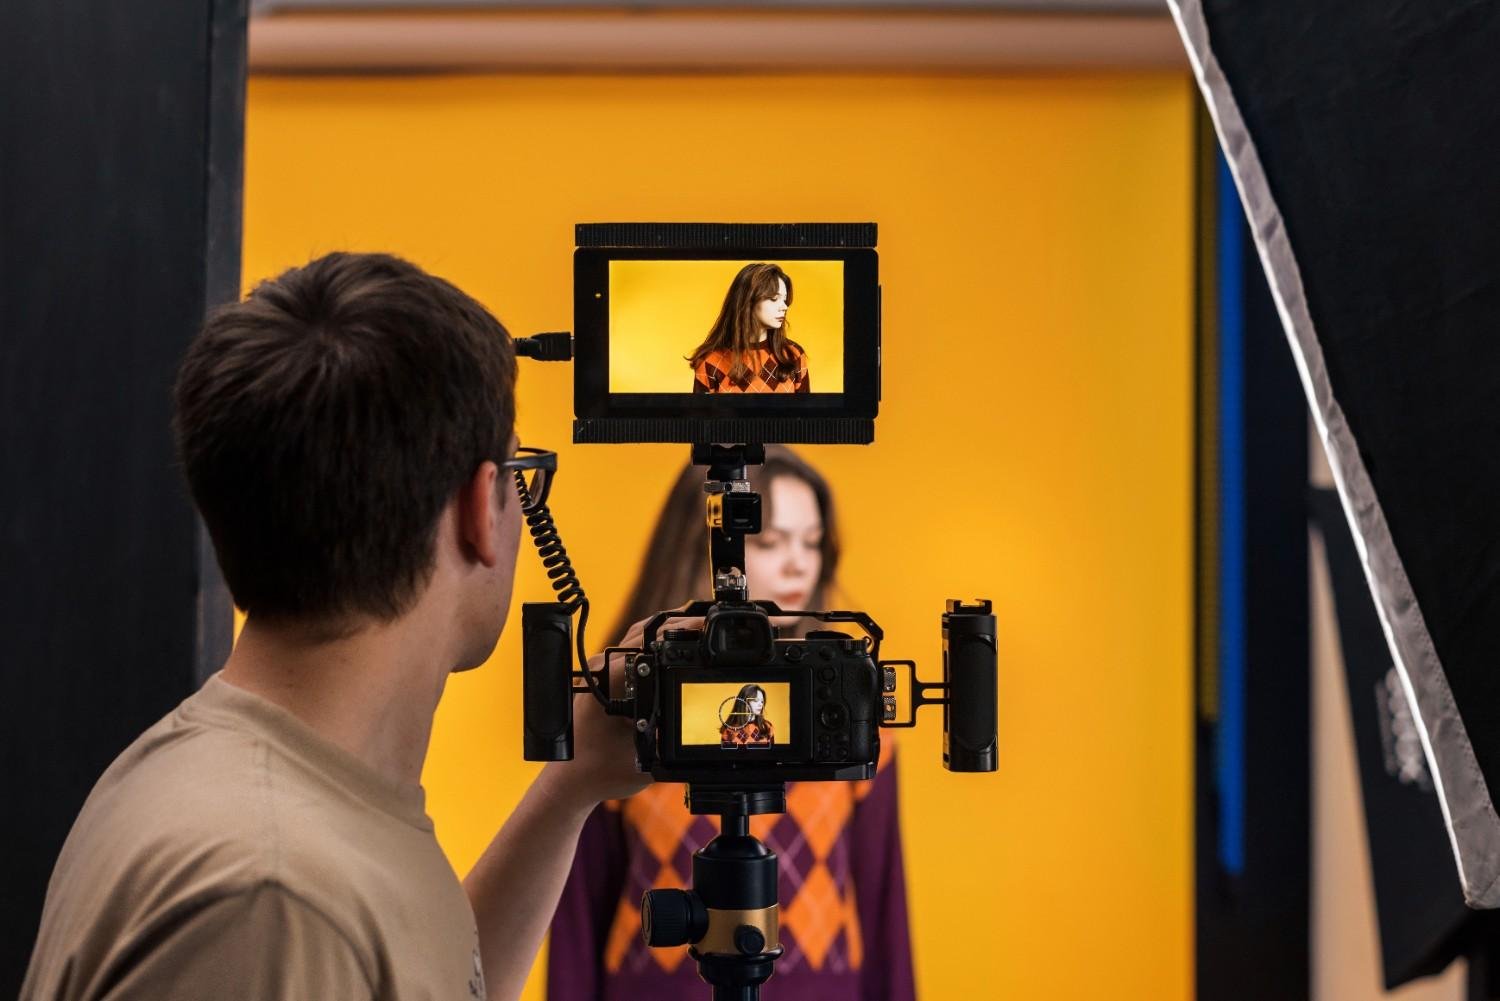
Good framing keeps viewers focused. Do not stand in the dead center of every clip unless the shot needs that style. For talking-head Reels, keep your eyes near the upper third of the frame and leave a little space above your head.
Mix your shots to keep people watching. Use a wide shot to show the setting, a medium shot for talking, and tight close-ups for details. Close-ups are great for hands, products, food, makeup, tools, packaging, screens, and before-and-after moments.
B-roll also makes Reels more interesting. If you are explaining a tip, show yourself doing the thing. If you are promoting a product, show the texture, size, use case, packaging, and final result. If you run a local business, show behind-the-scenes clips, customer-ready details, or your workspace.
How Can I Get Clear Audio Without a Professional Microphone?
Bad audio can ruin good video faster than a weak camera, especially when shooting videos in small room setups where echo can build quickly. Choose a quiet room before recording. Turn off fans, air conditioners, TVs, dishwashers, and refrigerators if they are creating background noise.
Soft spaces usually sound better than empty rooms because curtains, rugs, couches, pillows, and blankets absorb echo.
If you are recording a voiceover, try the closet trick. Sit inside or near a clothes closet and record your voice. The hanging fabrics reduce echo and make your audio sound cleaner, almost like a simple home sound booth.
If you need to stand far from the camera, use a second phone as an audio recorder. Open the voice recorder app, place the second phone close to your mouth, hide it just out of frame, or keep it in a shirt pocket. Later, sync that audio with your video in an editing app. This simple trick can make your voice sound much clearer.
How Should I Plan a Reel Before Filming?
A strong Reel starts with one clear idea. Do not try to explain everything in one video. Choose one question, one problem, one tip, or one result.
Start with a hook in the first few seconds. Instead of saying, “Today I am going to talk about video tips,” say, “Here is how I make my phone Reels look professional without buying gear.” That gives viewers a reason to stay.
Then record three to five short clips that support the main idea. Add a simple call to action at the end, such as save this Reel, follow for more tips, comment with a question, visit the link, or check out the product. When you understand how to film reels without professional equipment, planning becomes just as important as camera quality.
Which Free Editing Apps Make Reels Look Better?
Editing creates much of the professional look. Free apps like CapCut, InShot, Canva, and Instagram’s built-in editor can help you trim clips, add captions, include music, adjust speed, and create clean transitions.
Keep your edits tight. Cut out pauses, long breaths, repeated words, and dead space at the beginning or end of clips. Cut on action when possible. For example, if your hand reaches for a product in one shot, cut to a close-up of the product being picked up. This makes the edit feel smoother.
If your phone was static on a book stand or shelf, add subtle digital movement in editing. A slight zoom-in, crop, or pan can make the video feel more energetic. Do not overdo it. Small movement looks professional, while too much movement feels distracting.
Sound design also improves production value. Add subtle typing clicks, soft whooshes, light pop sounds, product sounds, or natural room ambience under your music. These details make Reels feel more polished without expensive gear.
What Mistakes Should Beginners Avoid?
The biggest mistake is waiting until you can buy professional equipment. You will improve faster by filming consistently with what you have.
Avoid dark rooms, harsh ceiling lights, messy backgrounds, shaky handheld clips, unclear audio, and digital zoom. Do not post videos with watermarks from other platforms if you want them to feel native to Instagram. Avoid using random trending sounds that do not match your message.
Also, do not make every Reel a long talking clip. Add movement, close-ups, B-roll, captions, and clear pacing. Viewers should understand the point quickly, even if they are watching without sound.
Frequently Asked Questions (FAQs)
1. Can I film Reels with only my phone?
Yes. A smartphone, good lighting, steady framing, and clear audio are enough to create professional-looking Reels.
2. What is the best free lighting for Reels?
Natural window light is the best free option. Face the window for soft, even lighting and avoid harsh overhead lights.
3. How do I make Reels look professional without equipment?
Use the back camera, lock focus, keep your phone stable, record in a quiet room, add captions, and edit out slow parts.
Final Thoughts
Learning how to film reels without professional equipment is really about using simple tools better. Your phone, a window, a quiet room, a stack of books, a second phone, and a free editing app can help you create content that looks clean and professional.
Start with better light. Stabilize your phone. Lock focus and exposure. Record clear audio. Use different shot types. Edit tightly. Add captions and subtle sound design. Once you build this workflow, you can create stronger Reels for Instagram, TikTok, Facebook, and YouTube Shorts without waiting for expensive gear.