

Flat footage can make even a well-shot video feel unfinished. That is where how to color grade videos becomes a skill worth mastering. With the right workflow, you can fix dull colors, balance exposure, correct white balance, protect skin tones, and create a mood that fits the story.
Instead of depending on random filters, I prefer building a clean base first and then adding a subtle creative look that works for YouTube, Reels, product videos, travel edits, and business content.
What Is the Difference Between Color Correction and Color Grading?
Color correction is the technical cleanup stage. It makes your footage look normal and balanced. If a shot is too dark, too bright, too warm, too cool, or mismatched from another clip, color correction solves that problem first.
This also matters when you are learning how to use natural light for videos, because even beautiful window light or outdoor light can still create color shifts that need to be corrected.
Color grading is the creative stage. This is where you create a cinematic color grade, a soft lifestyle look, a bright social media style, a clean corporate feel, or a dramatic film-inspired mood.
I always recommend correcting first and grading second because a creative LUT or heavy color effect will not fix poorly balanced footage. In many cases, it will make the problems more obvious.
How Do You Start Color Grading Log Footage?
If your camera footage was shot in a flat profile like Sony S-Log, Canon C-Log, Panasonic V-Log, or another Log format, it will look washed out at first. That is normal. Log footage captures more image information, but it needs to be converted before it looks natural.
The best starting point is color management and normalization. In DaVinci Resolve, you can use a Color Space Transform tool. In Premiere Pro, Final Cut Pro, or other editing software, you may use a technical manufacturer LUT. The goal is to convert flat Log footage into a standard viewing space like Rec. 709. This gives you a normal-looking base before you begin your creative grade.
This is different from applying a stylistic LUT. A technical LUT helps normalize footage. A creative LUT adds a look. Mixing those up is one of the most common beginner mistakes in video color grading.
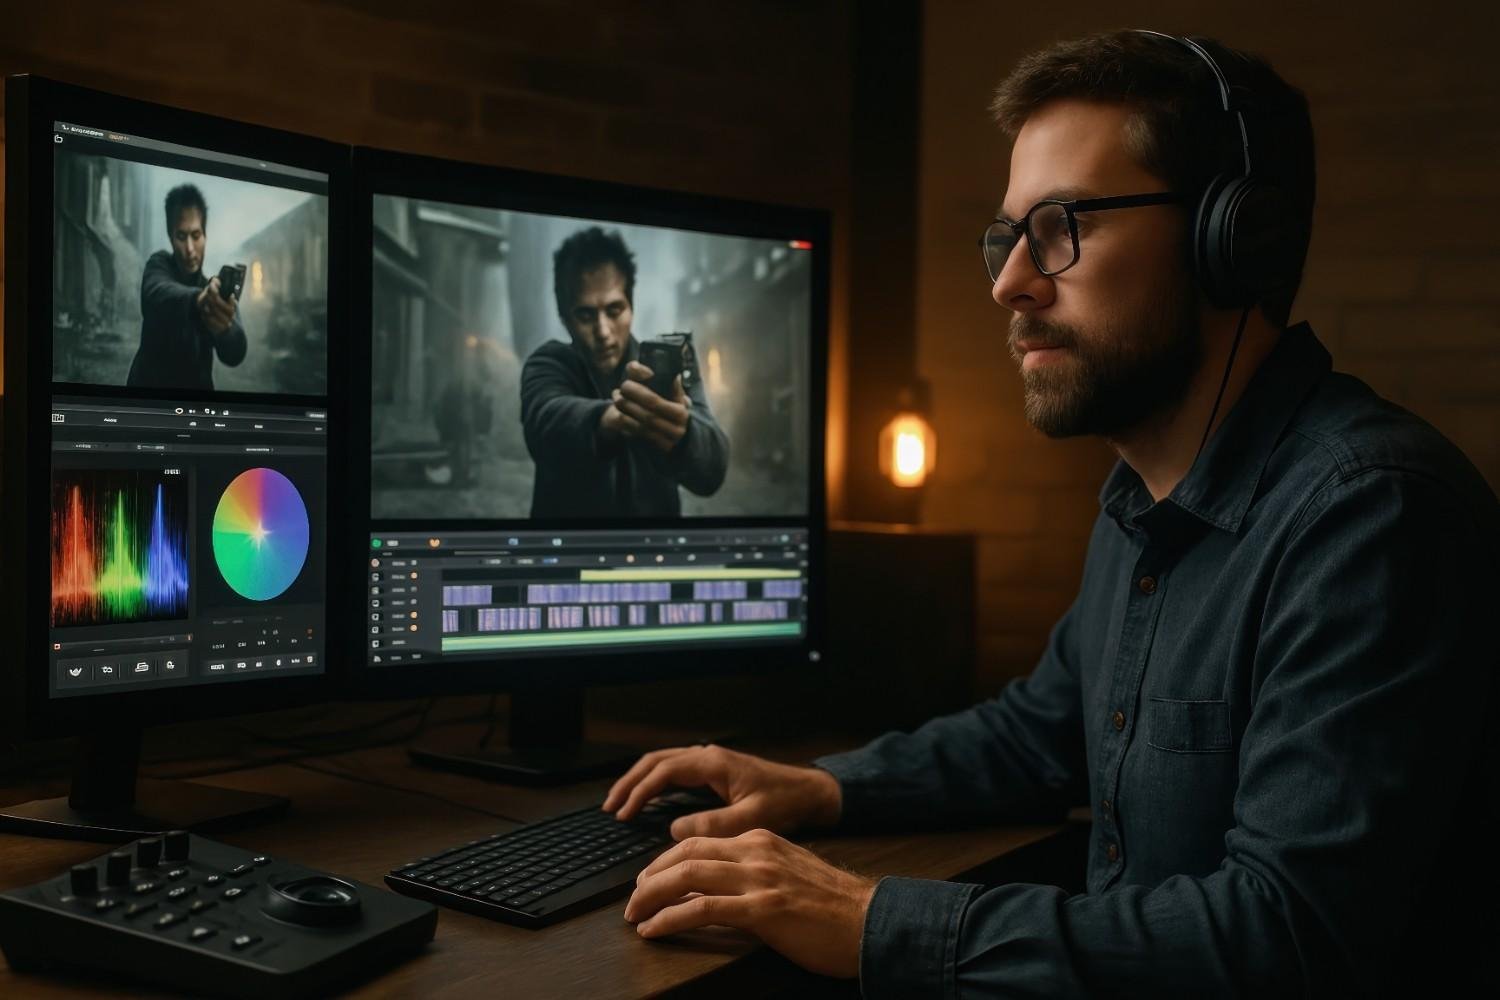
Why Should You Use Scopes Instead of Only Your Eyes?
Your eyes can trick you, especially if your monitor is too bright, your room lighting changes, or you have been editing for hours. That is why scopes are so useful. They give you a more reliable view of brightness, contrast, saturation, and color balance.
The waveform monitor helps you judge exposure. It shows whether your highlights are clipping, whether your shadows are too crushed, and whether your image has enough brightness range. The vectorscope helps you judge saturation and color direction. It is especially helpful when checking skin tones, because natural skin usually falls close to the flesh tone line regardless of ethnicity.
You do not need to become a color science expert right away. Just learning how to read basic waveform and vectorscope information can make your videos look cleaner and more consistent.
How Do You Color Correct a Video Before Adding a Look?
Start with exposure. Adjust exposure, highlights, shadows, whites, blacks, and contrast until the image feels balanced. You want bright areas to retain detail and dark areas to look rich without becoming muddy. For talking head videos, I focus on the face first. For product videos, I focus on accurate product detail. For travel footage, I check the sky, landscape, and subject together.
Next, correct white balance. Use a neutral white or gray area if your software has a white balance dropper. If not, adjust temperature and tint manually until the shot looks natural. This removes unwanted yellow, blue, green, or magenta casts.
Then, match your clips. If one shot was filmed near a window and another under indoor lights, they may not match. Adjust brightness, contrast, saturation, and white balance across the sequence so the video feels continuous. This step is especially important for YouTube tutorials, interviews, cooking videos, real estate videos, wedding films, and brand content.
How Do You Add a Cinematic Color Grade?
Once your footage is corrected, you can build the creative look. This is where how to color grade videos becomes more about taste, emotion, and story than technical repair.
Start with contrast. RGB curves or tone curves can help you create a smooth S-curve, which deepens blacks and brightens whites without making the image harsh. Then use color wheels to adjust shadows, midtones, and highlights. Many cinematic grades push cooler teal tones into the shadows and warmer orange tones into the midtones or highlights, but I recommend keeping this subtle. Overdone teal-and-orange grading can look fake fast.
You can also apply creative LUTs to create a vintage film stock look, a warm lifestyle mood, or a dramatic cinematic style. Always apply LUTs after your correction pass, and reduce their intensity if they look too strong. A LUT should support your footage, not overpower it.
How Do You Fix Skin Tones and Specific Colors?
Skin tones can make or break a grade. If people appear too orange, red, green, or gray, viewers will notice immediately. Use HSL Secondary tools to isolate skin tones by hue, saturation, and luminance. Then adjust them gently until they look natural.
Hue vs Saturation curves can help you control specific colors without changing the whole image. For example, you can reduce an overly bright neon sign, calm down grass that looks too green, or soften a sky that looks too blue. This kind of secondary grading gives you more control and keeps your final video from looking overprocessed.
Finishing touches can also improve the final look. A subtle vignette can guide the viewer’s eye toward the subject. Light film grain can make digital footage feel more organic. The key is subtlety. If the viewer notices the effect before they notice the story, it is probably too strong.
What Is the Best Software for Color Grading Videos?
DaVinci Resolve is the strongest option for serious color grading. It is widely used by professional editors and colorists because it offers node-based workflows, powerful scopes, advanced color management, color wheels, curves, masks, tracking, and detailed secondary grading tools.
Adobe Premiere Pro is a strong choice for YouTubers, marketers, freelancers, and business video editors. The Lumetri Color panel makes it easy to adjust exposure, white balance, curves, color wheels, HSL Secondary settings, and LUTs inside the same editing timeline.
Final Cut Pro works well for Mac users who want a fast editing workflow with built-in color wheels, curves, and LUT support. CapCut is a beginner-friendly option for short-form creators who want quick adjustments, presets, and mobile or desktop editing for TikTok, Instagram Reels, and YouTube Shorts.
How Should You Grade Videos for YouTube, Reels, and Business Content?
For YouTube, keep the grade clean and natural. Viewers spend more time watching long-form content, so extreme color can become distracting. Clear exposure, accurate skin tones, and consistent clip matching matter more than dramatic effects.
For Reels, TikTok, and Shorts, slightly brighter exposure and stronger color can help stop the scroll. Still, avoid neon saturation or crushed shadows because most US viewers will watch on mobile screens.
For business, ecommerce, food, fashion, beauty, and real estate videos, accuracy matters. Product colors should look trustworthy. Skin tones should look real. Interiors should not look unnaturally yellow or blue. A professional color grade should make the brand look polished, not misleading.
What Mistakes Should Beginners Avoid?
The biggest mistake is doing too much. Heavy LUTs, extreme contrast, oversaturated colors, crushed blacks, and strange skin tones can make a video look amateur. Another mistake is relying only on the editing monitor. Always preview your video on a phone, laptop, and larger screen before exporting.
You should also avoid grading every clip differently. A strong edit feels visually connected from beginning to end. Small shot-by-shot adjustments are normal, but the overall style should stay consistent.
Frequently Asked Questions (FAQs)
1. What is the easiest way to color grade videos for beginners?
The easiest way is to correct the footage first, then add a creative look. Fix exposure, white balance, contrast, saturation, and clip matching before using LUTs, color wheels, curves, or film-style effects.
2. Should I use LUTs before or after color correction?
Use technical LUTs or color space transforms first when converting Log footage to Rec. 709. Use creative LUTs after your correction pass so the look sits on top of balanced footage.
3. Is DaVinci Resolve better than Premiere Pro for color grading?
DaVinci Resolve is better for advanced color grading because it offers professional node-based tools and deeper color management. Premiere Pro is easier for fast edits and works well with Lumetri Color.
4. Why do my skin tones look bad after color grading?
Skin tones usually look bad when white balance, saturation, tint, or LUT intensity is pushed too far. Use HSL Secondary tools and the vectorscope flesh tone line to keep skin looking natural.
Final Thoughts
Learning how to color grade videos becomes much easier when you follow the right order. Normalize Log footage, use scopes, correct exposure, fix white balance, match clips, build contrast, apply creative looks, protect skin tones, refine specific colors, and finish with subtle polish.
The best color grade is not always the most dramatic one. It is the one that supports the story, keeps viewers watching, and makes the final video feel intentional. Whether you edit in DaVinci Resolve, Premiere Pro, Final Cut Pro, or CapCut, a clean and repeatable workflow will help your videos look more professional every time.


