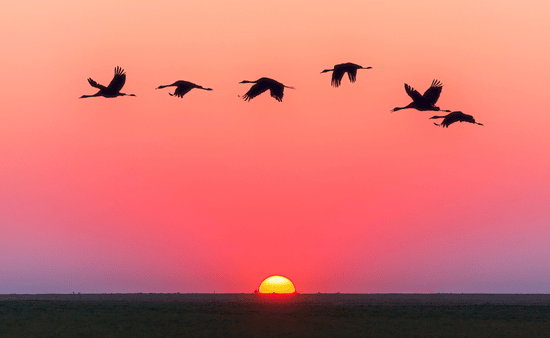
The first time I tried photographing fast birds, I blamed my camera for every blurry frame. Then I realized the real problem was not the gear. I was using the wrong shutter speed, standing too high, ignoring the background, and reacting instead of predicting.
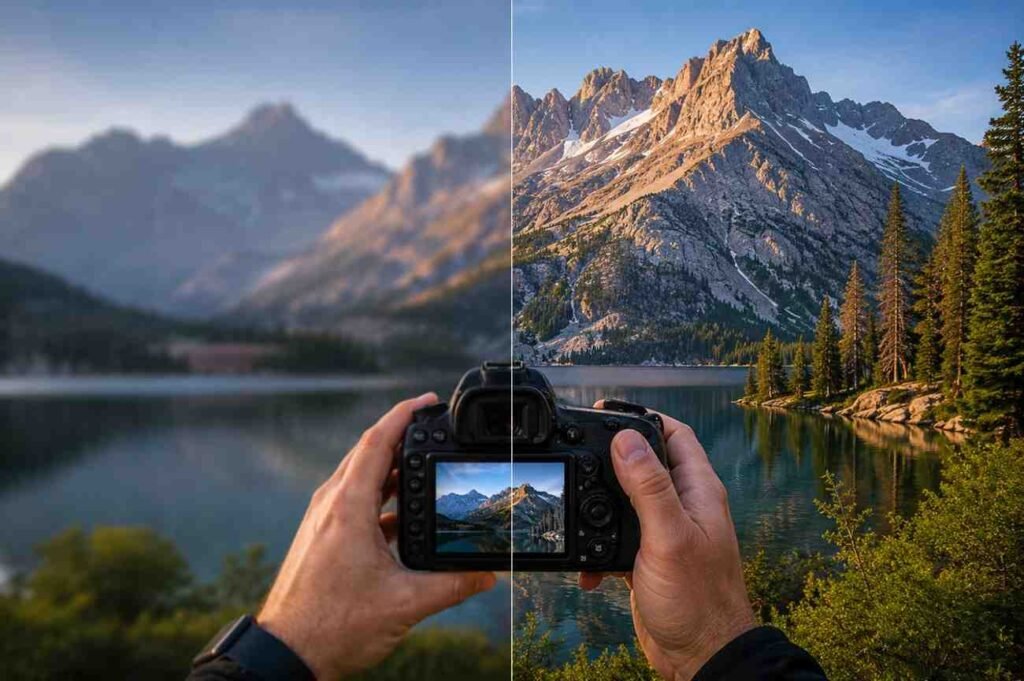
These wildlife photography tips for beginner photographers will help you build sharper, safer, and more natural-looking animal photos without needing a luxury safari or a $10,000 camera kit. A good wildlife image starts with patience, clean technique, and respect for the animal.
Start With the Right Mindset Before Buying More Gear
Wildlife photography looks gear-heavy, but beginners often improve faster by changing how they approach the subject. You need patience, timing, quiet movement, and basic knowledge of animal behavior.
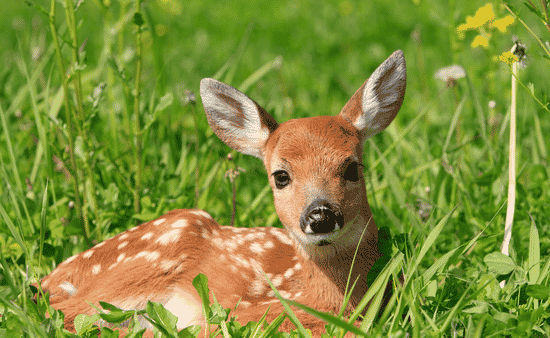
I have missed more shots from rushing than from using the wrong lens. Wildlife rarely performs on command. Birds turn away. Deer step into brush. Squirrels freeze, then vanish. The best beginner habit is to watch first and shoot second.
Before I raise the camera, I ask three things. Where is the light coming from? What is the animal likely to do next? Is my background clean enough for the shot? That small pause can save an average image.
Essential Wildlife Photography Gear for Beginners
You do not need professional gear to start. You need equipment that helps you stay far enough away while still filling the frame.
Why Your Lens Matters More Than Your Camera Body
For wildlife, the lens matters most. A telephoto lens between 200mm and 300mm gives beginners enough reach for birds, deer, ducks, squirrels, and zoo practice. A longer lens also helps you keep a safer distance.
Crop-sensor cameras can help beginners because they make a lens feel tighter in the frame. That extra “reach” is useful when your subject is small or far away. You still need good technique, but the smaller sensor can make a 300mm lens feel more practical for wildlife.
The National Park Service also recommends using a zoom lens when photographing animals, especially when distance matters for safety. If you are close enough for a selfie, you are too close.
Camera Features That Actually Help in the Field
A beginner wildlife camera should offer fast burst shooting, reliable autofocus, and decent high ISO performance. Burst mode helps capture sudden wing movement, jumps, turns, and eye contact.
Silent shutter can also help if you use a mirrorless camera. Nervous birds and mammals may react to repeated shutter noise. A quiet camera does not replace ethical distance, but it helps you stay less disruptive.
Best Camera Settings for Beginner Wildlife Photography

Camera settings decide whether your image looks sharp or soft. When animals move, shutter speed becomes your first priority.
Shutter Speed Comes First
For fast birds or running animals, I avoid going below 1/1000s. If the action is intense, 1/1600s gives me more safety. For slower animals, 1/250s can work, but only if the subject is still and my handholding is steady.
A beginner mistake is lowering shutter speed too much in poor light. That makes the image brighter, but it also creates motion blur. A grainy photo can often be improved in editing. A blurry animal usually cannot be saved.
Aperture and ISO Need to Work Together
Use the widest aperture your lens allows, such as f/2.8, f/4, or f/5.6. A wide aperture lets in more light and helps blur distracting backgrounds.
Then use Auto ISO with a limit. On many cameras, ISO 3200 to 6400 works well. On newer full-frame bodies, ISO 12800 may still be usable. Noise is not ideal, but it is often better than missing the shot.
For low light, my simple formula is fast shutter speed, widest aperture, and controlled Auto ISO.
Why RAW Files Give You More Room to Fix Mistakes
Shoot RAW instead of JPEG when possible. RAW files store more image data, which helps when you need to recover shadows, reduce noise, or correct white balance.
This matters in wildlife photography because animals often appear in uneven light. A bird may sit under shade with bright sky behind it. A deer may step through harsh patches of sunlight. RAW gives you more editing flexibility.
Autofocus Tips for Moving Wildlife
Autofocus can make or break beginner wildlife photos. The subject moves, branches confuse the camera, and low light makes everything harder.
Use Continuous Autofocus for Action
Use continuous autofocus for moving animals. On Nikon and Sony, this is AF-C. On Canon, it is AI Servo. This mode keeps adjusting focus while the animal moves toward, away from, or across the frame.
Nikon’s own documentation explains that Dynamic-area AF in AF-C uses surrounding focus points if the subject briefly leaves the selected point. That makes it useful for unpredictable movement.
Pick the Right AF Area Mode
Avoid Auto-Area AF in cluttered scenes. The camera may focus on grass, branches, or bright objects instead of the animal.
For Nikon DSLR users, Dynamic 9-point or 21-point AF is a smart starting point. It gives you one main focus point while using nearby points for support if the animal moves suddenly. For birds in flight, a wider tracking mode may help, but beginners should first learn to keep one focus point on the animal.
Low-Light Wildlife Photography Tips for Handheld Shooting
Low light is where beginner technique gets tested. You cannot slow the shutter much because wildlife moves. You also may not have time to set up a tripod.
My Fast Action Setup for Fading Light
When I photograph fast wildlife handheld near sunset, I start with 1/1000s, the widest aperture, Auto ISO, AF-C, and burst mode. For birds, I push to 1/1600s if light allows.
On Nikon DSLRs, I also prefer Dynamic 9-point or 21-point AF in dim light. I want control over where focus lands. For AF-C priority, Release mode can help capture the exact moment, though it may also record frames before perfect focus. That trade-off is worth testing on your own camera.
A related lighting habit also helps with portraits and animal photos: learn how directional warm light changes the mood of a subject. Understand golden hour photography tips for better portraits because the same light awareness can improve wildlife images.
How I Stabilize the Camera Without a Tripod
Handheld wildlife work needs body control. I tuck my elbows into my ribs and support the lens from underneath with my left hand. I keep one foot slightly forward to stop myself from swaying.
When possible, I kneel and rest my left elbow on my knee. I also lean against a tree, fence post, or rock. Your body becomes the tripod.
The shutter press matters too. Do not jab the button. Breathe in, let half the breath out, hold gently, and roll your finger over the shutter during a short burst.
Fieldcraft: The Skill Beginners Ignore Too Often
Fieldcraft means understanding the outdoor environment and moving in a way that does not disturb wildlife. It often matters more than camera specs.
Study Animal Behavior Before Pressing the Shutter
Research the species you want to photograph. Learn feeding times, habitat, warning signs, and movement patterns. Backyard birds, local ponds, nature trails, and city parks are perfect classrooms.
If ducks always swim toward shade after feeding, set up near that path. If squirrels pause on the same branch before jumping, frame that spot. Good wildlife photography rewards prediction.
Stay Ethical and Keep Your Distance
Ethical wildlife photography protects both the animal and the photographer. The National Park Service says many parks require at least 25 yards from most wildlife and 100 yards from predators such as bears and wolves. If an animal reacts to you, you are too close.
For birds, Audubon recommends giving nesting birds space, respecting roped-off areas, and avoiding playback calls that may pull birds away from nests.
A long lens should help you avoid pressure, not help you invade space.
Composition Tips That Make Wildlife Photos Look Professional
Sharpness gets attention, but composition makes people stay with the image.
Get Down to Eye Level
Standing above an animal makes the photo feel casual. Kneeling or lying lower creates intimacy. Eye-level wildlife photos feel more direct because the viewer enters the animal’s world.
This small change can make beginner photos look far more polished.
Clean Up the Background
A messy background ruins many sharp wildlife photos. Before pressing the shutter, scan behind the subject. Branches, bright spots, fences, cars, and signs can steal attention.
Move slowly left or right until the background looks cleaner. A distant background also blurs better, especially when using a wide aperture.
Focus on the Eyes
The closest eye must be sharp. If the eye is soft, the image usually feels weak, even when the feathers or fur look detailed.
If your camera has Animal Eye AF, use it. If not, place your focus point directly on the head or eye area. For side-facing animals, aim for the closest eye.
Practice Locally Before Planning a Big Trip
Do not wait for Yellowstone, Alaska, or an African safari. Start with birds in your backyard, ducks at a local pond, rabbits near walking trails, or squirrels in the park.
Local practice teaches tracking, timing, patience, and exposure without travel pressure. My tested beginner exercise is simple: photograph one common animal for 30 minutes without changing locations. You learn how it moves, pauses, feeds, reacts to sound, and uses light. That single exercise builds more skill than chasing ten species in one morning.
STOP using the wrong SHUTTER SPEED.
FAQs
1. What is the best shutter speed for beginner wildlife photography?
Use 1/1000s for fast wildlife and birds, but try 1/250s for still animals in calmer light.
2. Do beginner wildlife photographers need a 600mm lens?
No. A 200mm to 300mm lens is enough for local practice, especially with crop-sensor cameras.
3. What autofocus mode is best for moving animals?
Use AF-C on Nikon or Sony, and AI Servo on Canon, so focus keeps tracking movement.
4. What are the easiest animals to photograph as a beginner?
Start with ducks, squirrels, backyard birds, deer in safe areas, and animals in local nature parks.
Final Take: Don’t Chase Wildlife, Outsmart the Moment
The best beginner wildlife photos rarely come from rushing closer. They come from reading behavior, choosing fast settings, keeping your hands steady, and waiting for the animal to give you the frame.
Start local. Shoot RAW. Protect your shutter speed. Watch the background. Respect the animal more than the photo. That is how beginner wildlife photography starts looking intentional instead of lucky.