

When I first started editing photos, I assumed better images came from expensive software and dramatic effects. Like many beginners, I spent far too much time pushing sliders back and forth without understanding what they actually did. The result was often an image that looked worse than the original.
Over time, I realized that great photo editing is not about adding more. It is about making thoughtful adjustments in the right order. A simple and repeatable workflow can improve almost any image while keeping it natural and believable. Whether you shoot with a camera or a smartphone, the same editing principles apply.
Why A Consistent Editing Workflow Matters?

One of the biggest mistakes in photo editing for beginners is treating every image differently. Random adjustments can quickly lead to inconsistent colors, unnatural skin tones, and photos that feel overprocessed.
A structured photo editing workflow helps you make decisions more confidently. Instead of guessing which slider to move next, you follow a logical sequence that improves exposure, color, and detail without losing the original feel of the image.
Professional photographers often rely on repeatable workflows because consistency matters. The same approach can help beginners create cleaner and more polished images every time.
Start By Cleaning The Canvas
Before touching brightness, contrast, or colors, focus on the overall structure of the image.
Many photos contain small distractions that pull attention away from the subject. A slightly crooked horizon, unwanted objects near the frame edge, or random background clutter can reduce the impact of an otherwise great photograph.
Begin by:
- Straightening tilted horizons and vertical lines
- Cropping distracting elements around the edges
- Using the rule of thirds to improve composition
- Removing unwanted objects with healing or spot-removal tools
These simple image editing tips often create a bigger improvement than color adjustments alone. A clean composition gives every other edit a stronger foundation.
Fix Exposure Before Adjusting Color
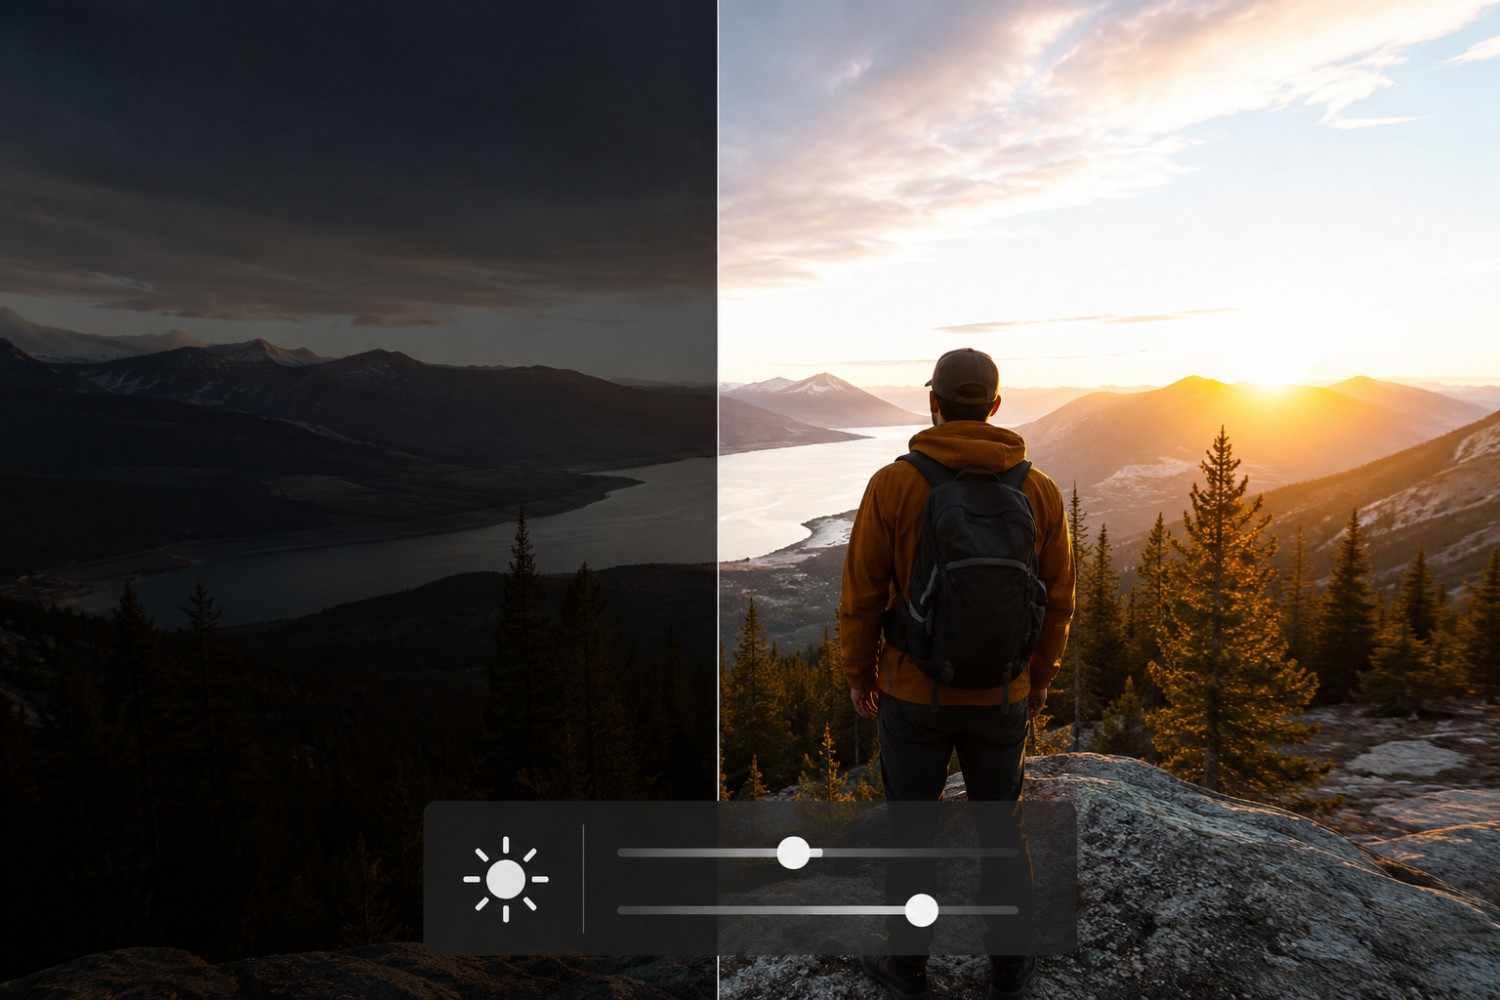
A common beginner photography editing mistake is jumping directly into color grading. Before colors can look right, the image needs balanced lighting.
Start with the overall exposure. Adjust brightness until the scene looks close to what you remember seeing when you captured it. From there, work through highlights, shadows, whites, and blacks.
Highlights control bright areas such as clouds, reflective surfaces, or skin. Lowering them can recover details that appear washed out.
Shadows help reveal details hidden in darker parts of the image. Raising shadows carefully can create a more balanced photo without making it look flat.
Contrast adds separation between light and dark areas. A small increase often makes an image feel more dynamic, but too much contrast can destroy subtle details and create harsh results.
Many photographers discover that mastering exposure adjustment alone dramatically improves photo quality.
Understanding Color Correction The Right Way
Once exposure is balanced, color correction becomes much easier.
White balance is one of the most important photo editing techniques for beginners. If an image appears too blue, too yellow, too green, or too magenta, correcting white balance helps restore realistic colors.
The temperature slider adjusts warmth and coolness, while the tint slider corrects green and magenta shifts. Look for neutral white or gray objects in the scene to help guide your adjustments.
Another important lesson involves saturation and vibrance. Many beginners immediately increase saturation, but this often creates unrealistic results.
Vibrance is usually the safer option because it boosts weaker colors while protecting already saturated areas. This approach keeps skin tones and natural scenes looking believable.
As you continue learning techniques that improve image quality, understanding the difference between vibrance and saturation can make a noticeable difference in your final edits.
Add Detail Without Overdoing It
Once lighting and color are balanced, it is time to polish the image.
This stage focuses on sharpening images and enhancing detail. Small adjustments often produce the best results.
Clarity and texture controls increase local contrast and help reveal fine details. These settings work particularly well on landscapes, architecture, and textured surfaces. However, applying too much can make portraits look harsh and unnatural.
Sharpening is another powerful tool, but moderation is essential. Always zoom in while sharpening to avoid creating visible halos or artificial-looking edges.
The goal is not to make viewers notice the editing. The goal is to make the photo appear naturally sharp and clear.
Common Photo Editing Mistakes Beginners Make
Even with good software, several mistakes can quickly reduce image quality.
Some of the most common include:
- Oversaturating colors
- Applying excessive sharpening
- Increasing contrast too aggressively
- Ignoring white balance corrections
- Cropping without considering composition
- Using heavy filters on every image
Many beginners assume stronger edits equal better results. In reality, subtle adjustments often create the most professional-looking outcomes.
A useful habit is comparing the edited image to the original. If the final version feels dramatically different or artificial, consider reducing your adjustments slightly.
RAW Vs JPEG: What Beginners Should Know

If your camera or smartphone supports RAW capture, it is worth learning how to use it.
RAW files store significantly more image data than JPEG files. This additional information provides greater flexibility when recovering highlights, lifting shadows, and correcting exposure mistakes.
JPEG images are already processed by the camera, which limits editing flexibility. While JPEG files are easier to share and require less storage, RAW files offer more control during post-processing.
For anyone serious about beginner photography tips and long-term improvement, shooting in RAW can be a valuable habit.
FAQs: Beginner Photo Editing Guide For Better-Looking Images Every Time
1. What Is The First Step In Basic Photo Editing?
The first step is cleaning up the composition. Straighten the image, crop distractions, and improve framing before adjusting exposure or colors.
2. How Much Contrast Should Beginners Add To Photos?
A small increase is usually enough. Too much contrast can hide details, create harsh shadows, and make photos look unnatural.
3. Is RAW Better Than JPEG For Editing?
Yes. RAW files contain more image data, making it easier to recover highlights, adjust shadows, and perform advanced edits without reducing image quality.
4. What Is The Difference Between Vibrance And Saturation?
Saturation increases the intensity of all colors equally. Vibrance targets weaker colors first and generally preserves skin tones more effectively.
Final Thoughts
Learning photo editing can feel overwhelming at first because every software program offers countless tools and adjustments. The good news is that great editing rarely depends on using every feature available. The biggest improvements usually come from mastering the fundamentals: composition, exposure, color correction, and detail enhancement. When you follow a repeatable workflow, editing becomes less about experimentation and more about making intentional decisions that improve the image.
Keep your edits simple, stay consistent, and remember that the best-edited photos often look effortless.


