The first time I moved away from auto mode, my photos looked either too dark, too blurry, or strangely grainy. That is why these aperture shutter speed ISO tips for beginners matter so much. Once I understood what each setting controlled, my camera stopped feeling like a guessing machine.
Aperture, shutter speed, and ISO form the exposure triangle. Together, they control photo brightness. Separately, they shape the creative look of your image. Aperture changes background blur. Shutter speed controls motion. ISO brightens the image when light is limited, but it can also add noise.
Why These Three Settings Matter More Than Camera Gear
A better camera will not fix weak exposure habits. I have seen beginners use expensive DSLRs and still get soft, noisy photos because the settings fought each other.
The good news is that you do not need to master everything at once. I learned faster when I stopped treating manual mode like a math test. Instead, I started asking one simple question before every shot: what matters most here, blur, motion, or brightness?
If I photograph a person, aperture matters first. If I photograph a running dog, shutter speed matters first. If I shoot indoors, ISO becomes the rescue setting. That simple priority system makes exposure easier.
Aperture: The Setting That Controls Background Blur
Aperture is the opening inside your lens that lets light reach the camera sensor. It is measured in f-stops, such as f/1.8, f/2.8, f/8, and f/16.
The confusing part is the number system. A smaller f-number means a wider opening. A larger f-number means a narrower opening.
Low f-numbers for portraits and soft backgrounds
When I want a soft, blurred background, I use a low f-number like f/1.8, f/2.8, or f/4. This lets in more light and creates shallow depth of field.
That look works well for portraits, food photos, product shots, and close-up details. The subject stays sharp while the background melts away. Many beginners call this “portrait mode blur,” but real aperture control gives you more flexibility.
The risk is missed focus. At f/1.8, the sharp zone can be very thin. If someone turns their face slightly, one eye may look sharp while the other looks soft. For beginners, f/2.8 or f/4 often gives a safer balance.
High f-numbers for sharp landscapes
For landscapes, I usually start around f/8 or f/11. This keeps more of the scene sharp, from foreground rocks to distant mountains.
During golden hour, f/8 to f/11 is a strong baseline for DSLR landscape photography. The image stays sharp without forcing the lens into very tiny apertures too early.
If I want a sunstar effect, I move to f/16. This makes the sun look like a starburst when it peeks through a tree, building, or mountain edge. The tradeoff is less light, so a tripod becomes more important.
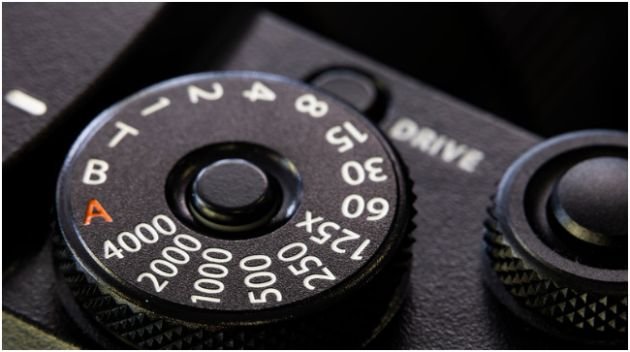
Shutter Speed: The Setting That Controls Motion
Shutter speed controls how long your camera sensor is exposed to light. It is measured in seconds or fractions of a second.
A fast shutter speed gives the sensor very little time to collect light. A slow shutter speed gives it more time. That means shutter speed affects both brightness and motion.
Fast shutter speeds freeze action
Fast shutter speeds like 1/500s, 1/1000s, or 1/2000s freeze movement. I use these for sports, pets, birds, kids running, waves crashing, or street scenes with movement.
For everyday handheld photos, I try to stay at 1/125s or faster when people are moving. For still subjects, 1/60s can work if I hold the camera steady.
A simple beginner rule is this: if the subject moves fast, your shutter speed should move faster.
Slow shutter speeds create blur and light trails
Slow shutter speeds like 1/15s, 1/4s, or multiple seconds create motion blur. This can look beautiful when used with intention.
Waterfalls become silky. Car headlights become glowing trails. Moving clouds stretch across the sky. Night city photos look brighter and more dramatic.
But slow shutter speed is unforgiving without support. If I shoot below 1/60s handheld, I expect some blur. With a 200mm lens, I try to stay near 1/200s or faster because longer lenses magnify hand shake.
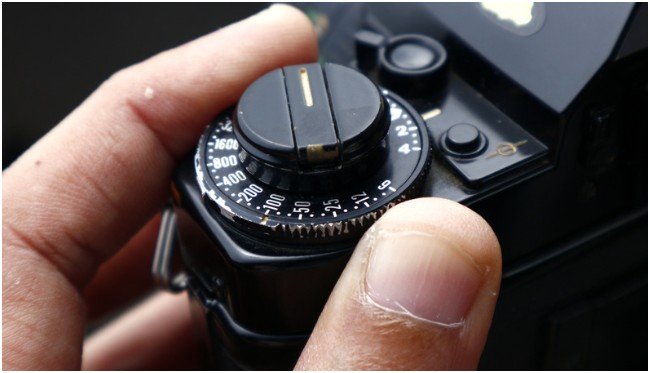
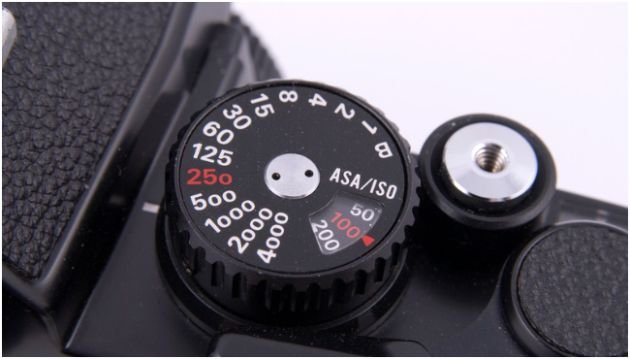
ISO: The Brightness Setting Beginners Overuse
ISO controls digital brightness. A low ISO, such as 100 or 200, gives the cleanest image. A high ISO, such as 3200 or 6400, brightens the photo in dark conditions.
The problem is noise. High ISO can add grainy speckles and reduce sharpness. Modern cameras handle ISO better than older models, but the rule still stands. Keep ISO as low as the situation allows.
I use ISO 100 outdoors in bright light. On cloudy days, ISO 400 is often enough. Indoors, I may start around ISO 800 or 1600. At night, I raise ISO only after checking whether I can open the aperture or slow the shutter speed safely.
This is where aperture shutter speed ISO tips for beginners become practical. ISO should not be your first panic button. It should be your backup when aperture and shutter speed cannot solve the exposure problem.
My Beginner Exposure Workflow That Actually Works
The easiest beginner workflow is to set ISO first, choose aperture second, and adjust shutter speed last.
I start with ISO because it depends on the environment. Bright sun gets ISO 100. Cloudy light gets ISO 400. Indoor window light may need ISO 800. A dark room may need ISO 1600 or higher.
Next, I choose aperture based on the look I want. If I want background blur, I use a low f-number. If I want a sharp landscape, I use f/8 or f/11.
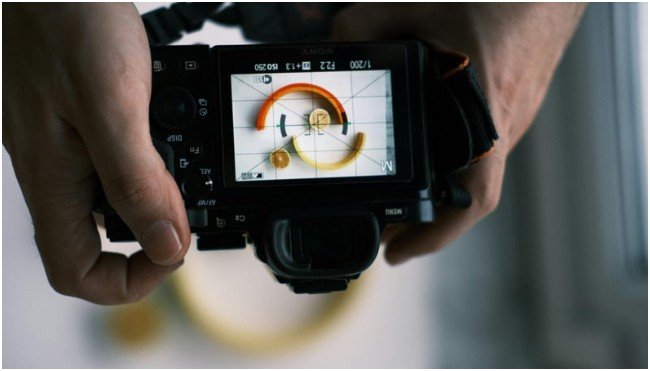
Then I adjust shutter speed until the exposure meter sits near zero. If the shutter speed drops too low, I fix the problem before taking the photo. I either raise ISO, open the aperture, or use a tripod.
Here is a real example. If I shoot a golden hour landscape at ISO 100 and f/11, the shutter speed might fall to 1/15s. That is too slow for handheld shooting. Instead of blaming the camera, I use a tripod and a 2-second timer.
That one habit saved more of my photos than any gear upgrade.
Golden Hour Landscape Settings I Use on a DSLR
Golden hour light looks magical because the sun sits low. It creates warm color, soft contrast, and long shadows. It also changes fast, so settings need to be simple.
For DSLR golden hour landscapes, I start with ISO 100, aperture f/8 to f/11, and Aperture Priority mode. The camera chooses the shutter speed while I focus on composition and timing.
If the sky is too bright, I use exposure compensation. I often try -0.7 or -1.0 to protect sunset color. A blown-out sky is hard to recover later.
I also check the histogram instead of trusting the LCD screen. Camera screens can make images look brighter than they really are, especially at dusk.
Why Aperture Priority works so well at sunrise and sunset
Aperture Priority mode is marked A on Nikon and Sony cameras and Av on Canon cameras. It lets you choose aperture and ISO while the camera calculates shutter speed.
This mode works well for changing light. At sunrise or sunset, the brightness can shift every few minutes. Aperture Priority reacts faster than most beginners can in full manual mode.
For landscape scenes, I set f/8 or f/11, keep ISO at 100, and watch the shutter speed. If it drops too low, I know the tripod must come out.
The tripod rule beginners should not ignore
If your shutter speed falls below 1/60s, use a tripod when possible. A remote shutter or 2-second timer also helps because pressing the shutter button can shake the camera.
For landscapes, I focus about one-third into the frame instead of focusing on the horizon. This helps the foreground and background appear sharper.
This small focusing habit gives beginners a big improvement, especially when using f/8 or f/11.
When to Use Aperture Priority or Shutter Priority
Full manual mode is useful, but beginners do not need to live there every day. Semi-automatic modes teach control without creating panic.
Aperture Priority is best for portraits, landscapes, food, products, and everyday photography. You choose the depth of field, and the camera handles shutter speed.
Shutter Priority is best for sports, wildlife, pets, kids, and moving subjects. You choose the motion effect, and the camera handles aperture.
This is also a smart bridge before learning how to use manual mode for better photos. Once you understand how the camera reacts in these modes, full manual becomes much easier.
Common Beginner Mistakes That Ruin Exposure
The first mistake is using a high ISO outdoors. If the sun is bright, ISO 100 is usually enough. High ISO in bright light only adds unnecessary noise.
The second mistake is using a slow shutter speed while handheld. If your photos look soft, check shutter speed before blaming focus.
The third mistake is shooting portraits at the lowest aperture all the time. Wide aperture looks beautiful, but it can make focus harder. For beginners, f/2.8 to f/4 is often more reliable than f/1.8.
The fourth mistake is trusting the LCD screen at sunset. Use the histogram. If the graph is smashed against the right edge, the highlights are clipped.
The fifth mistake is changing all three settings randomly. Change one setting with purpose. Then balance the others.
These aperture shutter speed ISO tips for beginners work because they reduce guessing. Photography gets easier when every dial has a job.
FAQs
1. What is the best ISO for beginner photography?
Use ISO 100 in bright sun, ISO 400 on cloudy days, ISO 800 indoors, and higher ISO only when needed.
2. What aperture should beginners use for portraits?
Start at f/2.8 or f/4 for portraits because it gives background blur while keeping focus easier.
3. What shutter speed should I use without a tripod?
Stay at 1/60s or faster for still subjects, and use faster speeds for movement or long lenses.
4. Should beginners start with manual mode?
Not always. Aperture Priority and Shutter Priority are easier ways to learn exposure control first.
Final Take: Stop Letting Auto Mode Boss You Around
Your camera is smart, but it does not know your creative intent. It cannot tell whether you want silky water, sharp mountains, frozen action, or a dreamy blurred background.
Once you understand aperture, shutter speed, and ISO, you stop reacting to bad photos and start building better ones on purpose. Start with ISO, choose aperture for the look, then adjust shutter speed for balance.
That is the simplest way to use aperture shutter speed ISO tips for beginners without turning photography into homework.