You do not need a full studio setup to make your videos look clear, bright, and polished. Once you understand how to use natural light for videos, you can turn a window, shaded outdoor spot, or golden hour shoot into a professional-looking setup.
With the right subject placement, simple reflectors, and locked camera settings, natural light can help US creators film better YouTube videos, product demos, tutorials, and social media content from almost anywhere.
Why Natural Light Makes Videos Look Better
Natural light gives videos a soft, believable look that artificial lights sometimes struggle to copy. Viewers are used to seeing daylight in real life, so a well-lit natural video often feels more honest and less staged. That is why window light for videos works so well for talking head content, tutorials, lifestyle videos, and personal brand content.
It is also free. You do not need a full lighting kit to start recording better videos. Instead, you need to understand where the light comes from, how it hits your subject, and how your camera reacts to brightness. Since you cannot move the sun, you must control your subject placement, camera angle, exposure, and background.
Best Indoor Setup for Natural Light Video Recording
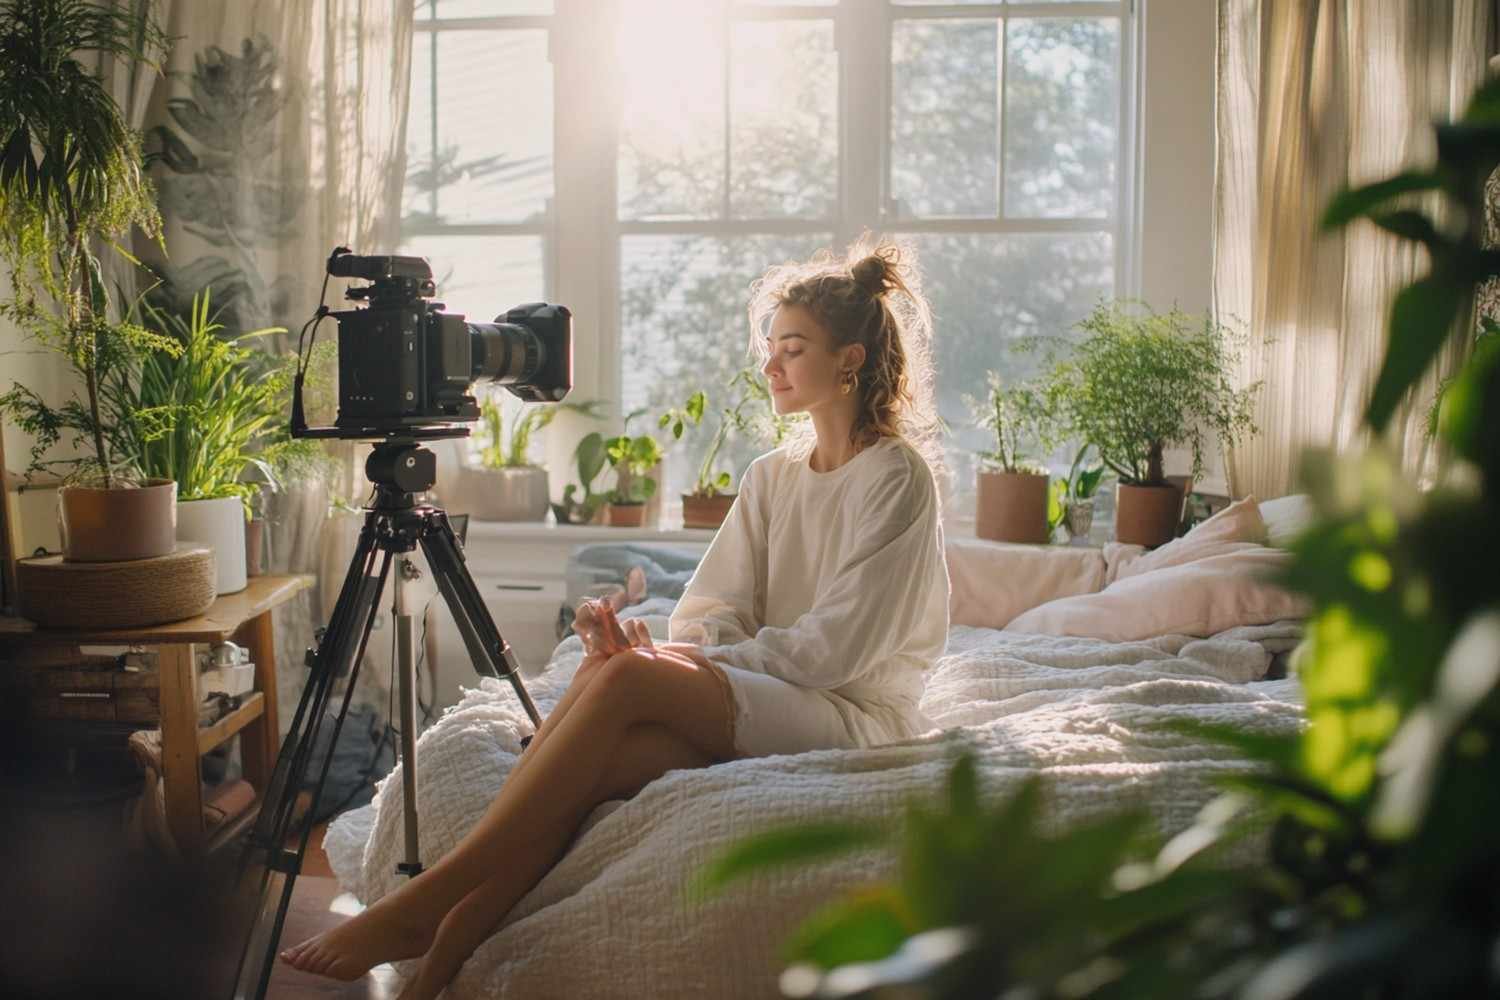
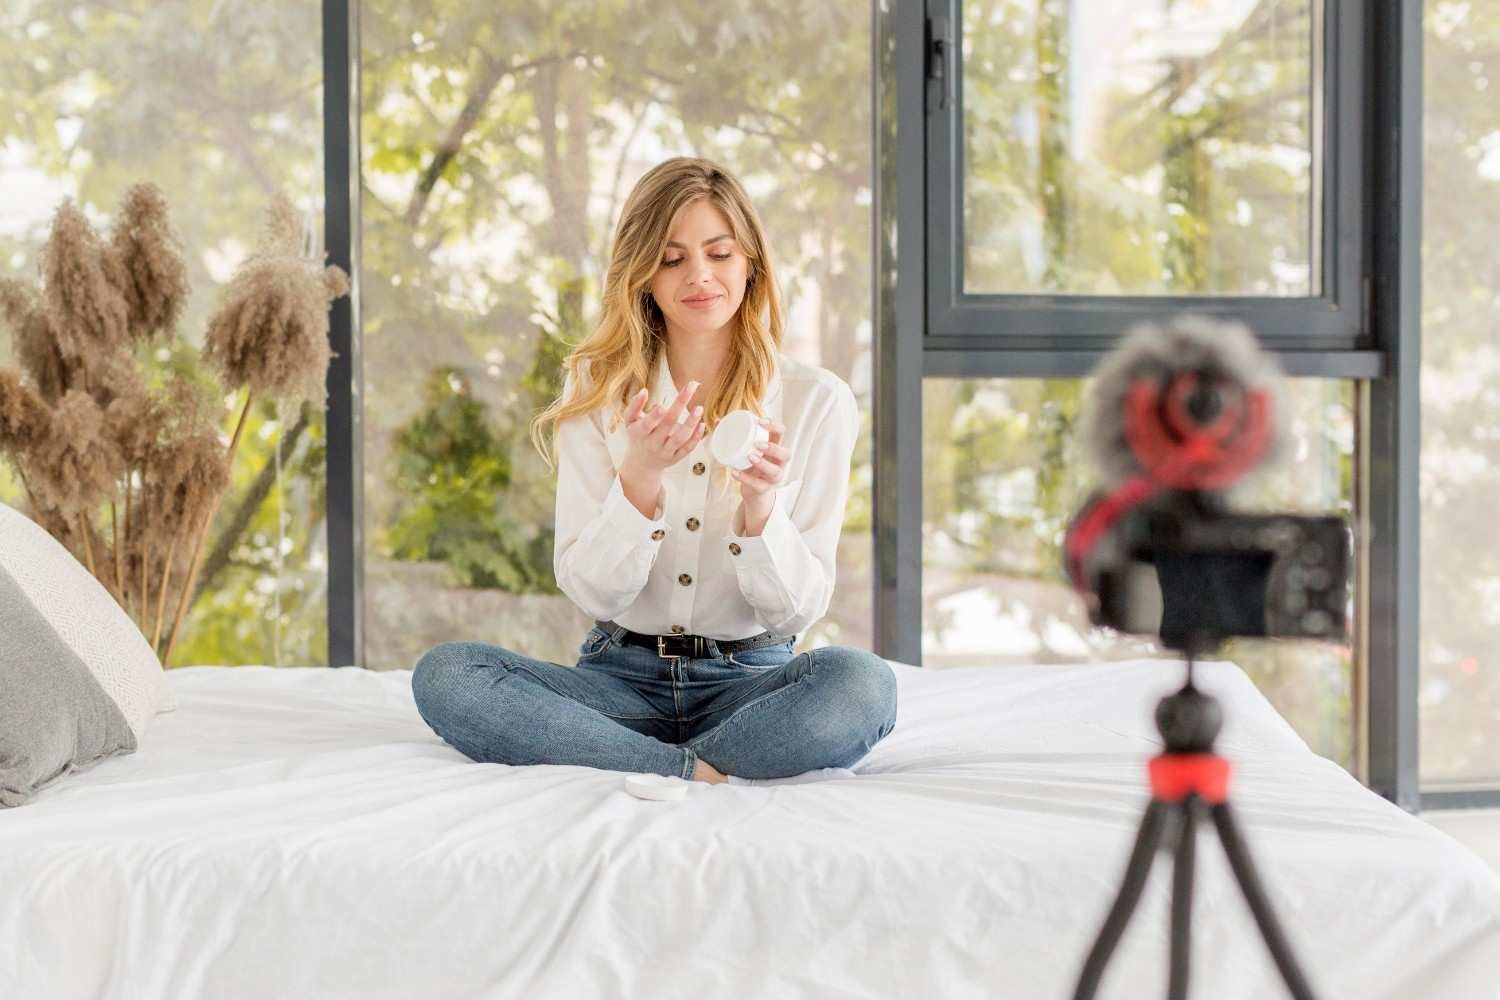
Windows are the best natural light source for indoor videos because they act like large built-in softboxes. The easiest setup is to place your camera between the subject and the window, then have the subject face the light. This creates a clean, even look that works well for tutorials, beauty videos, business content, and online lessons.
If you want more depth, place the subject at a 45-degree angle to the window. This creates a more dynamic look because one side of the face receives soft light while the other side falls into gentle shadow. This setup can make a simple home video look more cinematic without adding extra gear.
Avoid placing the subject directly in front of a bright window with the camera pointed toward the glass. Unless you want a silhouette, this usually causes the background to blow out while the person looks dark. For most creator videos, the window should be in front of the subject or slightly to the side, not behind them.
How to Soften Harsh Window Light
Direct sunlight through a window can create hard shadows, shiny skin, and bright patches on the face. If the light looks too harsh, soften it with a sheer white curtain, thin white bedsheet, or translucent shower curtain. These simple items work like diffusers and spread the sunlight more evenly.
Distance also matters. If the subject sits too close to the window, the light may look intense on one side. If they sit too far away, the image may look dull or underexposed. I usually recommend testing a few positions between three and six feet from the window, then recording a short clip before filming the full video.
For many US homes, a north-facing window can provide soft, steady light for much of the day. East-facing windows often look best in the morning, while west-facing windows can be useful in the late afternoon. South-facing windows can be bright and beautiful, but they may need more diffusion.
How to Use Natural Light Outdoors Without Harsh Shadows
Learning how to use natural light for videos can make your content look more polished without a big budget. The best results come from simple choices: face the window, use a 45-degree angle for depth, soften harsh sunlight, shoot outdoors in shade or golden hour, and lock your camera settings.
I would start with one basic setup and improve it slowly. When using window light for video recording, record near a window, turn off indoor lights, use a white foam board as a reflector, and test your exposure before filming.
Once that looks good, experiment with backlighting, negative fill, golden hour, product setups, or a facile LED backlight when you need extra separation from the background.
When you understand how to use natural light for videos, you can create bright, soft, professional-looking content from almost anywhere.
Use the Sun as a Backlight for a Cinematic Look
One of the smartest outdoor techniques is to place the subject between the sun and the camera. This turns the sun into a backlight and creates a soft rim or halo around the hair and shoulders. It also stops the subject from squinting directly into the light.
This technique helps separate the subject from the background and makes the frame look more polished. However, you need to expose for the face, not the bright background. If the face looks too dark, use a white reflector, foam board, or even a light-colored wall nearby to bounce light back toward the subject.
Cheap Tools That Make Natural Light Look Professional
You can improve natural light without buying expensive equipment. A white foam board can bounce light into shadows. A 5-in-1 reflector gives you white, silver, gold, black, and translucent surfaces for different looks. A sheer curtain can soften window light. A black blanket or the black side of a reflector can create negative fill.
Negative fill is useful when light bounces everywhere and makes the shot look flat. By placing black fabric on the shadow side of the subject, you absorb extra light and bring contrast back into the frame. This works especially well for interviews, cinematic talking head videos, and moody brand content.
For product videos, place the product near a window but out of direct sunlight. Use a white board on the shadow side to brighten details. This simple setup works well for Etsy products, Shopify videos, Amazon product clips, food videos, skincare content, books, jewelry, and handmade items.
Camera Settings for Natural Lighting for YouTube Videos
Good light still needs the right camera settings. If you film with a phone, tap and hold on the subject to lock focus and exposure. This prevents the phone from brightening and darkening the image every time you move.
If you use a DSLR or mirrorless camera, record in manual mode when possible. Keep your shutter speed close to double your frame rate. For 24 frames per second, use about 1/50. For 30 frames per second, use about 1/60. Keep ISO as low as possible to avoid grainy footage.
Set white balance manually instead of leaving it on auto. A daylight setting around 5600K works well for many daylight situations. If you leave white balance on auto, your camera may shift colors when clouds move or sunlight changes.
When filming outside in bright sunlight, use a neutral density filter. Think of an ND filter as sunglasses for your camera lens. It lets you use a wider aperture for a blurry background without overexposing the video.
Common Natural Light Video Mistakes to Avoid

The biggest mistake is mixing window light with yellow indoor bulbs. When daylight and warm ceiling lights mix, skin tones can look strange. Turn off overhead lights when possible and let the window become your main source.
Another common mistake is ignoring the background. Your face may be well lit, but a messy room, bright window, or distracting wall can still weaken the video. Choose a clean background and keep overly bright areas out of the frame.
Natural light also changes quickly. Clouds move, the sun shifts, and shadows change throughout the day. If you want consistent footage, film each scene at the same time of day and check exposure before every take.
FAQs About Natural Light Video Recording
1. What is the best natural light for videos?
The best natural light for videos is soft, indirect daylight from a window, open shade, cloudy weather, or golden hour. These options reduce harsh shadows and make the subject look more flattering.
2. Can I shoot professional videos with only window light?
Yes, you can shoot professional-looking videos with only window light if you place the subject correctly, soften direct sunlight, lock exposure, and use a reflector to control shadows.
3. How do I avoid harsh shadows in natural light videos?
Use diffusion, open shade, cloudy weather, or a reflector. You can also move the subject farther from direct sunlight or use negative fill when the shot looks too flat.
4. Is natural light good for product videos?
Natural light works very well for product videos when it is soft and controlled. Place the product near a window, avoid direct glare, and use a white board to bounce light into the shadows.
Final Thoughts
Learning how to use natural light for videos can make your content look more polished without a big budget. The best results come from simple choices: face the window, use a 45-degree angle for depth, soften harsh sunlight, shoot outdoors in shade or golden hour, and lock your camera settings.
I would start with one basic setup and improve it slowly. Record near a window, turn off indoor lights, use a white foam board as a reflector, and test your exposure before filming. Once that looks good, experiment with backlighting, negative fill, golden hour, product setups, or a facile LED backlight when you need extra separation from the background.
When you understand how to use natural light for videos, you can create bright, soft, professional-looking content from almost anywhere.