A window is often the most powerful light source in a home filming setup, but it only works well when you control it properly. If you understand how to use window light for video recording, you can create bright, soft, and professional-looking videos without spending money on studio lights.
The right position, angle, diffusion, and camera settings can make your YouTube videos, product clips, tutorials, and social media content look much cleaner.
What is the best window light setup for video recording?
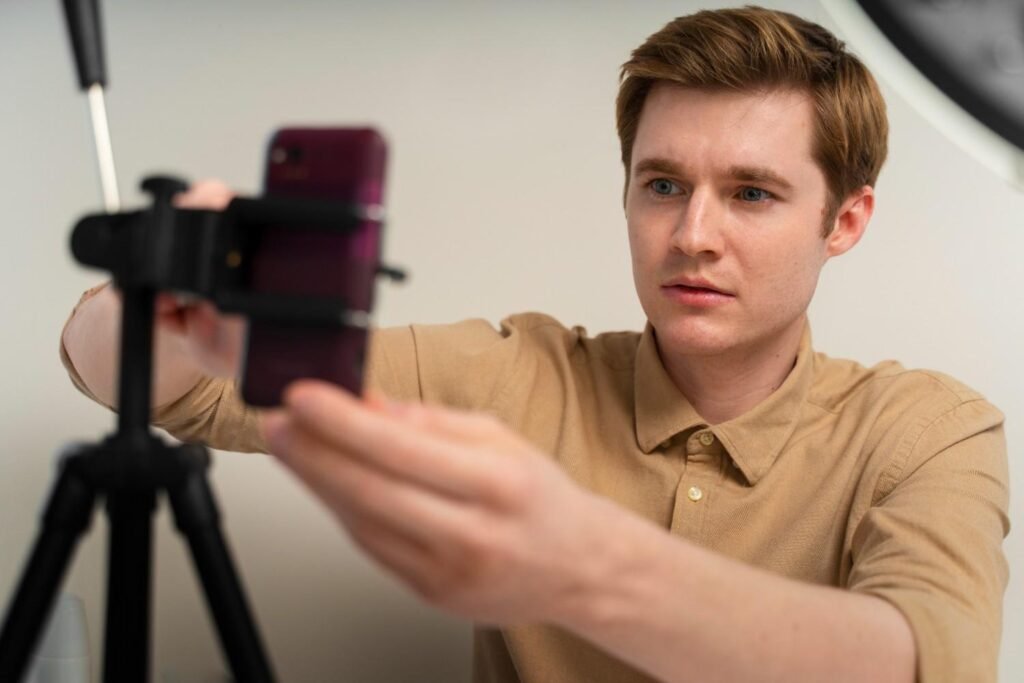
The best setup is simple. Place yourself facing the window or angled toward it, then keep the camera between you and the glass. This lets the window act as your main light source, also called the key light. Your face stays bright, your skin tones look cleaner, and the camera does not struggle with a bright background.
For most home video setups, I would start by sitting two to five feet from a large window. If the light looks too intense, move back slightly or use a sheer curtain. If your face looks too dark, move closer. A big window usually creates softer light than a small one because the light spreads over a wider area.
North-facing windows often give steady light during the day. East-facing windows work well in the morning, while west-facing windows can create warm late-afternoon light. South-facing windows can be very bright in many US homes, especially in sunny states like California, Texas, Arizona, and Florida, so diffusion becomes more important.
Should you face the window or sit at an angle?

Facing the window gives you clean, even front lighting. This setup works well for upbeat videos, online classes, Zoom recordings, beauty content, simple YouTube videos, and beginner-friendly talking-head videos. Your face looks bright, shadows stay minimal, and the image feels open and approachable.
A 45-degree setup gives a more dimensional look. Instead of facing the window directly, turn your body slightly so the light comes from one side of your face. This creates gentle shadows on the opposite side and makes the video look more cinematic.
I prefer this setup for personal brand videos, interviews, coaching content, and professional tutorials because it adds depth without making the scene too dramatic.
Side lighting creates a stronger mood. When the window sits directly to your left or right, one side of your face becomes bright while the other side falls into shadow. This can look dramatic, serious, or artistic. It works for storytelling videos, documentary-style content, and creative shots, but it may feel too intense for casual tutorials or business videos unless you soften the shadows.
Why should you avoid placing the window behind you?
The biggest beginner mistake is sitting with the window behind the subject. Your eyes may see a bright room, but the camera sees a bright window and a darker face. As a result, your face can turn into a silhouette while the background becomes overexposed.
This happens often in webcam videos, phone recordings, and home office setups. If the window is behind you, the camera exposes the bright background instead of your face. Unless you have a strong artificial light in front of you, avoid this setup.
A better option is to turn around so the window faces you. If you want the window in the background for style, you need extra front light to balance the exposure. For most beginners, placing the window in front or slightly to the side is the safer choice.
How do you soften harsh window light for video?
Direct sunlight can create sharp shadows, shiny skin, squinting, and bright patches on the face. To fix this, you need diffusion. A sheer white curtain is one of the easiest options. You can also use a thin white bedsheet, diffusion fabric, frosted window film, or a 5-in-1 reflector with a diffusion panel.
Diffusion spreads the sunlight before it reaches your face or subject. This turns harsh rays into soft light for video recording and makes the image look more flattering. It is especially useful when filming product videos, cooking videos, beauty videos, and talking-head content near a bright window.
Cloudy days also work beautifully because clouds naturally diffuse sunlight. If you can choose your filming time, overcast days often create the most even natural light video recording setup.
How do you balance shadows with a reflector?
When you use a 45-degree or side window setup, one side of your face may look too dark. That does not always mean you need another light. You can use a reflector to bounce light back into the shadows.
A professional 5-in-1 reflector works well, but you do not need one to start. A white poster board, foam board, white wall, or even a light-colored sheet can bounce window light back toward your face. Place it on the shadow side, opposite the window, and angle it slightly toward you.
This simple fill light trick can make your video look cleaner without removing all the depth. It is one of the most affordable video lighting for beginners techniques because it improves the shot without adding complicated gear.
What camera settings work best with window light?

Natural light changes throughout the day, especially when clouds pass. If your camera stays in auto mode, your video may brighten and darken while you record. That looks distracting. I recommend locking your exposure before filming.
On a smartphone, tap and hold on your face to lock focus and exposure if your camera app allows it. Then adjust brightness so your skin looks natural and the window is not blown out. On a mirrorless camera or DSLR, switch to manual mode and lock your shutter speed, ISO, and aperture.
Set your white balance manually instead of leaving it on auto. Daylight is usually around 5600K, so that is a good starting point when using window light. Auto white balance can shift from warm to cool as clouds move, which makes your footage look inconsistent.
If the window is extremely bright and you want a blurry background with a low f-stop, use a variable ND filter. It works like sunglasses for your camera lens and reduces excess light without forcing you to change your creative settings.
Should you turn off indoor lights?
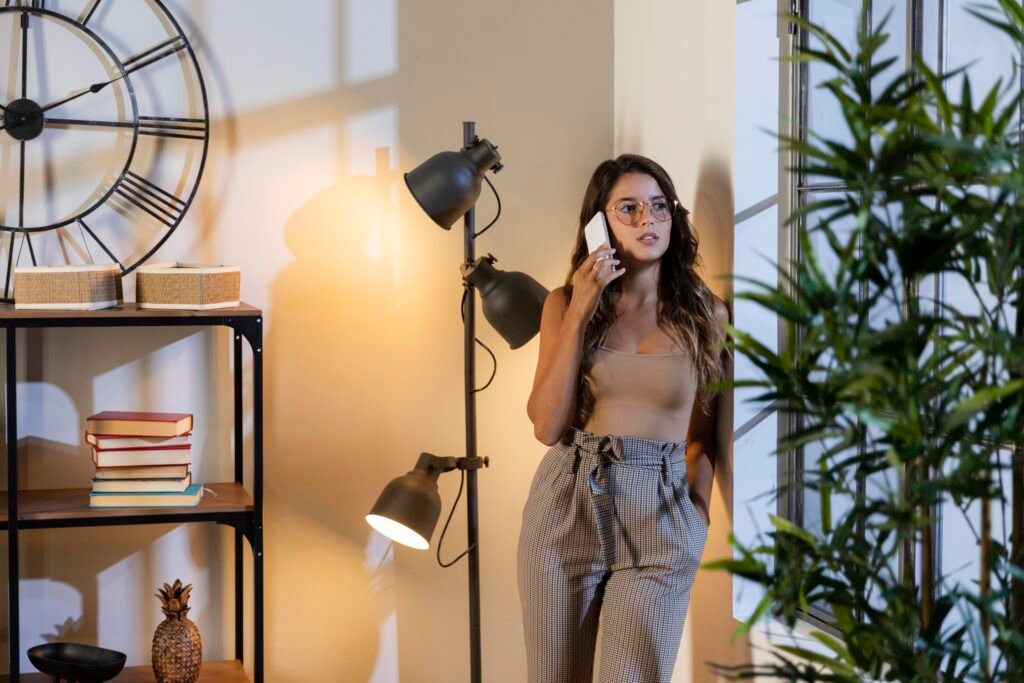
In most cases, yes. Mixing daylight with warm yellow indoor bulbs can create odd skin tones. Window light is cooler, while many lamps and ceiling lights are warmer. When both hit your face at the same time, the video may look orange, green, or uneven.
If the window gives enough brightness, turn off overhead lights and lamps. If you need extra light, use daylight-balanced LED bulbs or video lights that match the window light. This keeps your color temperature consistent and makes your footage easier to edit.
How can you use window light for products and cooking videos?
Window light works beautifully for product videos because it creates soft highlights and natural shadows. Place the product near the window, then use a white board on the opposite side to fill in dark areas. This setup works well for beauty products, tech accessories, handmade items, food, packaging, and small business product demos.
For cooking videos, side window light usually looks better than flat front light. It shows texture, steam, chopping movement, and food details more clearly. Keep the window slightly in front or beside the food instead of behind it. If the light changes during the recipe, record important shots close together so the final video feels consistent.
What are the most common window lighting mistakes?

The most common mistake is thinking natural light is always good light. It still needs control. Sitting too far from the window, filming in direct sun, mixing indoor bulbs with daylight, ignoring exposure, using auto white balance, and placing the window behind the subject can all make your video look less professional.
Another mistake is forgetting the background. A clean background helps the viewer focus on you or your subject. Before recording, check for clutter, bright reflections, messy shelves, and anything that distracts from the video.
I always recommend recording a short test clip before filming the full video. Watch your face, shadows, background, exposure, and color. A 20-second test can save you from re-recording an entire video.
Frequently Asked Questions (FAQs)
1. What is the best direction to face when using window light for video?
The best direction is usually facing the window or turning about 45 degrees toward it. Facing the window gives bright, even lighting, while a 45-degree angle creates more depth and a slightly cinematic look.
2. Is window light good for YouTube videos?
Yes, window light is excellent for YouTube videos, especially talking-head videos, tutorials, reviews, and educational content. It is free, soft, and beginner-friendly when you control shadows, exposure, and background brightness.
3. How do I soften window light for video recording?
You can soften window light with sheer curtains, a thin white bedsheet, diffusion fabric, or a 5-in-1 reflector diffuser. These tools spread harsh sunlight and create smoother, more flattering light.
4. Can I record professional videos with only natural light?
Yes, you can record professional-looking videos with only natural light if you position yourself correctly, avoid backlighting, use a reflector when needed, lock exposure, and keep your white balance consistent.
Final thoughts
Once you understand how to use window light for video recording, you can create cleaner, brighter, and more professional videos at home without a full lighting kit. Start with the simple setup first. Face the window, keep the camera between you and the glass, turn off mixed indoor lights, and lock your exposure.
After that, experiment with 45-degree lighting, side lighting, reflectors, diffusion, manual white balance, and Neutral-density filter. Small changes in position can make a big difference. With practice, window light can become one of the most reliable tools in your home video setup.