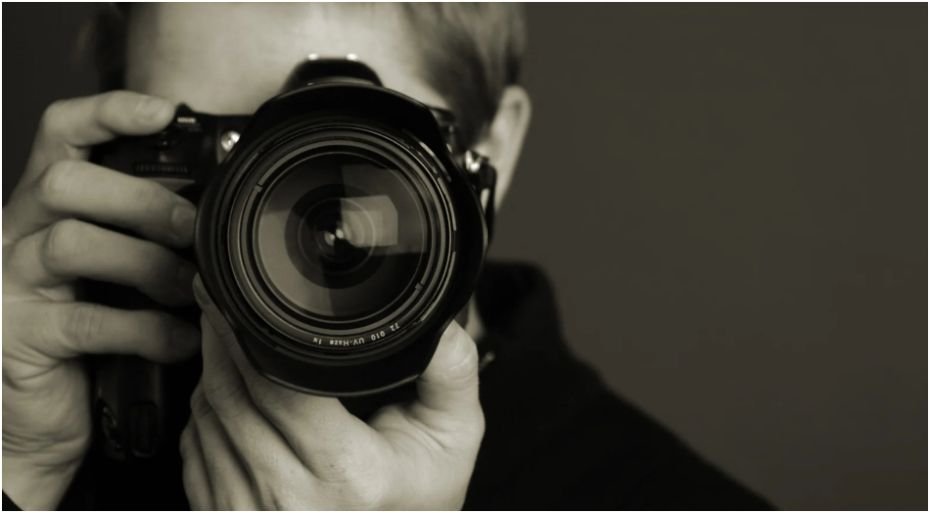
Shaky footage can make even a good video feel rushed, unprofessional, and hard to watch. I have seen this happen with smartphones, mirrorless cameras, DSLRs, and high-end video gear, so the real issue is not always the camera. Most of the time, the problem comes from loose posture, poor grip, fast walking, digital zoom, or the wrong stabilization settings.
The good news is that you can fix most of this before editing. Once you understand how to avoid shaky video when filming handheld, you can use your body like a stabilizer, choose better camera settings, move with more control, and create smoother footage for YouTube, TikTok, Instagram Reels, real estate videos, travel clips, product shoots, and client projects across the US.
Why Does Handheld Video Look Shaky?
Handheld video looks shaky because your camera records every small movement from your hands, wrists, shoulders, chest, breathing, and footsteps. When you hold the camera away from your body, walk too fast, zoom in, or adjust focus while recording, those tiny movements become obvious.
The shake gets worse when you use a telephoto lens, digital zoom, poor lighting, or a camera setup with no image stabilization. A little handheld movement can look natural and cinematic, but uncontrolled shake makes your footage feel amateur. The goal is not to remove all movement. The goal is to make your movement feel intentional.
Master Body Mechanics for Stable Handheld Video
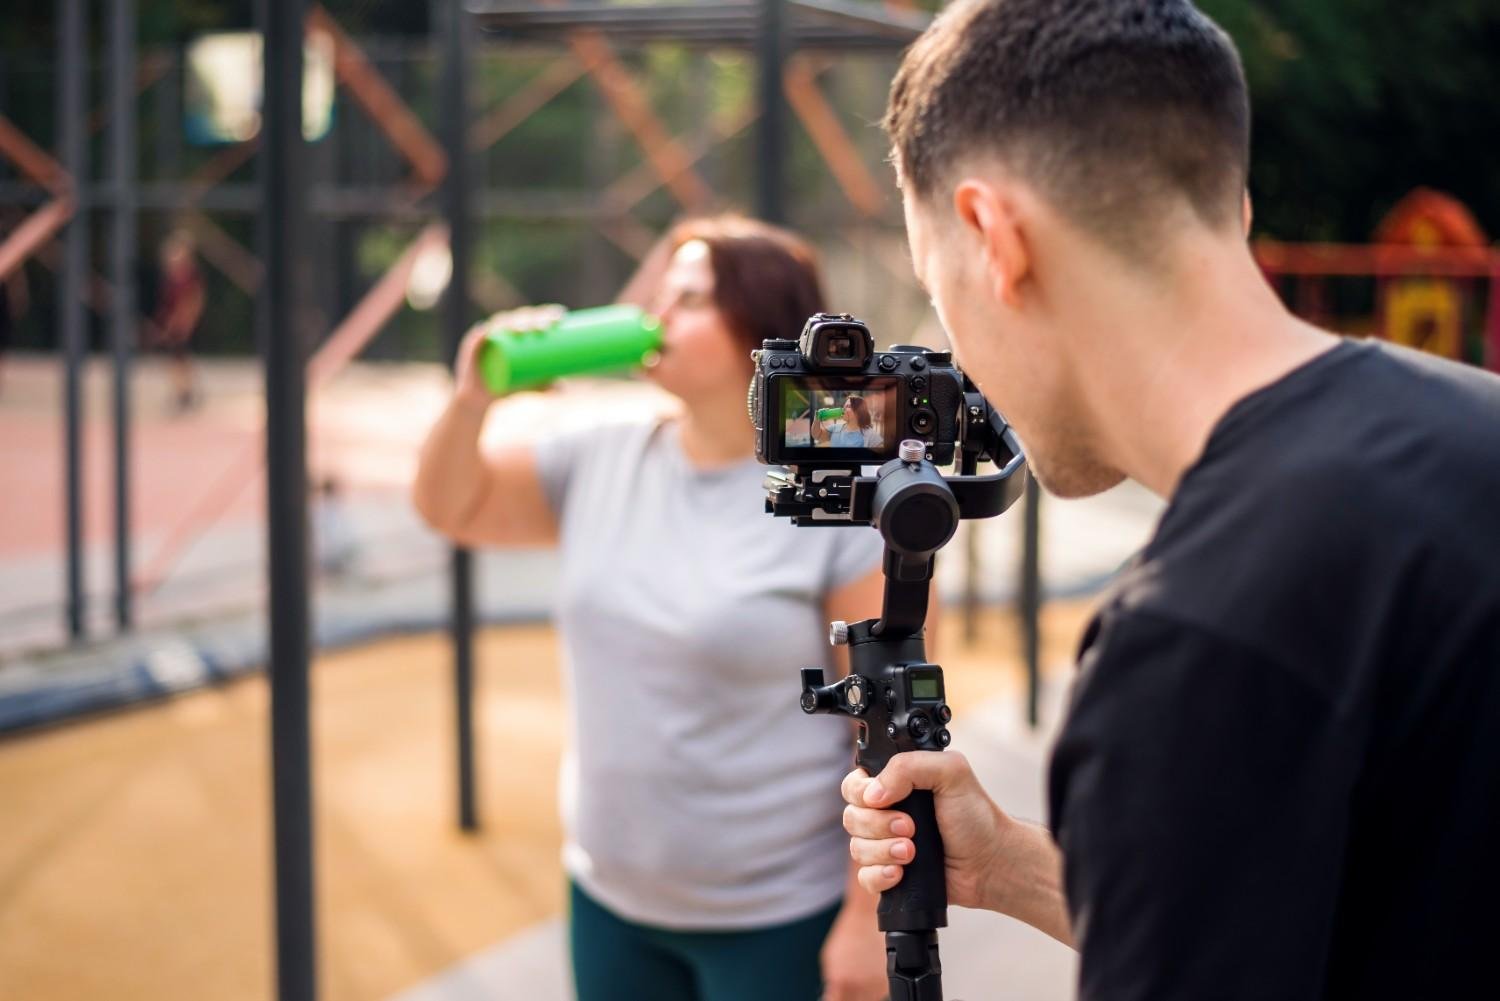
Your body is the first stabilizer. Before you worry about gear, focus on how you hold and move the camera. Use three points of contact whenever possible. Keep your right hand on the camera grip, cup the bottom of the camera or lens with your left hand, and pull the camera strap tight against the back of your neck. This creates tension and reduces small shakes.
Next, anchor your elbows against your ribs. When your elbows float away from your body, your arms get tired faster and create micro-jitters. Keep the camera close to your chest or face instead of extending your arms forward. This improves your center of gravity and gives you more control.
When you pan or tilt, avoid twisting only your wrists. Move from your core instead. Keep your arms steady and rotate from your hips or waist. This creates smoother motion because your torso moves more naturally than your hands.
Use the Ninja Walk to Reduce Footstep Shake
Walking is one of the biggest reasons handheld footage looks unstable. If you walk normally, every step creates a bounce that travels through your body into the camera.
Use the “ninja walk” instead. Bend your knees slightly, keep your upper body steady, and roll your feet from heel to toe. Take slower, softer steps and avoid stomping. This technique absorbs impact before it reaches the camera.
I also recommend recording shorter walking clips. A clean 5-second movement is usually more useful than a shaky 30-second clip. Short takes are easier to control and easier to edit into YouTube videos, social media clips, real estate tours, and travel montages.
Use Wider Lenses to Hide Camera Shake
Lens choice has a major effect on handheld video. Wider lenses make camera shake less noticeable, while longer lenses magnify every tiny movement. If you shoot with a full-frame camera, try staying below 35mm for handheld work. If you use a crop-sensor camera, stay around 24mm or wider when possible.
For smartphones, avoid digital zoom. Use the standard lens or wide lens instead. Digital zoom lowers quality and makes camera shake look worse. This is especially important when filming handheld videos for TikTok, Instagram, YouTube Shorts, or small business content where viewers notice shaky footage quickly.
You can still use longer lenses, but you need more support. Brace your elbows, lean against a wall, sit down, or use a monopod, tripod, or stabilized lens when the shot requires a tighter frame.
Turn On IBIS, OIS, and Phone Stabilization
Most modern cameras and phones include some form of stabilization. In-body image stabilization, often called IBIS (In Body Image Stabilization), moves the camera sensor to reduce shake. Optical image stabilization, or OIS, works inside the lens. Many smartphones also use electronic image stabilization to smooth handheld footage digitally.
Before filming, check your settings and turn stabilization on. Some cameras offer normal, active, or enhanced stabilization modes. Active stabilization can help with walking shots, but it may crop the image. Test it before an important shoot.
Built-in stabilization works best when you already use good handheld filming techniques. It can reduce small jitters, but it cannot fully save footage if you are running, zooming in too much, or waving the camera around.
How to Avoid Shaky Video When Filming Handheld Without a Gimbal
You do not need a gimbal for every shot. You can stabilize handheld video by using your body, strap, environment, and camera setup wisely. If you have a camera strap, pull it tight against your neck or shoulder to create tension. That extra contact point can instantly make your footage feel steadier.
Use nearby objects whenever possible. Lean against a wall, rest your elbows on a table, brace your shoulder against a doorway, or place the camera on a railing for a quick stable shot. When filming outdoors in US cities, parks, beaches, or hiking areas, you can use benches, fences, trees, rocks, and signs as natural supports.
You can also add physical weight to your camera setup. A slightly heavier rig is harder to shake because it has more inertia. A camera cage, top handle, side handle, or heavier battery baseplate can make small handheld movements feel smoother. Do not make the setup too heavy, though, because fatigue can create more shake during long shoots.
Shoot in Slow Motion for Smoother Movement
Slow motion is one of the easiest ways to make handheld footage look smoother. Recording at 60 FPS or 120 FPS lets you slow the clip down in editing, which softens fast jitters and makes movement feel more polished.
This works well for B-roll, product videos, food shots, travel clips, fitness videos, outdoor content, and lifestyle footage. A simple walking shot or product reveal can look much more professional when slowed down.
However, do not use slow motion for every scene. Talking head videos, interviews, tutorials, and natural sound moments usually work better in real time.
Avoid Touching the Camera While Recording
One common mistake is adjusting too much during the shot. Every time you tap the screen, twist the focus ring, zoom, or change exposure, you add movement to the footage.
Set your frame before you hit the record. Lock focus and exposure if your camera or phone allows it. If you need a different angle, stop recording, adjust, and start again. This gives you cleaner clips and makes editing easier.
This habit is especially important when filming handheld with a phone. Tapping the screen during recording can create visible shake, change brightness suddenly, or pull focus to the wrong part of the frame.
Best Camera Settings for Smooth Handheld Footage
Camera settings cannot replace good technique, but they can make handheld footage look more natural. Many creators follow the 180-degree shutter rule, which means the shutter speed is roughly double the frame rate.
If you shoot at 24 FPS, use around 1/50 shutter speed. If you shoot at 30 FPS, use around 1/60. If you shoot at 60 FPS for slow motion, use around 1/120. This creates natural motion blur and helps movement feel less harsh.
In bright US locations like California, Florida, Arizona, Nevada, or Texas, you may need a neutral-density filter to keep your shutter speed natural without overexposing the footage. Indoors, add more light when possible. Low light can force your camera to raise ISO, add noise, and make motion look messy.
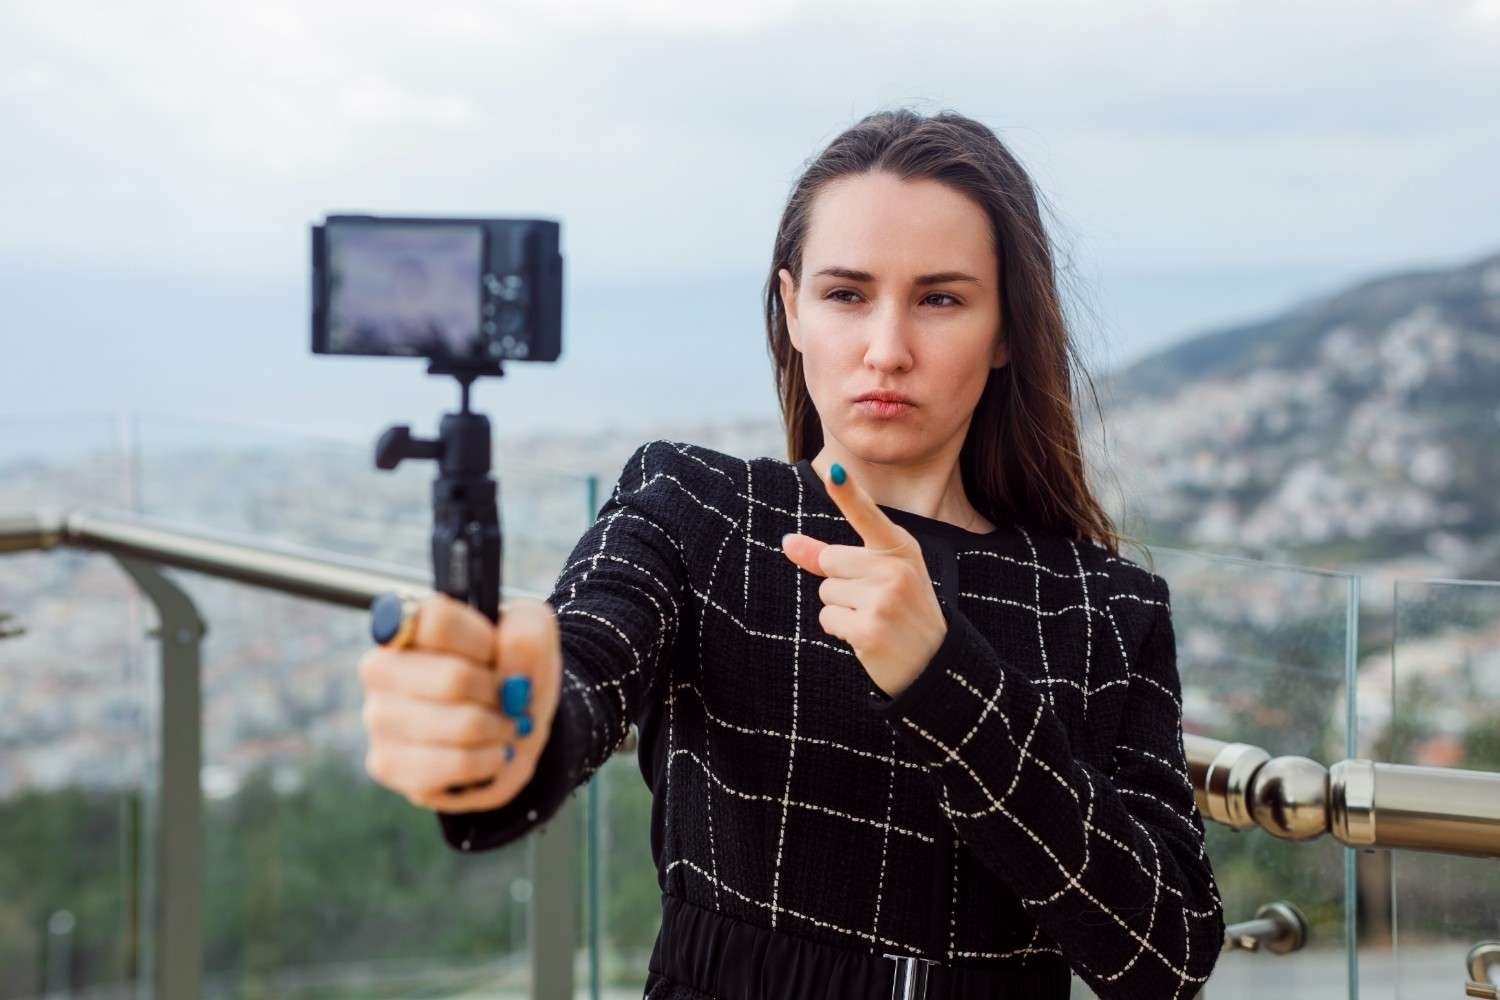
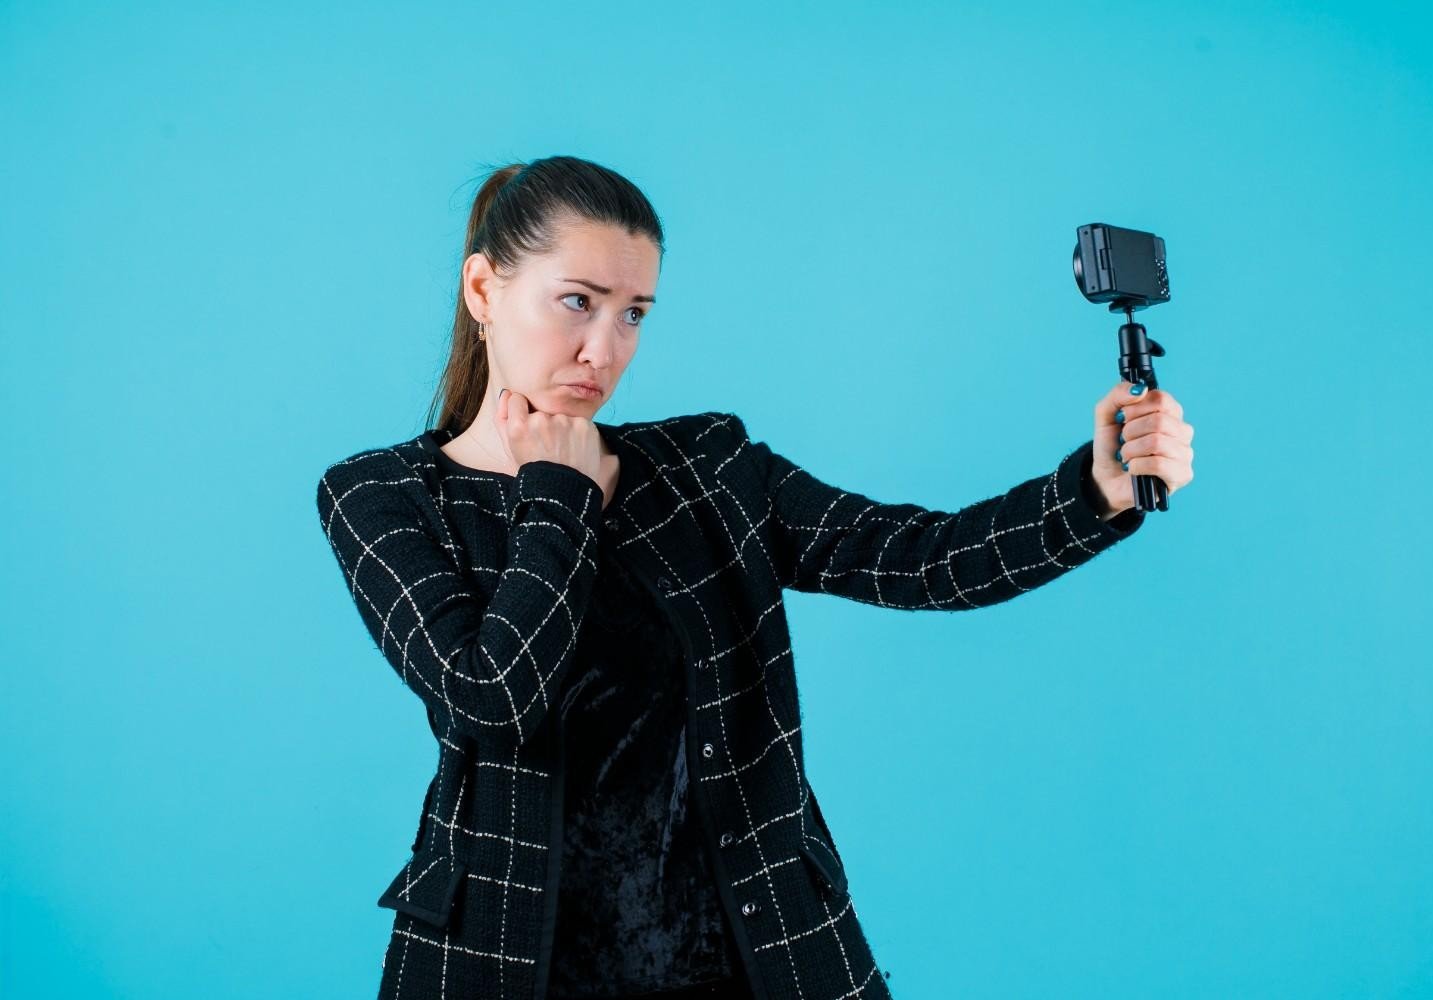
How to Stabilize Phone Video While Filming
If you film with an iPhone, Samsung Galaxy, Google Pixel, or another smartphone, you can still create smooth handheld footage. Hold the phone with both hands, keep your elbows close, and use the rear camera when possible. The rear camera usually gives better quality than the selfie camera.
Turn on video stabilization if your phone offers it. Clean the lens before filming, use grid lines to keep the frame level, and avoid digital zoom. If your phone has an action mode, active stabilization mode, or ultra-steady option, test it for walking shots.
For social media videos, keep your movement simple. A slow push-in, gentle side step, or controlled pan often looks better than fast random camera movement.
Can Software Fix Shaky Handheld Video?
Editing software can fix minor shake, but it should not be your main stabilization plan. Tools like Warp Stabilizer in Adobe Premiere Pro, stabilization in DaVinci Resolve, Final Cut Pro stabilization, CapCut stabilization, and Camtasia-style smoothing can help clean up small jitters.
Some cameras and action cameras also record gyro metadata. If your camera supports it, software like Gyroflow can use that motion data to stabilize footage more accurately. This is useful for action footage, biking clips, running shots, and fast handheld movement.
The downside is that digital stabilization often crops your video. If the footage is extremely shaky, it may also create warping, bending edges, or unnatural motion. Shoot stable footage first, then use software for final polish.
Common Handheld Filming Mistakes to Avoid
The biggest mistake is holding the camera with one hand while walking quickly. Another common mistake is extending your arms too far from your body, which causes fatigue and micro-jitters. Zooming in too much also makes shake more visible, especially on smartphones.
Many beginners also record long handheld clips with no clear purpose. Short, intentional shots usually look more professional. Avoid changing settings while recording, filming in poor light, or relying fully on editing software to fix everything later.
This matters even more when shooting videos in a small room, where tight walls, limited movement, and close framing can make every shake look more noticeable.
Remember, cinematic handheld movement feels controlled. Shaky footage feels accidental.
Frequently Asked Questions (FAQs)
1. How do I make handheld video less shaky?
You can make handheld video less shaky by holding the camera with both hands, tucking your elbows, keeping the camera close to your chest, bending your knees while walking, using a wider lens, and turning on stabilization. These small changes reduce camera shake before editing.
2. Is a gimbal necessary for smooth handheld video?
No, a gimbal is not always necessary. A gimbal helps with moving shots, but you can still shoot stable handheld video with proper grip, body control, a camera strap, wider lenses, built-in stabilization, and nearby support like walls, tables, railings, or benches.
3. What lens is best for stable handheld video?
A wider lens is usually best for stable handheld video because it makes shake less noticeable. Full-frame camera users can stay below 35mm, while crop-sensor users can use around 24mm or wider. Smartphone users should avoid digital zoom.
4. Can I fix shaky video after filming?
Yes, you can fix minor shaky video after filming with editing tools like Warp Stabilizer, DaVinci Resolve stabilization, Final Cut Pro stabilization, CapCut, or Gyroflow. However, heavy shake can cause cropping, warping, and unnatural movement, so it is better to film steadily first.
Final Thoughts
Learning how to avoid shaky video when filming handheld comes down to control, not expensive gear. Once you use three points of contact, tuck your elbows, move from your core, walk softly, choose wider lenses, and turn on stabilization, your footage will immediately look smoother.
Start simple. Hold the camera close, avoid digital zoom, shoot short clips, use your environment for support, and clean up minor shakes in editing. With practice, your handheld videos will look sharper, smoother, and more professional for YouTube, social media, business videos, travel clips, and client projects.