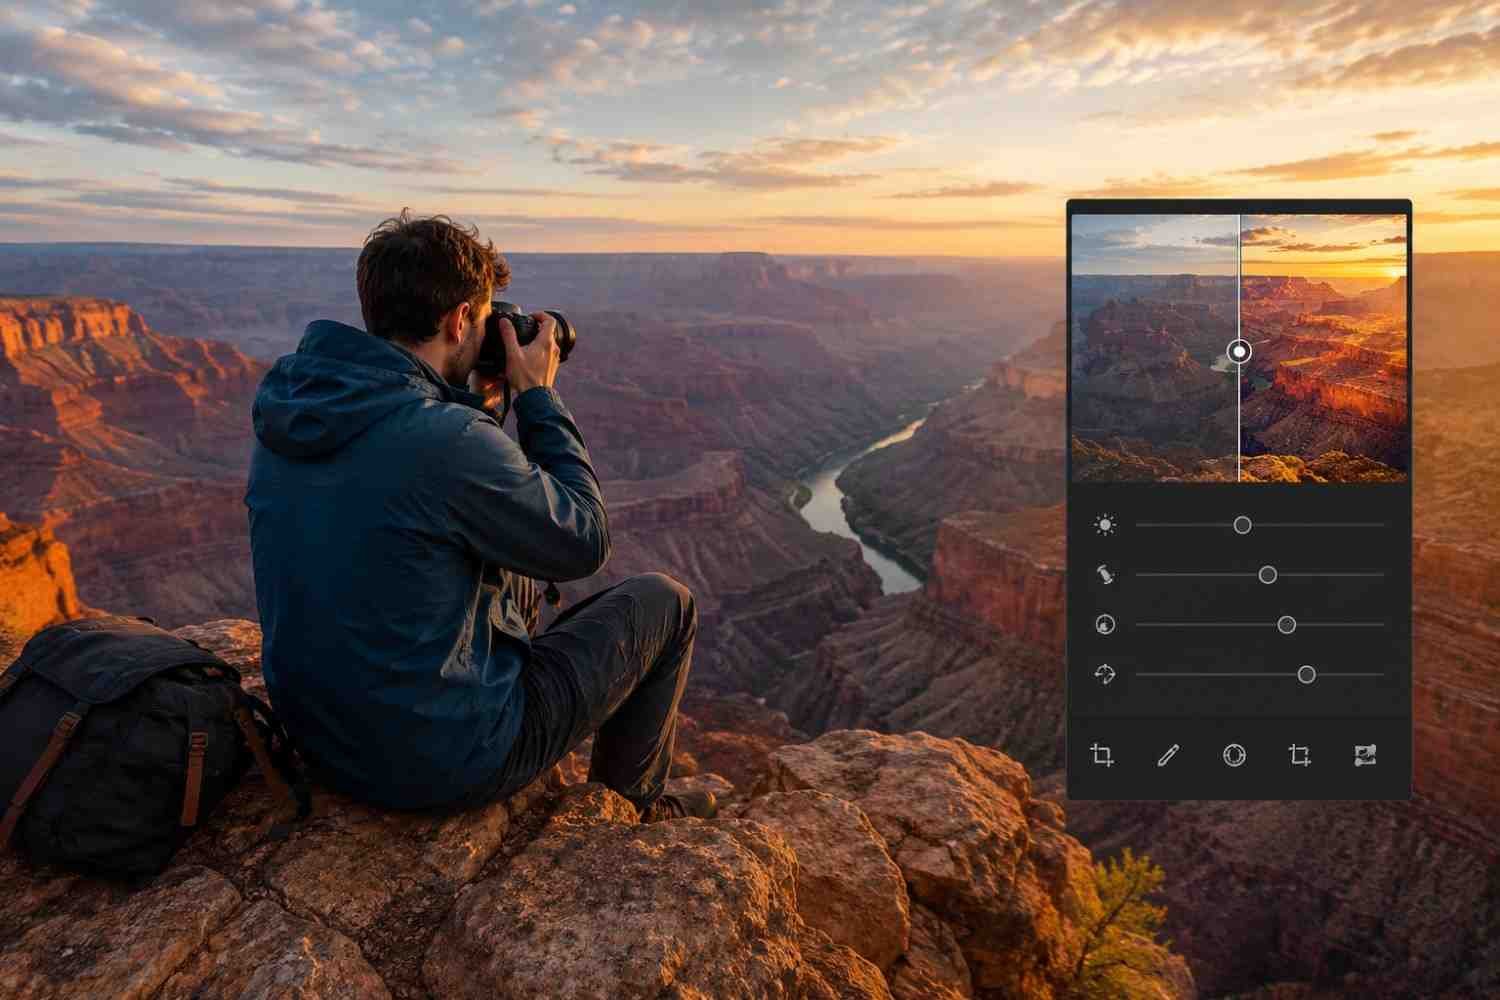
Have you ever opened a photo in Lightroom, made a few exposure and contrast adjustments, and still felt like something was missing? The image looked better, but it did not have that polished, professional feel that stands out. Many photographers run into this problem because they focus on basic edits while overlooking the tools that create real visual impact.
The truth is that great editing is often about small, intentional adjustments rather than dramatic slider movements. Over time, experienced editors develop workflows that help them control light, color, and mood with precision. These Lightroom editing tricks can turn a flat RAW file into an image that feels more dynamic, balanced, and memorable.
Why Basic Adjustments Often Fall Short?
Exposure, contrast, highlights, and shadows are important starting points. However, relying only on global adjustments affects the entire image equally. If the subject, background, and lighting all receive the same treatment, photos can still look ordinary.
Professional-looking edits usually come from selective enhancements. Instead of editing the whole frame, successful photographers focus on guiding the viewer’s attention. Lightroom’s advanced tools make this process much easier than many people realize.
Use Advanced Masking for Better Subject Separation
One of the most effective Lightroom editing techniques is masking. It allows you to edit specific parts of an image without affecting everything else.
The AI-powered Subject Selection tool has become incredibly accurate. Once Lightroom identifies your subject, you can invert the mask and target the background instead. This creates opportunities to darken distractions, soften bright areas, or add atmosphere behind the main focal point.
For architectural photography, the Shift-click brush trick can save significant time. By clicking one point, holding Shift, and clicking another, Lightroom creates a perfectly straight adjustment line. This works particularly well for buildings, roads, fences, and other structured elements.
When used correctly, masking creates depth and helps subjects stand out naturally.
Create a Cinematic Look With the Tone Curve
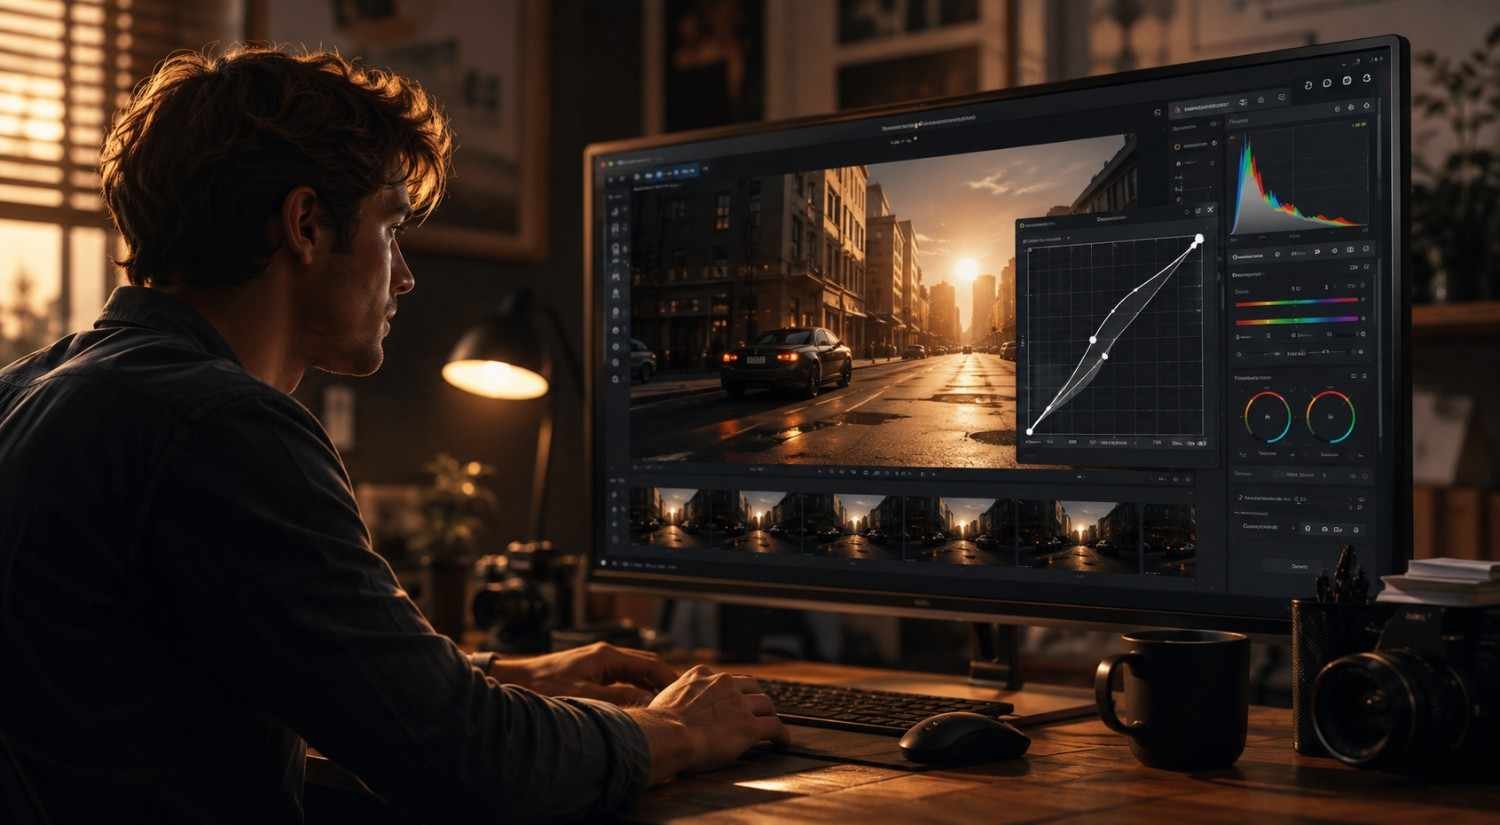
Many photographers overlook the Tone Curve panel because it appears more complicated than standard sliders. In reality, it offers some of the most powerful Lightroom photo editing controls available.
A popular approach is the matte or cinematic effect. Raising the bottom-left point of the curve slightly softens deep blacks and introduces a film-inspired appearance. This subtle change can immediately make a photo feel more refined.
Another technique involves working with individual RGB channels instead of the main curve. Small adjustments within the red, green, and blue channels can create richer color relationships while preserving realistic skin tones and natural lighting.
The goal is not to create extreme effects but to add depth and character that standard contrast adjustments cannot achieve.
Simplify Colors Using HSL and Point Color Tools
Many ordinary photos suffer from one common issue: too many competing colors.
The HSL panel gives photographers control over specific color groups. Rather than increasing global saturation, try reducing the luminance of certain colors. Darker blues and greens often appear richer and more vibrant without looking unnatural.
The newer Point Color feature takes color correction even further. Instead of targeting broad color ranges, it allows precise adjustments to small details within a scene.
For example, you can brighten a bird’s beak, enhance eye reflections, or refine a specific highlight without affecting surrounding elements. These targeted adjustments may seem minor, but they often make the difference between a good image and a memorable one.
Add Atmosphere Without Overediting

Atmosphere can dramatically change how viewers experience a photograph. Lightroom provides several ways to create mood while keeping edits realistic.
The Orton Glow effect remains a favorite among landscape photographers. By reducing Clarity and Dehaze within a large mask, bright areas become softer and more dreamlike. The image gains a subtle glow without losing important detail.
Another useful technique involves simulating directional sunlight. A large radial gradient placed near the light source can introduce warmth and brightness while lowering clarity slightly. This creates a natural golden-hour effect that enhances outdoor scenes.
Photographers interested in modern editing workflows often combine these methods with techniques discussed in an AI image enhancement guide, helping them balance manual creativity with newer editing technologies.
Atmospheric Enhancements Worth Trying
- Orton Glow for soft, dreamy landscapes
- Radial gradients for realistic sunlight effects
- Selective warmth adjustments for golden-hour tones
- Background softening through masked clarity reductions
Improve Technical Quality Before Finalizing Edits
Creative edits attract attention, but technical flaws can quickly undermine a strong image.
Chromatic aberration is a common issue around high-contrast edges. While Lightroom’s automatic corrections often work well, manual Defringe controls can remove stubborn purple or green color fringing that remains visible after standard corrections.
Noise reduction and sharpening also require balance. Excessive sharpening can introduce harsh edges, while aggressive noise reduction may remove important texture. Small adjustments typically produce cleaner, more professional results.
Many experienced editors zoom in during this stage and inspect problem areas before exporting the final image.
Evaluate Exposure With a Black-and-White Preview
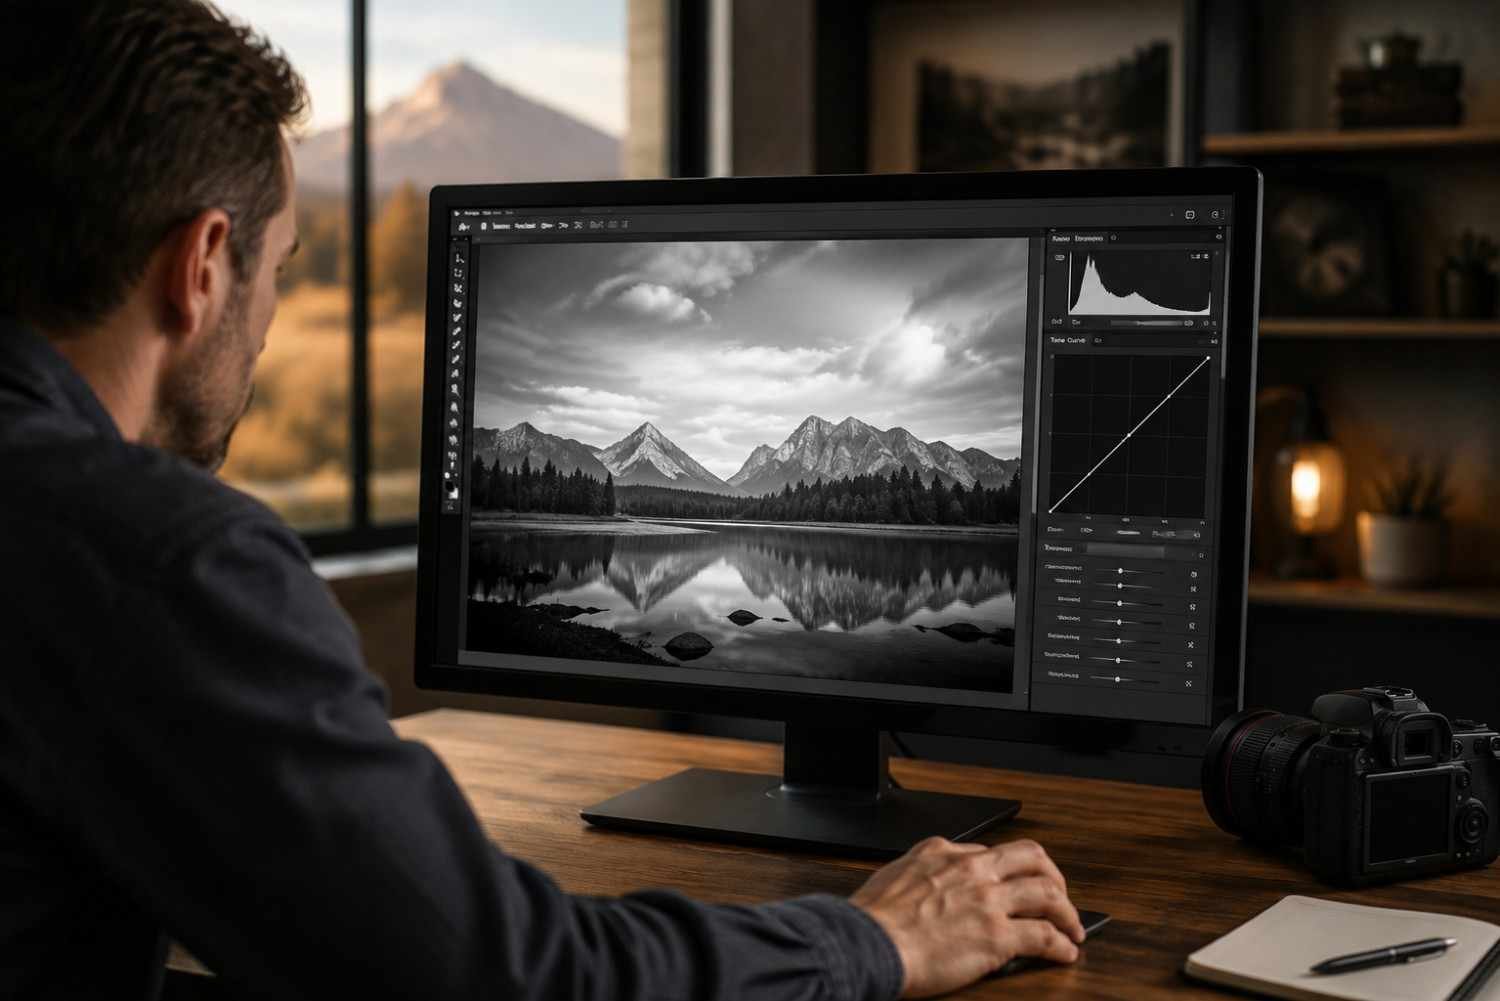
Color can sometimes distract from exposure problems.
A simple trick is to temporarily remove color information and evaluate the image in monochrome. Viewing only luminance values makes it easier to identify weak contrast, uneven brightness, or areas that compete for attention.
Some photographers create a temporary saturation adjustment layer or mask specifically for this purpose. Once the exposure balance feels right, they return to color grading with greater confidence.
This workflow often leads to cleaner, more balanced final images.
Build a Consistent Lightroom Workflow
Editing consistency is one of the biggest differences between casual and professional photographers.
Rather than experimenting randomly with every photo, establish a repeatable process:
- Correct exposure and white balance first
- Apply lens corrections
- Use masking for local adjustments
- Refine color with HSL and Point Color tools
- Add atmosphere and creative effects
- Finish with sharpening and cleanup
Following the same sequence reduces editing time and helps maintain a recognizable visual style across multiple projects.
FAQs: Lightroom Editing Tricks That Can Transform Ordinary Photos
1. What is the most useful Lightroom editing trick for beginners?
Masking is often the most valuable skill for beginners. It allows selective adjustments that create more professional results than global edits alone.
2. Does Lightroom editing reduce image quality?
No. Lightroom uses non-destructive editing, meaning the original file remains unchanged while edits are stored separately.
3. How can I make colors look richer without oversaturating photos?
Use the HSL panel to adjust luminance and saturation for specific colors rather than increasing global saturation across the entire image.
4. Is the Tone Curve better than the Contrast slider?
The Tone Curve provides much greater control. It allows targeted contrast adjustments and creative styling that the standard Contrast slider cannot achieve.
Final Thoughts
The best Lightroom editing tricks are rarely about dramatic transformations. They focus on precision, subtlety, and understanding how individual tools work together. Advanced masking, targeted color adjustments, tone curve refinements, and atmospheric enhancements all contribute to stronger visual storytelling. When these techniques become part of a consistent workflow, even ordinary photos can take on a polished and professional appearance.
The more intentionally you edit, the more control you gain over the final image. Small adjustments often create the biggest difference.