A beautiful portrait location does not need acres of landscaped property. I have found that even a narrow suburban yard, small patio, or fenced outdoor space can produce polished portraits when I control what the camera sees. The key is to maximize limited space, simplify backgrounds, and work deliberately with light.
These photography tips for small backyard portraits focus on making an ordinary residential yard feel larger and more intentional. Instead of fighting fences, neighboring homes, outdoor furniture, and patchy sunlight, I use focal length, subject placement, framing, and lighting to keep attention exactly where it belongs: on the person.
How Can You Make a Small Backyard Look Bigger in Portraits?
The first thing I avoid is photographing directly toward the closest fence. Shooting straight across a narrow yard emphasizes how little depth you have.
Instead, I photograph diagonally whenever possible. A diagonal angle creates more visible distance behind the subject and makes a compact property feel deeper.
I also look for what I call mini-locations. I do not need an entire yard to look attractive. I only need one clean patch roughly wide enough to frame my subject. A leafy shrub, wooden gate, textured brick wall, flowering plant, porch corner, or section of fence can become a complete portrait location when I crop carefully.
Changing camera height helps too. Shooting from a lower angle can replace clutter with open sky, while photographing slightly downward can turn grass, decking, or patio stones into a simple background.
What Camera Settings Work Best for a Small Backyard Portrait?
When the background is close, shallow depth of field becomes especially valuable.
For one person, I often work around f/1.8, f/2.2, f/2.8, or f/4 depending on the lens and how much of the face I want sharp. A wide aperture can soften a plain wooden fence, neighboring house, or garden equipment into attractive background blur.
For couples or families, I usually stop down to around f/4 or f/5.6 so multiple faces remain sharp.
I keep ISO as low as the available light allows, typically starting around ISO 100 outdoors and increasing it when shade becomes darker. For people, I generally prefer a shutter speed of at least 1/250 second. Active children may require 1/500 second or faster.
Eye autofocus and continuous autofocus are especially helpful when subjects move naturally instead of holding rigid poses.
What Is the Best Lens for Portraits in a Tight Backyard?
Lens choice can completely change how large a backyard appears.
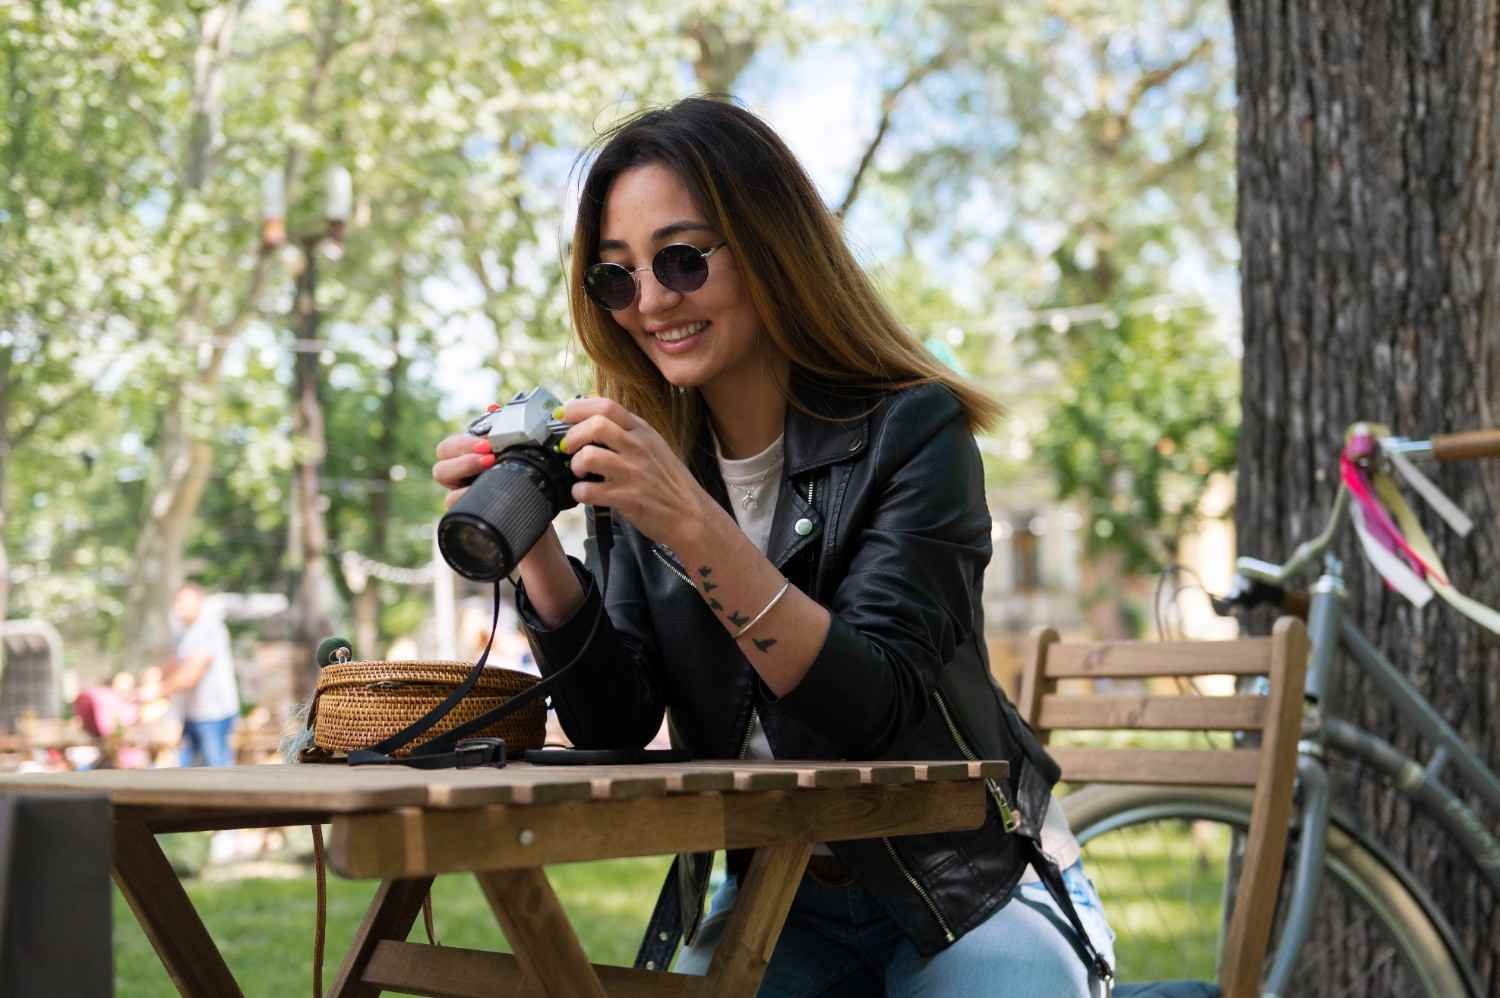
A 50mm lens is one of the most practical choices because it gives me flattering perspective without requiring excessive working distance. It works especially well in typical American suburban yards where I may only have a moderate amount of room between the house and fence.
An 85mm lens produces stronger background compression and attractive facial proportions, but I need more room to step backward.
If space allows, a 70–200mm lens can make a cluttered backyard appear surprisingly polished. I move as far back as possible and use a longer focal length. Telephoto compression narrows the visible background and increases the impression of blur.
A 35mm lens works when space is extremely limited or when I want an environmental portrait, although I avoid placing it too close to someone’s face because wider perspectives can exaggerate facial features.
How Do You Blur a Fence or Busy Backyard Background?
A wide aperture helps, but subject-to-background distance often matters just as much.
I never place someone directly against the fence unless I intentionally want that texture. Instead, I bring the person several feet forward whenever possible. Even two additional feet can noticeably soften the background.
Then I move closer to my subject or use a longer focal length. The combination of a wide aperture, longer lens, close camera-to-subject distance, and increased subject-to-background separation can turn an ordinary fence into smooth bokeh.
If the fence itself is visually interesting, I may do the opposite and use it intentionally. A brick wall, weathered wood fence, or ivy-covered surface can become a texture backdrop. Positioning the subject at an angle allows the wall to recede into the frame and create natural leading lines.
How Can You Use Plants to Hide a Small Portrait Location?
Foreground framing is one of my favorite tricks for tight spaces.
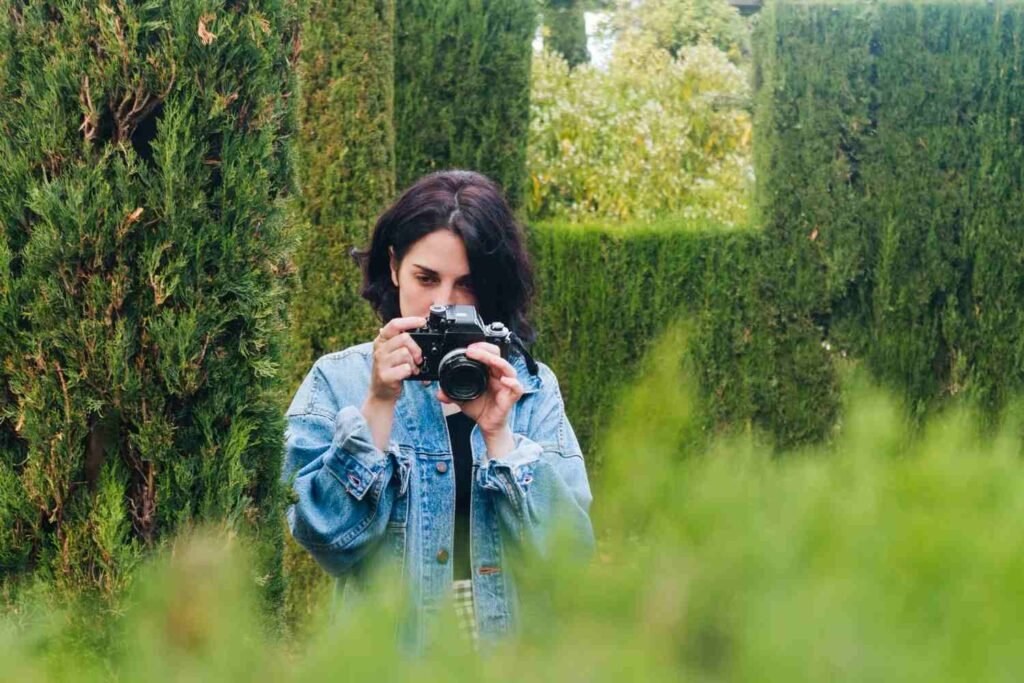
I place leaves, flowers, grasses, or branches close to the lens and photograph through them. Because they sit outside the focus plane, they create soft foreground blur that adds depth while hiding unattractive edges of the yard.
Plants can also block neighboring homes, utility boxes, air-conditioning equipment, garden hoses, and outdoor furniture.
This approach supports one of the most useful photography tips for small backyard portraits: do not try to show the entire location. Build the photograph from carefully selected layers instead.
What Is the Best Light for Backyard Portrait Photography?
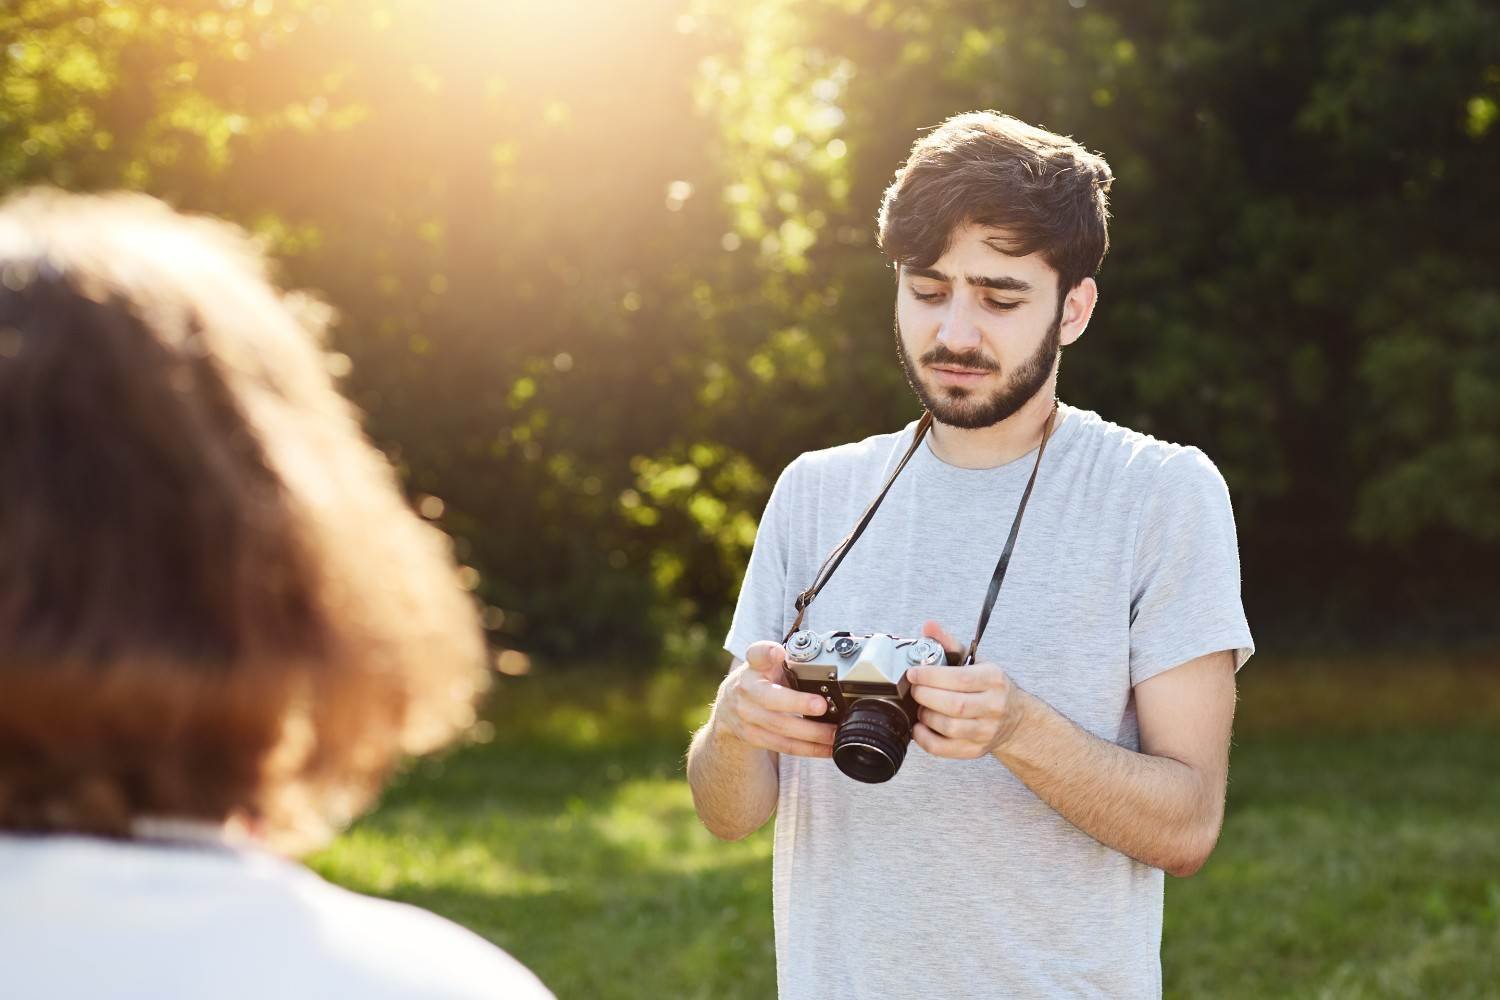
Small yards frequently have uneven lighting because houses, trees, sheds, and fences create patches of bright sun and deep shade.
Open shade is usually my first choice. I look for an area where direct sunlight is blocked by a building, tree, or fence while open sky still illuminates the subject. That gives me soft, flattering light without the harsh shadows caused by overhead sun.
Backlighting is another strong option. I place the subject with the sun behind them, which reduces squinting and can create a bright rim around the hair and shoulders. If the face becomes too dark, I use a reflector, light-colored wall, or subtle fill flash to return light to the face.
Is Golden Hour Better for Small Backyard Portraits?
Golden hour is particularly useful when the yard is visually ordinary because beautiful light can become the main feature of the photograph.
During the hour before sunset, lower-angle sunlight produces warmer tones and softer shadows. I often position the person with the sun behind them and use reflected light from a light-colored fence, wall, or patio to illuminate the face.
Overcast weather can be equally useful. Cloud cover acts like a giant diffuser, giving me soft light almost anywhere in the yard.
How Should You Pose People When Space Is Limited?
In a compact backyard, I avoid poses that require large amounts of movement.
Simple actions tend to work best. I may ask someone to shift their weight, turn their shoulders slightly, lean against a wall, sit on a porch step, or slowly walk toward me.
For families, I keep people close enough to feel connected and encourage interaction rather than forcing everyone into a straight row. Parents can look at their children, couples can walk together, and children can play naturally.
Sitting poses are especially useful because they reduce the amount of background visible in the frame.
What Backyard Portrait Mistakes Should You Avoid?
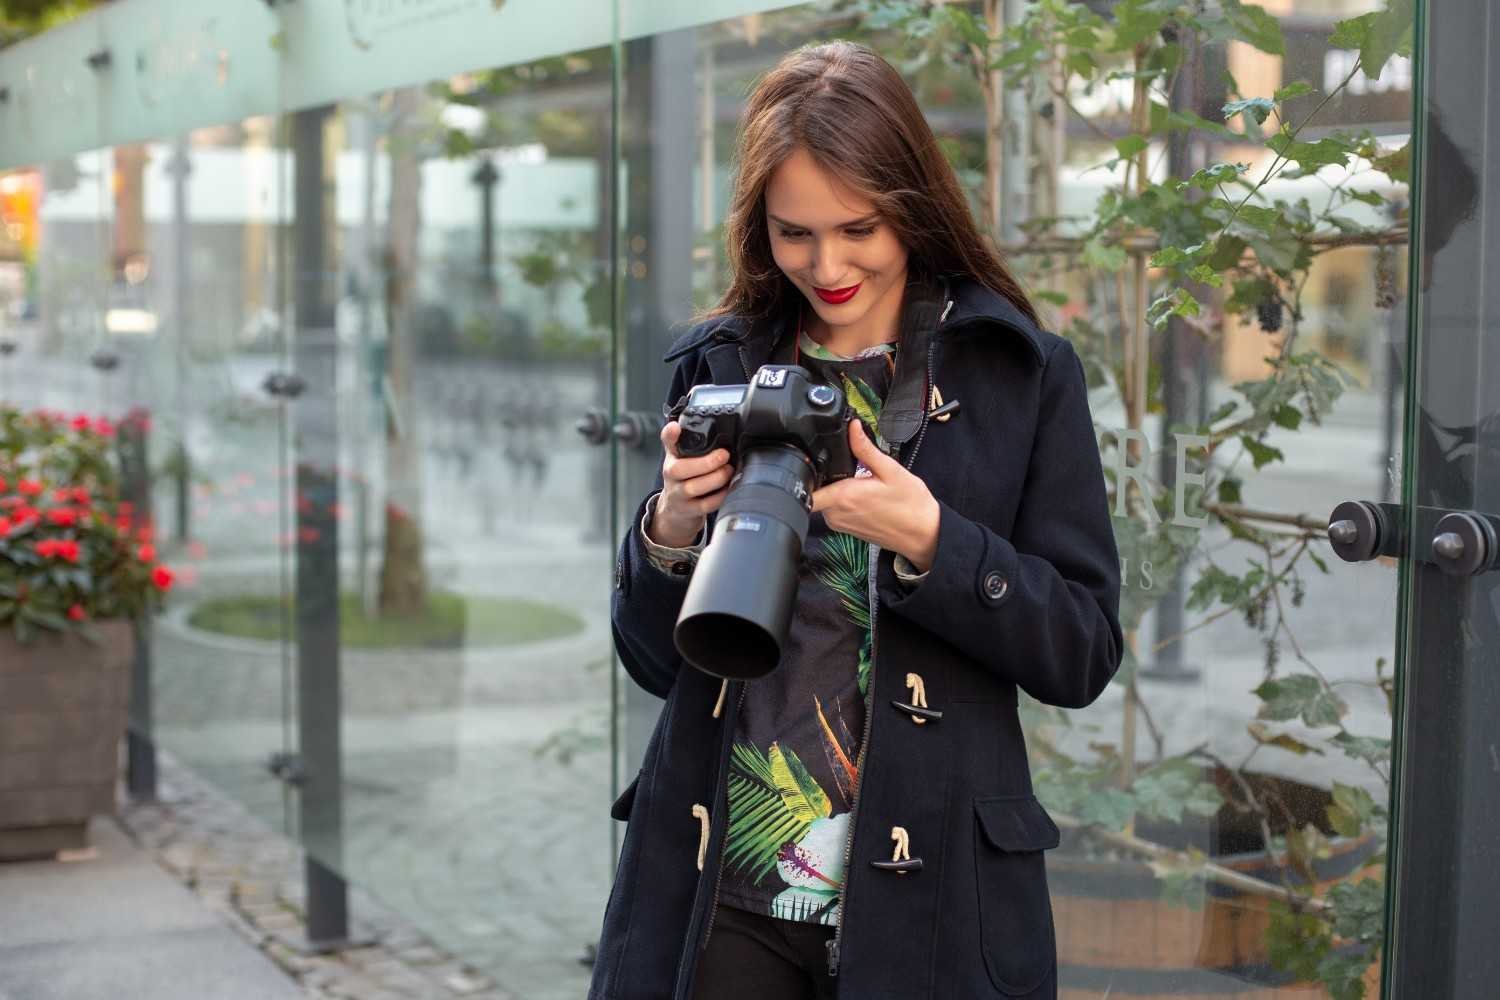
The most common mistake I see is choosing a pretty background without checking the light. Beautiful flowers cannot compensate for harsh shadows across someone’s face.
I also avoid placing subjects directly against walls, using unnecessarily wide lenses close to faces, allowing bright clutter near the frame edges, and trying to photograph too much of the yard. These simple photography tips for non-professional photographers can make a noticeable difference when you are working with a small or visually busy outdoor space.
Tighter composition usually makes a simple backyard look more expensive and professionally styled.
Frequently Asked Questions (FAQs)
How do I make a tiny backyard look professional in photos?
Use a narrow section of the yard, shoot diagonally, keep the subject away from the background, photograph through plants, and use a wide aperture or longer focal length to remove visual distractions.
Is 50mm or 85mm better for backyard portraits?
A 50mm lens is usually easier in tight yards because it requires less working distance. An 85mm is excellent when you have enough room and want stronger background compression.
What aperture creates the best backyard portrait background blur?
For a single person, f/1.8 to f/2.8 can create strong separation. Around f/4 can provide slightly more depth while still keeping the background soft.
How do I take portraits in a backyard at midday?
Look for open shade created by a house, porch, tree, or fence. If shade is unavailable, place the sun behind the subject and use a reflector or gentle fill flash for the face.
Final Thoughts
A cramped backyard can actually improve my photography because it forces me to pay closer attention to light, composition, and background control. I do not need every corner of the property to look good. I only need one strong angle.
The most effective photography tips for small backyard portraits come down to creating separation, finding mini-locations, using flattering light, controlling focal length, and excluding distractions. Once I start treating a backyard as a collection of small portrait sets rather than one complete landscape, even an ordinary residential space can produce professional-looking images.