
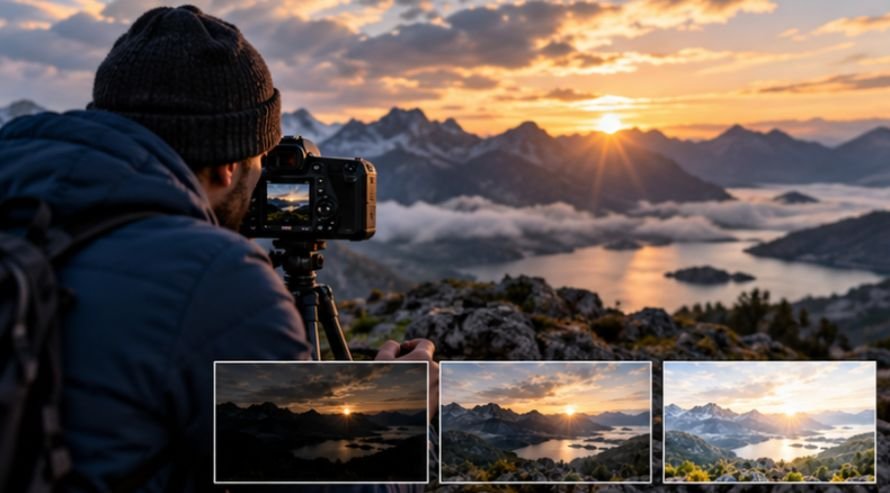
A three-shot bracket is not automatically an HDR photograph. That distinction matters more than it sounds. In hdr vs exposure bracketing in photo editing, exposure bracketing describes how you capture several versions of a scene at different brightness levels, while HDR describes what happens when those exposures are combined to preserve a wider range of tones. Researchers studying HDR imaging describe exposure bracketing as a core way of supplying the differently exposed source images needed for a high-dynamic-range result.
Understanding that difference helps photographers avoid unnecessary merging, reduce editing artifacts, and decide when one RAW file may already contain everything they need.
Exposure Bracketing Happens Before the Edit
Exposure bracketing is fundamentally a camera technique. Instead of taking one photograph, you capture the same composition several times at different exposure values. A common three-frame sequence might include a normal exposure, one two stops darker, and another two stops brighter.
The darker photograph protects bright skies, windows, lamps, or reflections from clipping. The brighter frame records cleaner information in dark interiors, foregrounds, or shadow areas. Many cameras automate this through Auto Exposure Bracketing, usually abbreviated AEB or BKT.
Research from the Optical Society’s Optica Publishing Group describes HDR capture as relying on low-dynamic-range photographs recorded at varying exposures and later blended together. Bracketing does not require you to merge anything afterward, however.
You might photograph -2 EV, 0 EV, and +2 EV and eventually discover that the normal exposure has perfectly recoverable shadows. In that case, simply edit the best RAW file and discard the other frames.
That is one reason bracketing can serve as exposure insurance as well as raw material for HDR.
HDR Begins When Several Exposures Become One
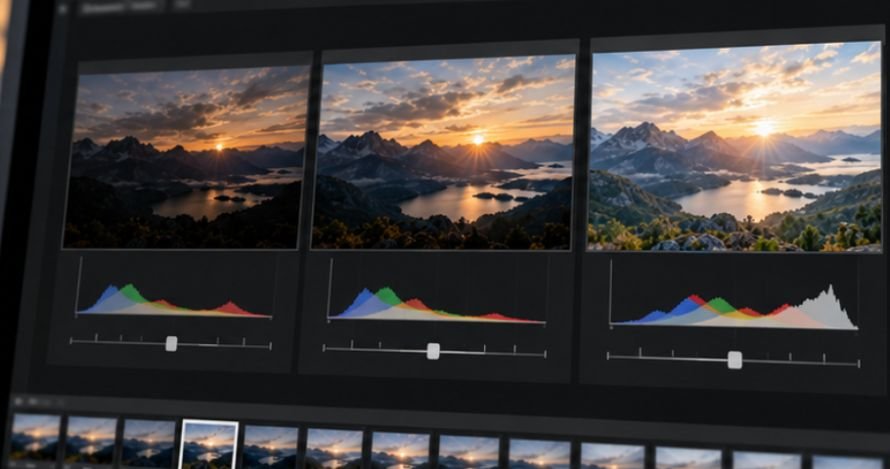
HDR, or High Dynamic Range imaging, aims to represent luminance information that a conventional single photograph may fail to retain. Imagine photographing a real-estate interior at noon. Expose for the furniture and the windows may turn white. Expose for the view outside and the room may become nearly black.
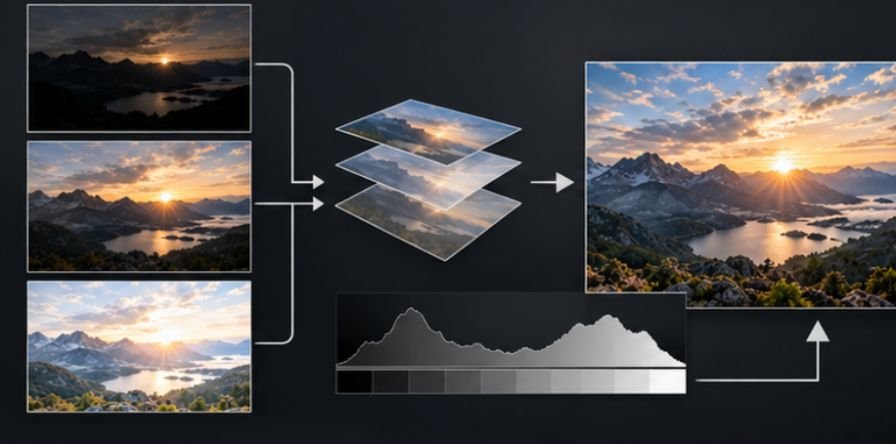
HDR processing can combine the window information from a darker exposure with cleaner shadow information from a brighter one.
Stanford computational photography material compares several HDR strategies, including traditional exposure bracketing and newer burst-based approaches designed to improve signal quality while making merging more robust.
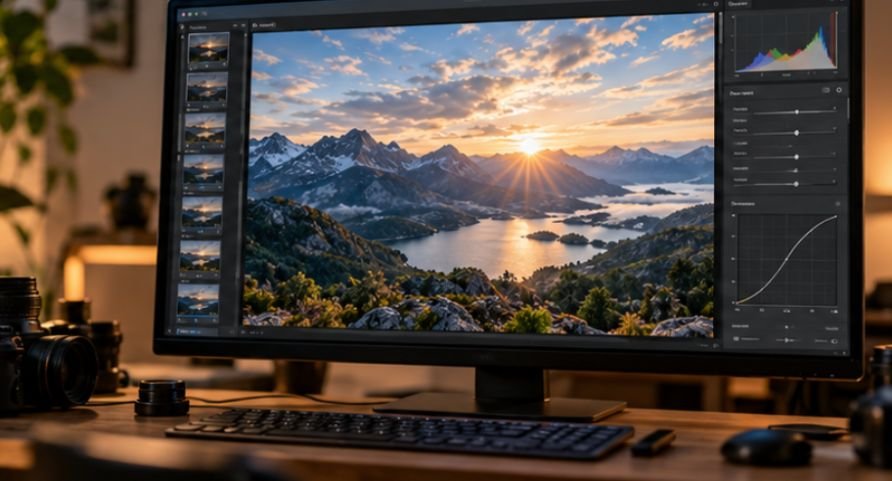
After merging, editing software may create a high-bit-depth file such as a DNG or TIFF before the photographer adjusts contrast, highlights, shadows, color, and local detail. Tone mapping or further editing then compresses that broad captured range into something that looks natural on a conventional display or print.
HDR vs Exposure Bracketing in Photo Editing: The Practical Difference
The easiest distinction is this: Exposure bracketing gives you multiple files. HDR processing turns selected files into one expanded-range image.
The two techniques frequently appear together, but they solve different stages of the problem.
Bracketing asks: “Did I capture enough highlight and shadow information?”
HDR asks: “How should I combine that information into one usable photograph?”
That separation also explains why every bracket does not need an HDR merge and why HDR-style computational photography can sometimes be produced using methods other than classic -2, 0, +2 EV sequences.
A 2023 paper published through the Society for Imaging Science and Technology, for example, studied alternative exposure-bracketing strategies for HDR imaging in devices that only provide access to low-dynamic-range output files.
The technology changes, but the central challenge remains the same: record usable information across a scene’s brightest and darkest regions.
A Simple Test: Do You Actually Need HDR?
Before merging three or five photographs, inspect your middle exposure.
Step 1: Check the highlights
Open the RAW file and reduce the Highlights or Exposure control. If important bright areas contain recoverable texture rather than permanently clipped white pixels, you may not need the darker bracket.
Step 2: Examine the shadows
Increase shadow brightness and inspect the dark areas at 100 percent. If recovering them produces excessive noise, color shifts, or muddy detail, the brighter exposure may contain genuinely useful information.
Step 3: Compare the extremes
Next, inspect the darkest and brightest bracketed frames.
The darkest frame should preserve the highlights you care about. The brightest should contain cleaner shadow information. If neither provides additional usable data, merging them adds complexity without adding meaningful image information.
Before pushing adjustments aggressively, reviewing these common photo editing mistakes can also prevent overprocessing that destroys the natural tonal advantage you captured.
Why More Dynamic Range Can Still Produce a Worse Photograph
Multiple-exposure HDR has one fundamental weakness: time passes between frames. A branch moves. Someone walks through the photograph. Waves change position. Curtains shift. Even the camera can move slightly.
Researchers at Columbia University’s Computer Vision Laboratory note that motion between bracketed exposures creates alignment problems that can lead to ghosting and blur. Their work on Fibonacci exposure bracketing specifically investigated ways to reduce those artifacts.
Modern software can align frames and apply deghosting, but it cannot always reconstruct reality perfectly.
That makes HDR particularly effective for architecture, interiors, controlled product work, and relatively static landscapes. It becomes less predictable for sports, street photography, wildlife, rapidly moving foliage, crowds, or breaking waves.
Research indexed by the U.S. National Library of Medicine has likewise highlighted how single-exposure HDR sensor designs can reduce motion artifacts associated with conventional multiple-exposure HDR methods.
How to Shoot a Cleaner Bracket for Editing
If you intend to merge exposures later, consistency matters more than simply shooting additional frames.
Use RAW when available because it retains more editing flexibility than an already compressed JPEG. Keep the aperture constant so depth of field does not change between frames. Let shutter speed provide most of the exposure variation.
A tripod remains useful for architectural and interior work, although current alignment algorithms can compensate for modest handheld movement.
Also avoid changing focus between frames.
Three exposures separated by roughly two stops are a practical starting point, but there is no rule that every scene needs exactly three. Extreme interior-to-window contrast may need a broader exposure range, while a modest sunset might require only two useful exposures.
The histogram is more informative than the number of frames. Your bracket should actually capture the highlight and shadow information missing from the base exposure.
Editing the Merge Without Creating the “HDR Look”
HDR earned a mixed reputation because early processing often emphasized halos, extreme local contrast, unnatural skies, crunchy textures, and oversaturated colors.
Those characteristics are stylistic choices, not requirements of HDR itself.
A strong modern workflow is usually restrained. Merge first, then treat the resulting image almost like a flexible RAW file. Establish exposure, set realistic white and black points, control highlights, open shadows only as much as needed, and apply local adjustments selectively.
These Lightroom editing tricks can help refine contrast and detail without flattening the scene.
Portrait photographers should be particularly cautious. Recovering excessive shadow information or applying strong local contrast can exaggerate pores, under-eye shadows, and uneven complexion. Maintaining natural skin tones while editing is usually more important than displaying every possible tonal detail.
When a Single RAW Frame Is the Better Choice
Modern cameras can retain substantial tonal information in RAW files, so bracketing should not become an automatic habit. Choose a single exposure when your histogram shows that critical highlights are protected and shadow recovery remains clean enough for the intended output. A single frame is also safer when subjects move quickly.
HDR becomes valuable when the brightness difference genuinely exceeds what your chosen exposure can record cleanly. That commonly occurs with bright windows in dark interiors, sunrise foregrounds, nighttime architecture with intense artificial lights, and other scenes containing unusually large luminance differences.
The goal is not to maximize dynamic range simply because software allows it. The goal is to preserve the important visual information the scene actually needs.
Frequently Asked Questions
1. Is exposure bracketing the same as HDR?
No. Exposure bracketing captures several photographs at different exposures. HDR processing can combine those files into one image containing a broader usable range of highlight and shadow information.
2. How many exposures should I use for HDR?
Three frames are often sufficient, but demanding scenes may need five or more. Judge the bracket by whether your darkest frame protects highlights and your brightest frame records clean shadows.
3. Can I create HDR from one RAW photograph?
You can heavily tone-map one RAW file, but it does not contain additional scene information from separate exposures. True multi-exposure HDR combines independently captured tonal information.
4. Which is better in hdr vs exposure bracketing in photo editing?
Neither is inherently better because they perform different jobs. Bracketing captures exposure options; HDR merging combines those options when one frame cannot adequately record the scene’s full brightness range.
Final Thoughts
The most useful question is not whether HDR or exposure bracketing is superior. It is whether a single photograph already contains enough information. Bracket when the scene’s brightest and darkest areas exceed what one exposure can comfortably preserve. Merge only when those additional frames contribute detail you genuinely need.
If the middle RAW file survives your highlight-and-shadow recovery test, editing one photograph will often produce the cleaner result. If it fails, your bracket becomes valuable evidence rather than unnecessary insurance.
Good HDR should rarely announce that HDR was used. It should simply make an impossible lighting situation look convincingly photographed.