The best local event photos rarely happen when everyone stops, looks at the camera, and smiles. I usually find the strongest images in the moments between the obvious ones: a vendor handing over an order, a child reacting to a parade, friends laughing near a food stand, or a performer catching the crowd’s attention.
That is why I approach how to take better photos at local outdoor events as a mix of preparation and observation. Whether I am at a county fair, farmers market, school festival, neighborhood concert, or Fourth of July celebration, I focus on light, movement, background, and timing so the photos feel natural instead of staged.
Outdoor events can be unpredictable, but that is also what makes them exciting to photograph. Once I know where to stand, when to move, how to handle harsh sunlight, and what details to look for, I can create a complete visual story instead of coming home with a collection of random snapshots.
Should You Arrive Early for Better Outdoor Event Photos?
I always try to arrive before the crowd reaches its peak.
Arriving early gives me time to walk through the venue, check where the sun is coming from, identify good backgrounds, and learn where performances or activities will happen. It also lets me photograph details before the scene becomes busy.
At a county fair or neighborhood festival, I might photograph signs, food displays, decorated booths, vendor setups, flags, tickets, empty seating, or volunteers preparing for the day. These images become useful storytelling photographs later because they show how the event came together.
Early arrival also gives me time to decide where I can photograph without blocking guests, performers, or organizers.
What Camera Settings Work Best at Outdoor Events?
I prefer camera settings that let me react quickly.
For people standing or moving slowly, shutter speeds around 1/125 to 1/250 second may be enough. For walking subjects, general festival activity, or candid moments, I usually prefer around 1/500 second. Faster action such as dancers, sports, children running, or moving rides may require 1/800 to 1/1000 second.
For portraits or individual subjects, an aperture around f/2.8 to f/4 helps separate people from busy backgrounds. For groups, environmental portraits, and wide event scenes, I often use f/5.6 to f/8 so more of the frame stays sharp.
ISO depends on available light. In bright daylight, ISO 100 to 400 is often enough. When clouds move in or evening approaches, I raise it as needed rather than allowing my shutter speed to become too slow.
Is Auto ISO Useful for Event Photography?
Yes. Auto ISO can make outdoor event photography much easier when lighting changes quickly.
I often choose the shutter speed and aperture I want, then let the camera adjust ISO automatically. This is especially useful when I move between bright streets, shaded tents, trees, covered stages, and indoor-outdoor spaces.
How Do You Handle Harsh Midday Sun?
Direct midday sun can create deep shadows around eyes, noses, and hats. When possible, I look for open shade under trees, building overhangs, vendor tents, or covered walkways.
I also pay close attention to the background. A shaded person standing in front of a bright sunlit area can create exposure problems, so I often move a few feet until the light becomes easier to manage.
Golden hour near sunset is usually more flattering. The light becomes warmer and softer, which works especially well for portraits, crowd scenes, performers, and wider festival photographs.
Should You Use Fill Flash Outdoors?
A subtle fill flash can help in strong sunlight, especially when deep shadows appear under hats or around the eyes.
I use it selectively rather than automatically. Flash may not be allowed during concerts or performances, and natural light often looks better when I can reposition the subject or move into open shade.
The goal is to lift shadows without making the flash obvious.
How Can You Capture Better Candid Photos?
Candid images often tell the event story better than posed portraits.
I watch for laughter, gestures, conversations, reactions, children watching performances, vendors serving customers, friends greeting each other, musicians interacting with the crowd, and people responding to something outside the frame.
Instead of asking everyone to stop and smile, I wait for small expressions and natural interactions.
When I think about how to take better photos at local outdoor events, I remind myself that the strongest photographs usually happen between the official moments.
How Should You Move Around a Crowded Event?
I avoid standing in one place for too long.
Changing height and position can immediately improve composition. I may crouch lower when photographing performers or children, then find a safe elevated position for a wider crowd shot.
I also like working from the edges of an event rather than standing directly in the center. Doorways, tent openings, trees, railings, flags, and other foreground elements can create natural frames while helping me avoid blocking other people.
This approach keeps the photographs feeling more authentic and observational.
How Do You Make Crowd Photos Look Less Messy?
Crowds can become visually chaotic very quickly.
Before taking a photo, I check the edges of the frame and look for distracting signs, trash cans, parked cars, random arms, bright objects, or people overlapping awkwardly.
Sometimes moving only a few feet solves the problem.
I also try to create layers. A person in the foreground, activity in the middle, and recognizable event details in the background can make a busy scene feel intentional instead of cluttered.
How Do You Tell the Full Story of an Event?
I never want every image in an event gallery to look the same.
I capture wide establishing shots to show the setting, medium shots to show people interacting, tight close-ups for expressions, food, hands, instruments, signs, and decorations, and background details that give the event a sense of place.
At a local US street fair, for example, I might photograph the entire block first, then vendors serving food, families walking between booths, musicians performing, children reacting to activities, and small details such as handmade products or festival signage.
That mix creates a stronger visual story than chasing one perfect image.
Should You Use Burst Mode at Outdoor Events?
Burst mode is useful when moments happen quickly.
I use short bursts for dancing, sports, children running, performers jumping, confetti, or emotional reactions. I avoid holding down the shutter for long stretches because that creates too many nearly identical images.
Short controlled bursts give me several expressions or body positions to choose from without making the editing process overwhelming.
What Gear Should You Carry to a Local Event?
I prefer traveling light.
A versatile zoom lens such as a 24-70mm or 24-105mm range can handle wide scenes, environmental portraits, details, and candid photographs without constant lens changes. A smartphone can also work extremely well if I pay attention to light and composition.
I often bring a lens hood because it helps reduce flare and glare in strong outdoor light. A circular polarizing filter can also be helpful when photographing near water, glass, reflective surfaces, or bright skies.
I avoid carrying more equipment than I can comfortably manage through a crowded venue.
Can You Take Good Event Photos With a Smartphone?
Yes. The same photography principles apply.
I clean the lens before shooting, avoid excessive digital zoom, tap on the main subject to focus, and reduce exposure slightly if bright highlights start losing detail.
I also use portrait mode carefully. It can work well for individual subjects, but artificial blur sometimes creates strange edges around hair, hats, or moving people.
Most importantly, I move closer instead of relying on digital zoom whenever possible.
What Are the Most Common Outdoor Event Photography Mistakes?
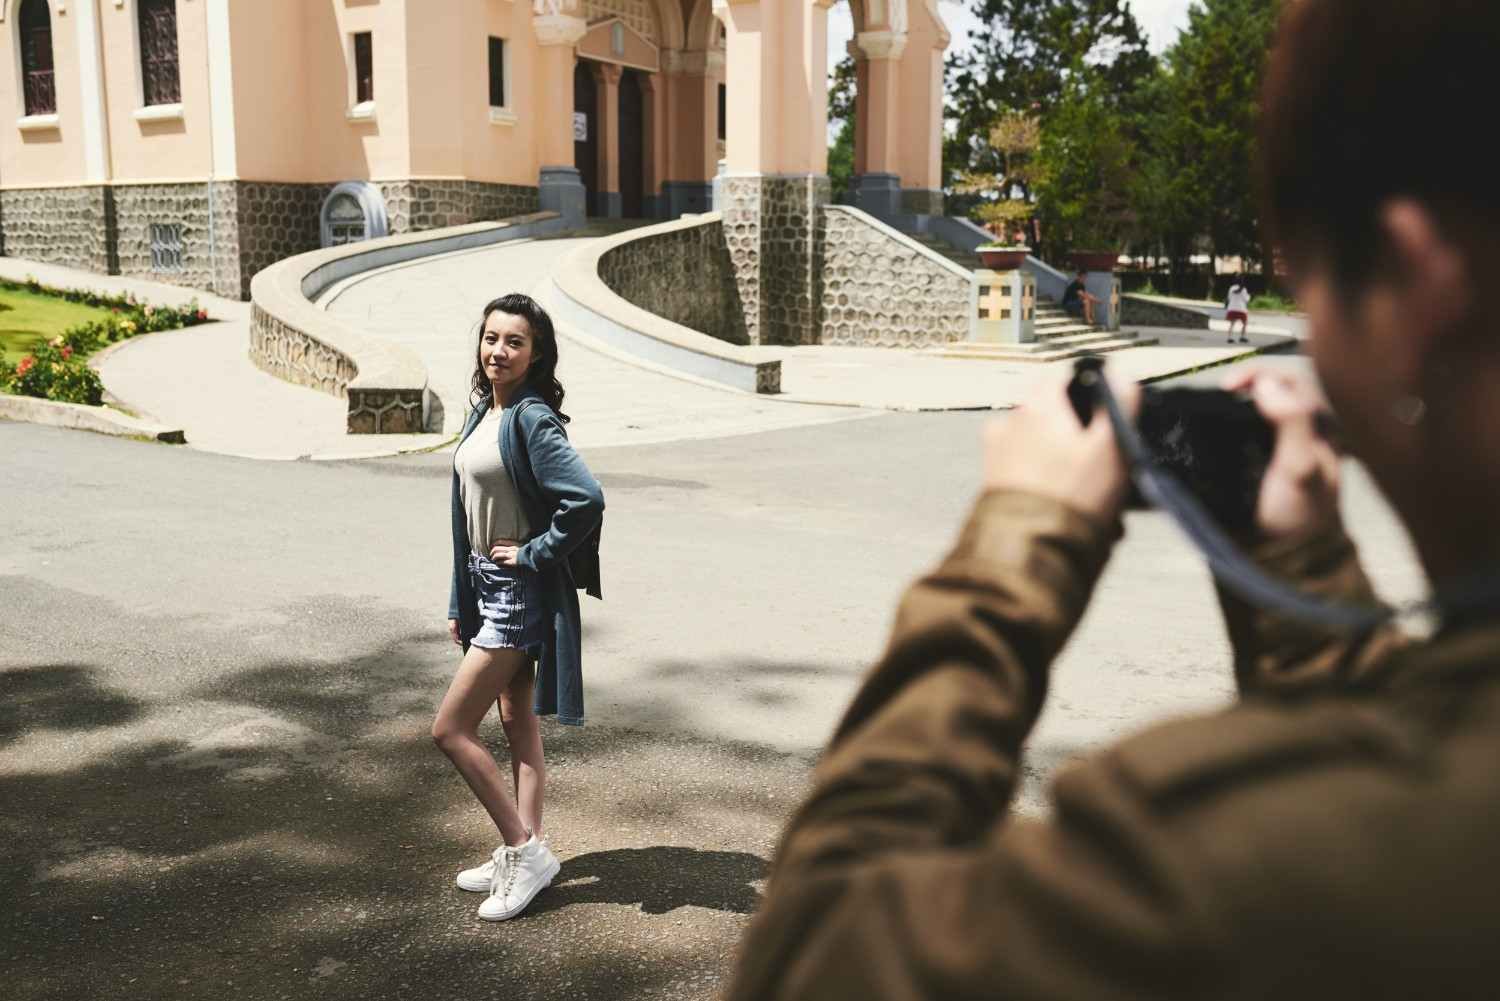
One of the biggest mistakes is photographing only the main attraction.
A festival is more than the performer on stage. Vendors, decorations, volunteers, families, food, reactions, signs, and small interactions help explain what the event actually felt like.
Another mistake is staying in one position for too long. Light, crowd patterns, and backgrounds constantly change, so I keep moving.
I also avoid checking every single photo immediately after taking it. Reviewing occasionally is useful, but constantly looking at the camera can cause me to miss the next important moment.
How Can You Make Outdoor Event Photos Look More Professional?
Consistency makes a noticeable difference.
I keep horizons straight, watch the frame edges, look for cleaner backgrounds, expose faces carefully, and photograph important scenes from more than one distance or angle.
When I apply those habits consistently, taking better photos at local outdoor events becomes much easier. I stop worrying so much about equipment and start paying more attention to the story happening in front of me.
Frequently Asked Questions (FAQs)
1. What is the best shutter speed for outdoor event photography?
For slower subjects, 1/125 to 1/250 second may work. For walking people and general event activity, around 1/500 second is a safer starting point. Faster action may require 1/800 second or higher.
2. What lens is best for local festival photography?
A 24-70mm or 24-105mm zoom is a versatile option because it covers wide scenes, portraits, details, and candid photography without frequent lens changes.
3. Should I use flash during an outdoor event?
Fill flash can help reduce harsh facial shadows in strong sunlight, but I use it selectively. I also check event rules because flash may not be allowed during performances.
4. How do I take natural candid photos at events?
I watch for interactions, gestures, laughter, reactions, and movement instead of asking everyone to pose. Waiting for natural moments usually creates more authentic photographs.
5. Is a smartphone good enough for event photography?
Yes. Good light, timing, composition, background control, and clean framing matter more than expensive equipment. A modern smartphone can produce excellent event photographs when used carefully.
Final Thoughts
I have found that the best local event photographs usually come from attention rather than complicated gear. I arrive early, travel light, study the light, move around frequently, and look for genuine moments rather than forcing every photo. These habits also fit naturally with practical photography tips for non-professional photographers, especially for anyone who wants better results without relying on expensive equipment.
Whether I am photographing a farmers market, county fair, Fourth of July celebration, neighborhood parade, outdoor concert, or school festival, I try to capture the whole experience. Wide scenes, candid interactions, small details, movement, and atmosphere all matter.
When those elements work together, the final images feel more complete, more natural, and much more memorable.