A handmade product can look completely different depending on how the light falls across its surface. I have found that the easiest way to make texture, color, and craftsmanship stand out is to work with soft daylight instead of complicated studio lighting. A nearby window can create flattering highlights, natural shadows, and a polished look with very little equipment.
If you are learning how to photograph handmade products near a window, the real goal is not simply to find the brightest spot in the room. You need to control the direction and softness of the light, reduce unwanted shadows, keep colors accurate, and position the product so its best details remain visible. With a simple setup and a few adjustments, even a dining table or small workspace can become an effective home product photography area.
How Should You Position Handmade Products Beside a Window?
I rarely point a handmade product straight toward the window because flat front lighting can hide texture and shape. Instead, I place the setup beside the window so daylight reaches the product from the left or right.
Side lighting produces gentle highlights on one side and soft shadows on the other. That contrast creates dimension, which is particularly helpful when photographing pottery, carved wood, leather, knitted products, candles, and jewelry.
Start roughly two to four feet from the window. If the product looks too dark, move it closer. If the lighting appears too flat or bright, increase the distance slightly.
The best position depends on the size of your window and the strength of the daylight, so I always make small adjustments before taking the final photographs.
How Can You Soften Harsh Window Light?
Direct sunlight is one of the biggest challenges in natural light product photography. Strong sun can create blown highlights, distracting reflections, and deep shadows that hide handmade details.
I prefer bright, indirect daylight whenever possible. If direct sunlight enters the room, I soften it with a white sheer curtain or suitable photography diffusion material. Diffusion spreads the light over a larger area and makes the window behave more like a studio softbox.
Cloudy days are also excellent for product photography at home because the clouds naturally soften sunlight. Morning or late-afternoon light can work well too, depending on which direction the window faces.
Consistency matters. When photographing several products for the same online store, I try to work around the same time of day so the lighting, shadow direction, and color stay similar throughout the catalog.
How Do You Fill Shadows Without Adding Another Light?
Window lighting normally illuminates one side of a product more strongly than the other. Rather than adding a lamp, I use a simple white reflector.
A sheet of white foam board, poster board, or cardstock placed opposite the window bounces daylight onto the darker side of the item.
Moving the reflector closer brightens the shadows. Moving it farther away increases contrast and gives the photograph more depth.
This inexpensive technique is one of my favorite tricks for DIY product photography because it lets me control light while keeping the setup simple.
Why Should You Turn Off Indoor Lights?
I always turn off ceiling lights, desk lamps, and other household lighting before photographing products with daylight.
Many household bulbs produce a warmer or cooler color temperature than daylight. When artificial light mixes with window light, handmade products can develop unwanted yellow, orange, green, or blue color casts.
These mixed colors can be difficult to correct during editing, especially when accurate product color matters.
For clothing, artwork, ceramics, fabric goods, and jewelry, color accuracy can affect whether customers feel that the online image matches the item they receive. Using one consistent light source helps prevent that problem.
What Background Is Best for Handmade Product Photography?
A good background should support the product without competing for attention.
For marketplace listings and ecommerce stores, I usually start with white, cream, beige, or light gray. A large sheet of neutral paper can be curved from a vertical surface down onto the tabletop to create a seamless background with no visible corner.
For a warmer lifestyle look, natural wood, linen, stone, or another subtle textured surface can work beautifully.
I still keep props minimal. Too many decorations can make a handmade product look smaller or distract shoppers from important details.
I also watch for color reflection. A bright red or green surface near the product can bounce colored light onto it and make the final photograph inaccurate.
How Do You Keep Handmade Product Photos Sharp?
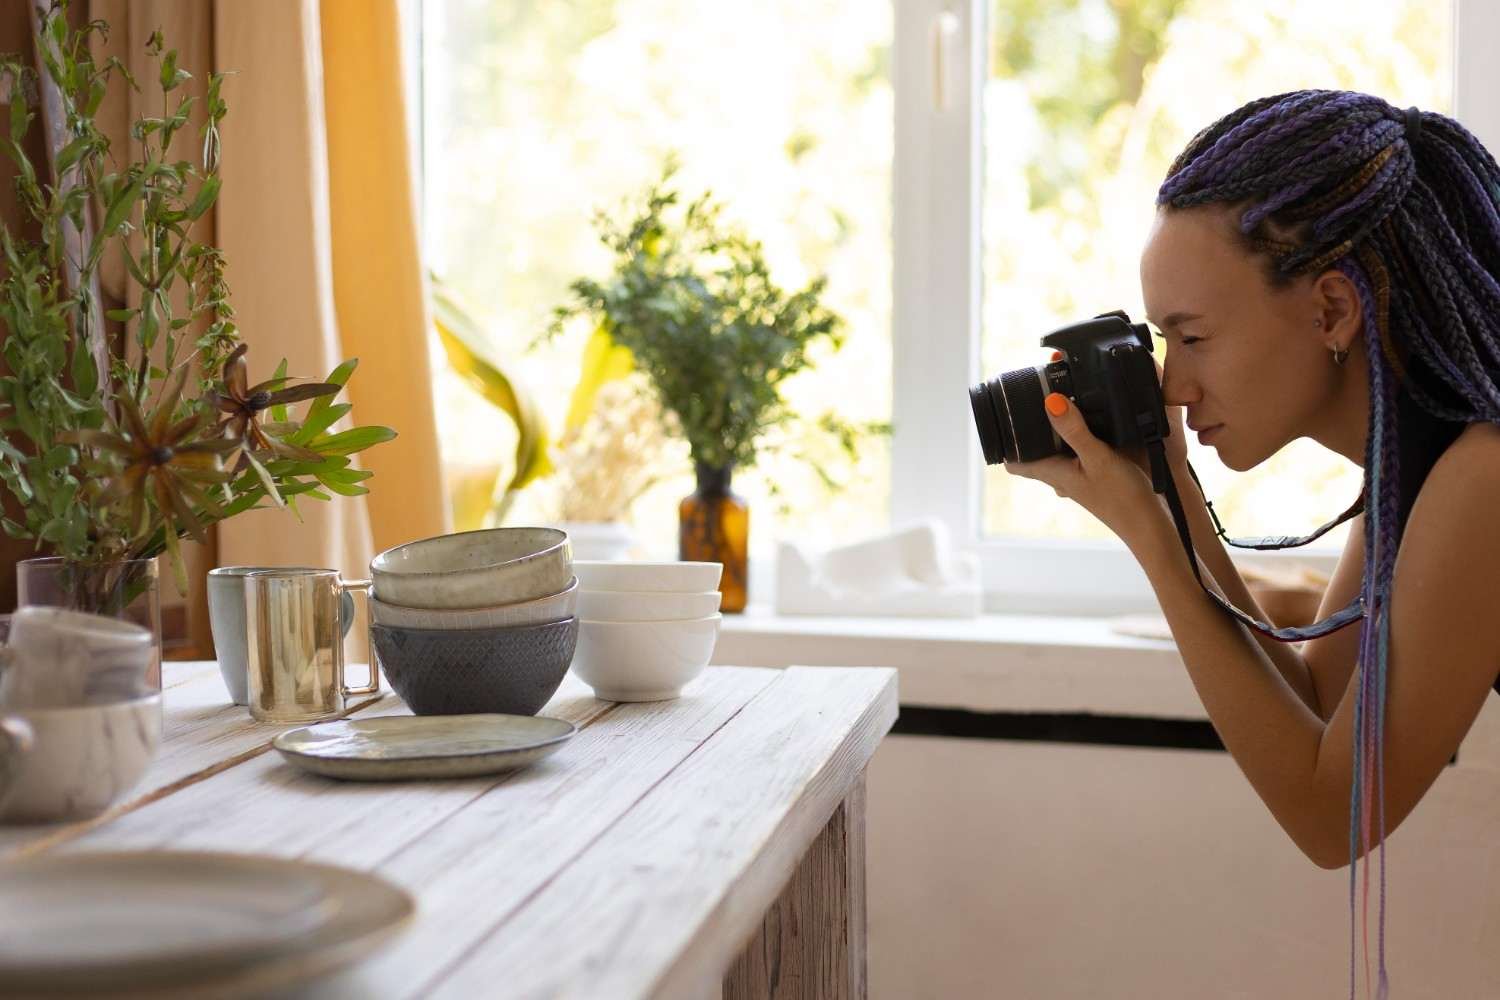
Natural light indoors may require a slightly slower shutter speed than bright outdoor photography. Small hand movements can therefore create softness or blur.
I prefer using a tripod whenever possible. A phone tripod works perfectly well for most small products. If I do not have one nearby, a solid stack of books or another stable support can help keep the device still.
Stability also makes it easier to photograph several products with the same framing.
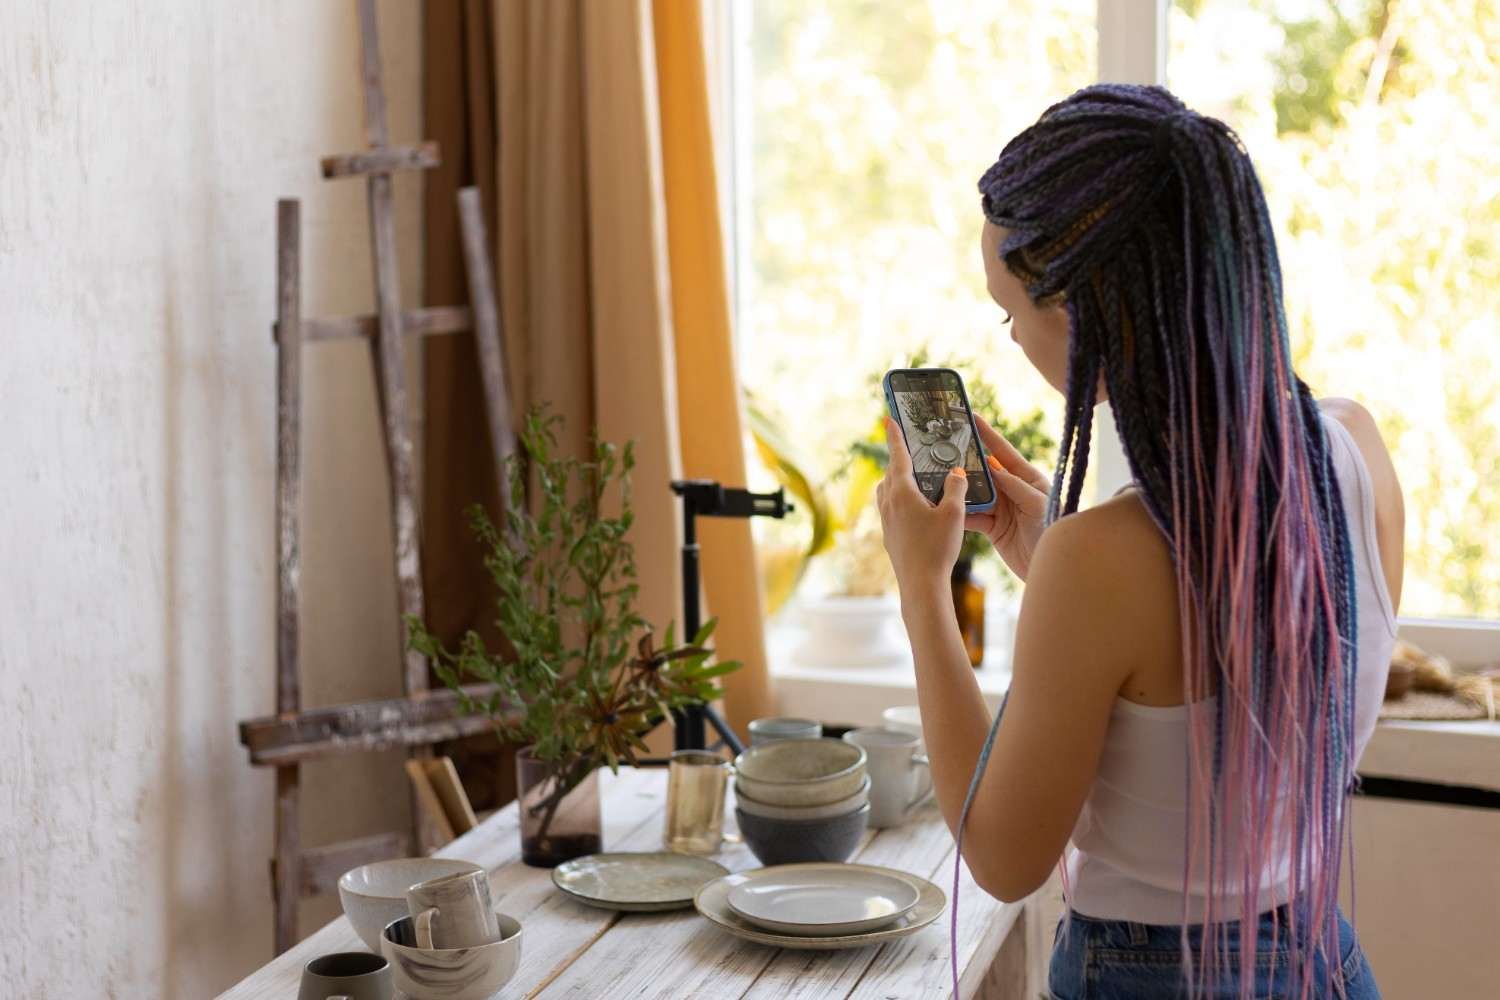
When using a smartphone, I clean the camera lens first, tap directly on the product to set focus, and avoid digital zoom. I also use the camera grid to keep lines straight and maintain consistent composition.
How Should You Photograph Different Handmade Materials?
Different materials react differently to window light, so I adjust the setup rather than using one formula for everything.
How do you photograph handmade jewelry near a window?
Jewelry often produces strong reflections. I diffuse the window carefully and rotate either the jewelry or camera until distracting reflections disappear. A large, soft light source usually produces smoother highlights on polished metal.
How do you photograph pottery and ceramics?
Side lighting works particularly well for ceramics because it reveals curves, handmade irregularities, and glaze texture. I watch shiny areas closely because glossy glazes can easily develop overexposed highlights.
How do you photograph textiles and knitted products?
Angled window light helps reveal fabric fibers, embroidery, stitches, and woven texture. I avoid excessive contrast so darker fibers still retain visible detail.
How do you photograph leather goods?
Leather benefits from directional light that reveals grain, stitching, embossing, and edge finishing. A reflector can keep shadows controlled without eliminating the texture.
How do you photograph candles and glass containers?
Glass packaging often reflects the window and the room. I soften the light with diffusion and slightly adjust the camera angle until large distracting reflections disappear.
What Product Photos Should Online Shoppers See?
A single attractive image is rarely enough to sell a handmade product online.
I start with a clear hero image showing the complete item. Then I photograph additional angles, craftsmanship details, the back or underside when relevant, and a close-up that reveals materials or texture.
A scale image is especially helpful for products such as earrings, candles, pottery, bags, and small home decor. Lifestyle photographs can also show shoppers how an item fits into a real setting.
I keep the lighting and background style consistent because cohesive photography makes an online shop look more professional.
How Do You Edit Window-Light Product Photos Naturally?
Editing should improve clarity without misrepresenting the product.
I usually adjust exposure, white balance, highlights, shadows, and crop. If the whites look gray, I increase exposure carefully while making sure bright product details do not disappear.
If the product looks yellow, I first check whether indoor lights were accidentally left on. Correcting the original lighting usually produces better results than aggressive editing later.
I also avoid heavy filters. Handmade buyers often care about exact colors, materials, texture, and craftsmanship, so the edited photo should remain faithful to the real item.
FAQs About Window Product Photography
1. What is the best window for product photography?
A large window with bright, indirect daylight is usually easiest to work with. Larger windows create softer light and smoother shadows than very small windows.
2. Should handmade products face the window?
Not necessarily. Positioning the product beside the window often creates better texture and dimensionality than pointing it directly toward the light.
3. Can I photograph handmade products with a phone?
Yes. Modern smartphones can produce excellent ecommerce photos when you use soft daylight, accurate focus, stable framing, and minimal digital zoom.
4. How far should a product be from a window?
Two to four feet is a useful starting point, but there is no fixed distance. Adjust the position until the light is bright enough while still creating visible shape and texture.
5. What is the cheapest product photography setup?
A window, neutral paper background, white foam-board reflector, and smartphone can be enough to produce professional-looking images without investing in studio lighting.
Final Thoughts
What I like most about how to photograph handmade products near a window is how little equipment the process actually requires. Light direction, diffusion, reflection, background choice, and stability often have a much greater impact than expensive gear.
Following practical photography tips for non-professional photographers can also make it easier to improve composition, lighting, and consistency without turning a simple shoot into a complicated production.
Once I find a window that provides consistent light, I keep the setup repeatable. I position the product for side lighting, soften direct sun, bounce light into dark areas, switch off household lamps, stabilize the camera, and edit only enough to keep the product accurate.
That simple workflow can turn an ordinary table beside a window into a practical home studio capable of producing polished images for Etsy, Shopify, social media, craft applications, and independent ecommerce stores.