I find video planning easier when I start with what viewers need to see. A camera, microphone, and good lighting help, but they cannot replace a missing demonstration or an important close-up. Before recording, I want a clear idea of how the footage will fit together.
Learning how to plan a video shoot with a simple shot list turns a loose concept into specific filming decisions. You can organize everything in a notebook, phone document, or spreadsheet without complicated production software.
Start With the Finished Video
Define the audience, purpose, and intended length before choosing camera angles. A short product demonstration needs different footage than an interview or instructional video.
Write one sentence describing the result: “Show beginners how to adjust a desk lamp for reading.” That statement helps you decide which shots belong.
Choose the delivery format now, too. Horizontal tutorials and vertical social videos require different framing. If you need both, plan separate takes or check that important actions remain visible within each intended crop.
Break Your Idea Into Visual Moments
Divide the concept into an opening, explanation, demonstration, and ending. These sections give your video a basic structure without requiring a detailed screenplay.
For the desk lamp example, the opening might show a poorly lit book. The explanation introduces the lamp, the demonstration shows its adjustments, and the ending reveals the improved reading setup.
Describe visible actions rather than vague ideas. “Hand rotates the lamp head toward the page” is easier to film than “show useful features.”
Keep Your Shot List Easy to Read
Give each shot a unique number, followed by a short action description. Add framing, location or setup, audio requirements, priority, and completion status.
One entry could read: “Shot 03: Hand adjusts brightness; close-up; desk setup; capture button sound; essential; not filmed.”
Include movement only when needed. A stationary camera may communicate an adjustment more clearly than an elaborate moving shot.
Lens choices, lighting diagrams, and frame rates can be useful, but they do not belong in every beginner list. Record details that affect preparation or consistency.
Choose Coverage That Explains the Action
Establish the Setting
A wide shot shows the workspace and helps viewers understand where the action happens. Keep distracting objects outside the frame.
Show the Main Demonstration
A medium shot can include the presenter, lamp, and relevant hand movements. Check that the presenter does not block the feature being explained.
Capture Important Details
Close-ups make small controls and adjustments easier to understand. Record supporting footage, often called B-roll, that illustrates the explanation or covers an edit.
You do not need every framing option for every action. Choose shots that contribute information.
Arrange Shots in Filming Order
The finished video might begin with the reading problem and end with the solution. Your filming order can be different. Capture useful still images during each setup, too, if you plan to sell stock photos without an existing audience.
Capture shots sharing the same camera position, lighting, and background together. For example, record the presenter’s introduction and closing before repositioning the camera for close-ups.
Understanding how to plan a video shoot with a simple shot list includes separating story order from production order. Keep shot numbers consistent when rearranging entries so each clip still connects to its intended place.
Allow Time for Sound and Setup
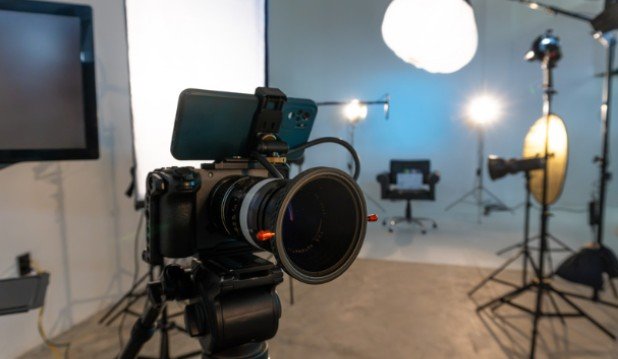
A five-second finished clip can require several minutes of preparation. Keep intended clip length separate from estimated setup and recording time.
Account for rehearsals, focus checks, retakes, battery changes, and moving equipment. Leave spare time rather than filling every available minute.
Note whether each shot needs dialogue, natural sound, or neither. Test microphones and listen through headphones before recording important material. Capture room tone when useful, and leave a brief pause before and after each action to provide editing space.
Protect Essential Footage and Check Progress
Mark shots as essential or optional before filming. The main demonstration and necessary details should take priority over decorative angles.
Check props, battery levels, storage space, background noise, and location access beforehand. Share the current list with anyone helping.
During recording, update each entry as completed or needing another take. Note the strongest take when practical.
Before changing setups, review critical clips for focus, exposure, usable sound, and complete actions. Maintain continuity by checking hand positions, product placement, and lighting between related shots.
Frequently Asked Questions
1. What is the easiest way to learn how to plan a video shoot with a simple shot list?
Start with one short demonstration. Describe its opening, main action, important details, and ending, then assign a clear shot to each.
2. How many shots should a short video have?
There is no fixed number. Plan enough footage to explain the subject clearly without creating unnecessary setups or repetitive coverage.
3. Do I need a storyboard?
Simple tutorials may only need written descriptions. Sketches help when positioning, movement, or transitions are difficult to explain.
4. Can I change the list while filming?
Yes. Adjust it when conditions change, but confirm that essential footage remains covered before spending time on new ideas.
Final Thoughts
I see a shot list as a practical reminder of what the edit needs. It helps me prepare each setup, protect essential footage, and notice gaps while I can still fix them.
Keep your first version short and readable. After filming, review which entries helped and which details were missing. That feedback makes the next shoot easier to organize.