Photographing houseplants can look deceptively simple until shiny leaves start reflecting the window, dark foliage disappears into shadows, and distracting objects steal attention from the plant. When I learned how to photograph indoor plants with natural light, I realized that better photos rarely require expensive lighting equipment.
The biggest improvements usually come from controlling window light, choosing the right angle, and preparing the scene carefully.
Natural window light can reveal leaf texture, variegation, color, and shape beautifully. Whether I am using a mirrorless camera, DSLR, or smartphone, I focus first on the direction and softness of the light before changing camera settings.
What Is the Best Natural Light for Indoor Plant Photography?
Soft, bright, indirect window light is usually the most forgiving choice. It provides enough brightness to show leaf detail without producing harsh white highlights or extremely dark shadows.
Cloudy and overcast days are especially useful because clouds act like a giant natural softbox. They spread daylight more evenly through the room and make exposure easier to control.
On clear days, I usually photograph plants during the early morning or late afternoon. The lower sun often creates warmer, gentler light than the intense midday sun.
If direct sunlight is pouring through the window, a sheer white curtain can instantly improve the situation. The fabric diffuses the sunlight, softening shadows and reducing distracting reflections on glossy foliage.
How Should You Position a Plant Relative to a Window?
The direction of the light completely changes the mood of an indoor plant photo. Instead of simply placing a plant near the brightest window, I rotate it and change my camera position until the light emphasizes the features I want to show.
How Do You Use Side Lighting for a Studio Look?
Side lighting is one of my favorite techniques for photographing houseplants.
I position the plant roughly 90 degrees to a bright window so the natural light travels across the foliage rather than hitting it straight on. This creates gentle shadows between leaves and emphasizes veins, edges, curves, and surface texture.
Large tropical leaves, succulents, and textured houseplants often look especially dimensional under side lighting.
How Do You Create a Backlit Glow Around Leaves?
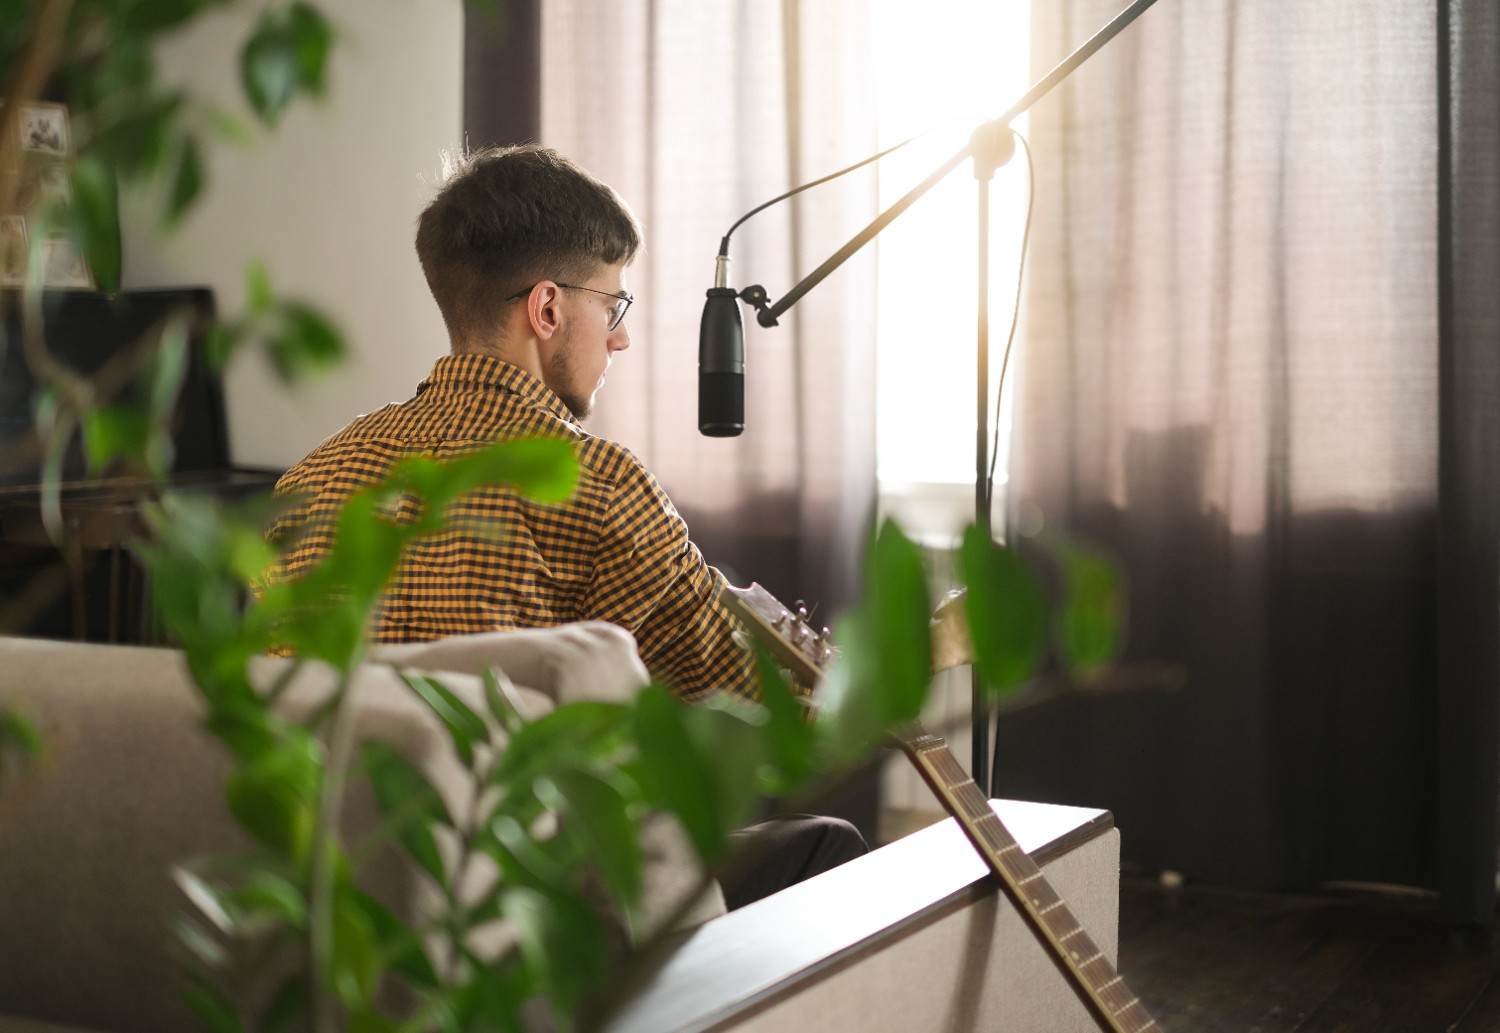
For backlighting, I place the plant between myself and the window.
Light passing through thin foliage can illuminate leaf veins and create a glowing effect around the edges. This works especially well with translucent leaves, delicate stems, and plants with unusual patterns.
The bright window can fool a camera into making the plant too dark, so I watch the exposure carefully. I often adjust exposure until the leaf detail remains visible without completely blowing out the highlights.
When Does Front Lighting Work Best?
Front lighting is the safest setup when accurate color and even illumination matter.
I stand with the window behind me and photograph the plant as the light falls directly across its front. This reduces deep shadows and works well for documenting plant growth, photographing consistent variegation, or showing the plant’s true colors.
The result can look flatter than side lighting, but it is clean and dependable.
Which Window Direction Is Best for Houseplant Photos?
Window orientation can affect the strength and character of indoor daylight.
North-facing windows often provide relatively soft and consistent light. East-facing windows can offer attractive morning illumination, while west-facing windows frequently become warmer and stronger during the afternoon.
South-facing windows can provide plenty of daylight but may become intense, depending on season, latitude, surrounding buildings, and weather. In many US homes, moving the plant farther from a strong window or using a sheer curtain makes the light easier to manage.
Rather than assuming one window is always best, I watch how daylight moves through the room and identify when each space looks its most flattering.
How Can You Fill Dark Shadows Without Buying Lighting Gear?
A window behaves like a single main light source, which means the side of the plant facing away from it may become much darker.
I solve this with an inexpensive DIY reflector.
White foam board, poster board, or another large neutral white surface can be positioned opposite the window. It bounces natural light back toward the shadowed foliage and reveals details that would otherwise disappear.
This technique is particularly helpful with dark green leaves because they absorb more light visually and can lose texture in heavy shadow.
How Should You Prepare an Indoor Plant Before Taking Photos?
Plant preparation matters more than many photographers expect. Modern cameras and smartphones capture tiny imperfections surprisingly well.
Before shooting, I gently wipe dusty leaves with a damp cloth and remove visible water spots or loose soil. I also trim obviously dead foliage when appropriate and turn unattractive plant tags away from the camera.
Then I inspect the entire frame. Power cords, pet toys, remote controls, bright packaging, and unrelated furniture can pull attention away from the subject.
A clean wall, neutral curtain, wood surface, or uncluttered corner usually makes a stronger background.
What Camera Settings Work Best for Indoor Plant Photos?
Camera settings should support the photograph rather than dictate it.
When there is plenty of window light, I prefer a low ISO such as ISO 100 or 200 for cleaner detail. If the room is darker, I increase ISO rather than risk excessive motion blur.
A wide aperture such as f/2.8 or f/4 can isolate a leaf or plant against a softly blurred background. This shallow depth of field gives the image a polished look and helps the plant stand out.
When photographing an entire plant with leaves at several different distances from the camera, I may use f/5.6 or f/8 so more foliage remains sharp.
Shutter speed depends on the available light. If I need a slower shutter speed, using a tripod or stable surface helps avoid camera shake.
How Can You Take Better Indoor Plant Photos With a Phone?
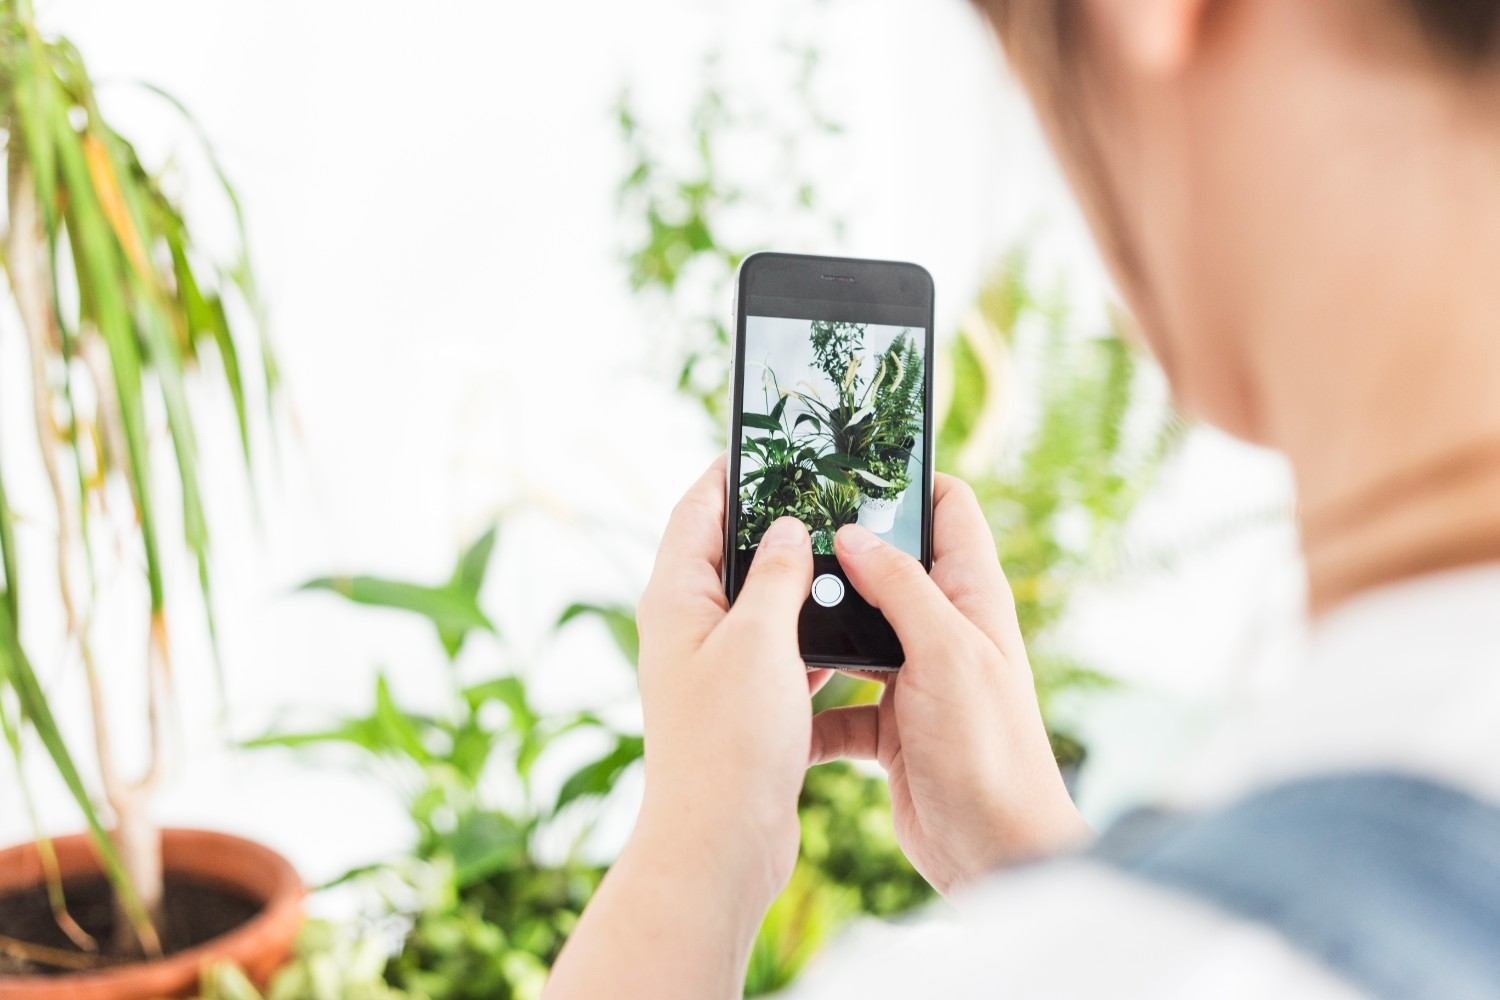
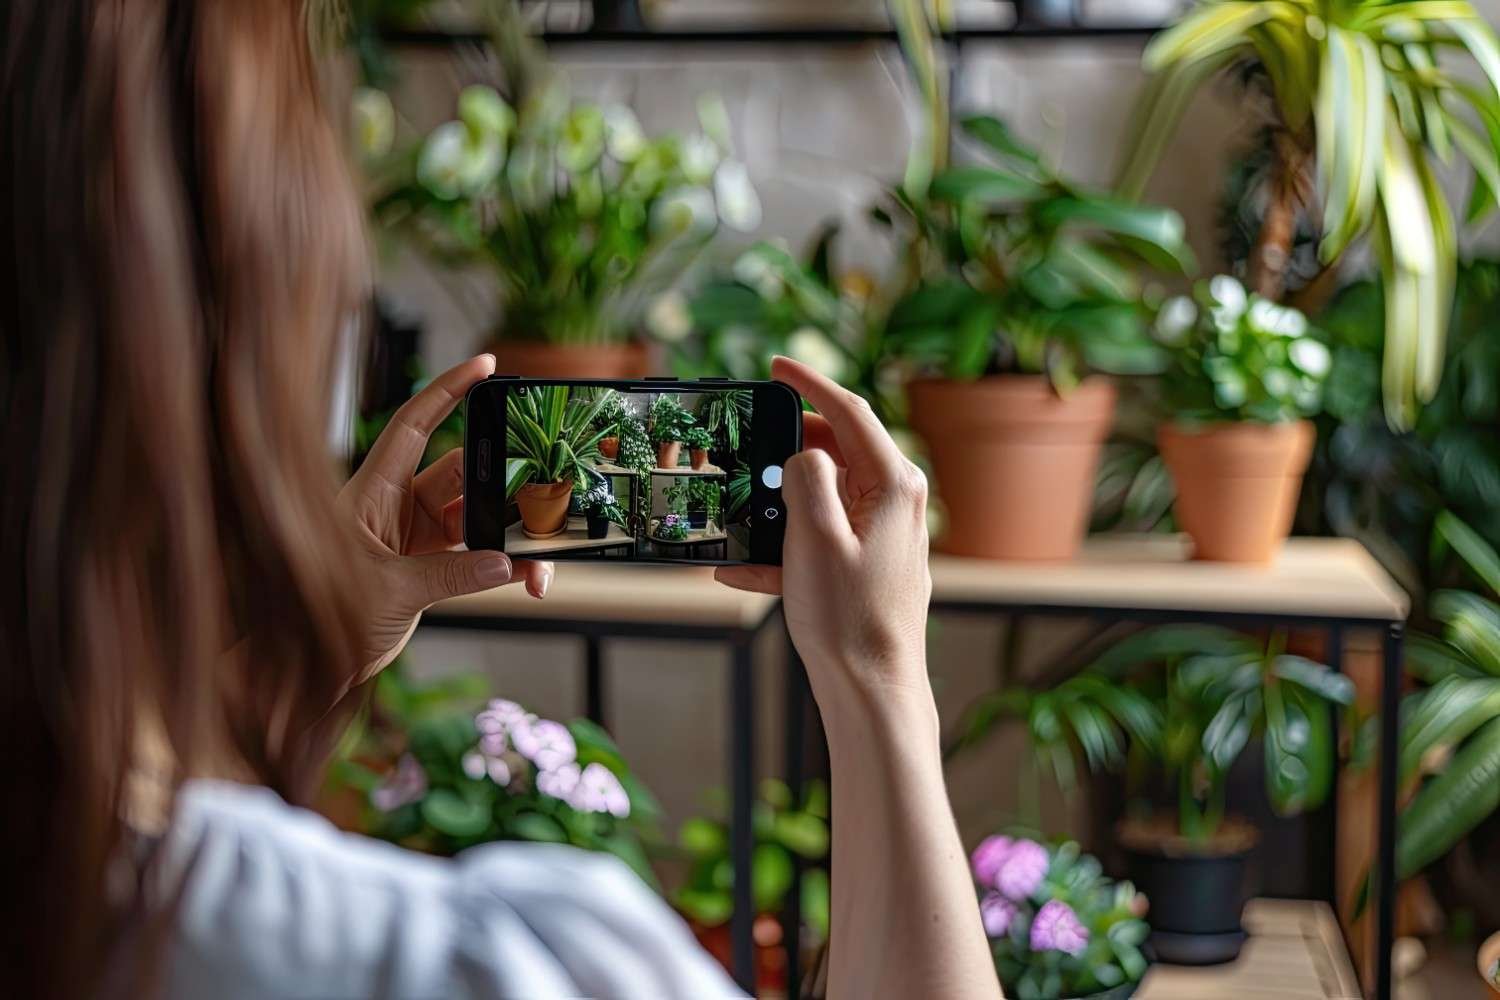
Smartphones can produce excellent plant photos when the natural lighting is controlled.
I start by cleaning the camera lens because fingerprints reduce contrast and sharpness. I then use the main rear camera and physically move closer instead of relying on digital zoom.
Tapping an important leaf tells the phone where to focus. If bright foliage looks washed out, I reduce the exposure slightly before taking the photo.
Portrait Mode can help blur a distracting background, although I check the edges carefully because phones sometimes misinterpret complex leaves and stems.
How Do You Photograph Glossy or Variegated Leaves?
Glossy foliage reflects windows easily. When I see a bright rectangular reflection across a leaf, I change either my camera angle or the plant’s angle instead of trying to fix the glare later.
A sheer curtain can also make reflections softer.
Variegated plants require careful exposure because pale sections can become overexposed while darker green areas remain detailed. I generally protect the bright parts of the leaf and lift darker areas gently during editing if necessary.
How Should You Edit Indoor Plant Photography?
I keep plant photo editing subtle. Exposure, highlights, shadows, contrast, and white balance usually matter more than dramatic filters.
Accurate white balance is particularly important because an incorrect color temperature can make healthy green foliage appear yellow, cyan, or unnaturally saturated.
I may increase shadows slightly, reduce excessive highlights, and make small contrast adjustments, but I avoid pushing green saturation until the plant no longer resembles the real subject.
Common Indoor Plant Photography Mistakes to Avoid
One mistake I made early on was assuming that more sunlight automatically meant a better photograph. Strong direct sunlight can create harsh shadows, blown highlights, and distracting reflections.
Another problem is mixing daylight with warm household bulbs. Different color temperatures can produce uneven colors across the plant, so I usually turn unnecessary artificial lights off.
I also avoid cluttered backgrounds, excessive digital zoom, overly strong editing, and photographing dusty foliage.
FAQs About Natural-Light Houseplant Photography
1. Is morning or afternoon light better for indoor plant photos?
Both can work. Morning light from an east-facing window is often soft, while late-afternoon light can create warmer tones. The best period depends on your specific windows and weather.
2. Should plants face directly toward the window?
Not necessarily. Turning the plant sideways can produce stronger texture, while placing it between the camera and window creates backlighting. Experiment with the direction before deciding.
3. Do I need professional photography lights?
No. A bright window, sheer curtain, white foam board, and stable camera position can create professional-looking results without studio lighting.
4. Can I photograph houseplants on cloudy days?
Yes. Overcast conditions are often excellent because clouds diffuse sunlight naturally and reduce harsh shadows.
Final Thoughts
Once I stopped chasing the brightest possible light and started paying attention to its direction and softness, my indoor plant photos improved quickly. Side lighting creates dimension, backlighting reveals translucent details, and front lighting gives accurate color. A sheer curtain can tame midday sunlight, while inexpensive foam board can brighten shadowed leaves.
The key to mastering how to photograph indoor plants with natural light is learning to shape the window light you already have. These simple techniques also fit naturally into broader photography tips for non-professional photographers, especially for anyone working with basic gear at home. Combine that with clean foliage, an uncluttered background, careful exposure, and restrained editing, and even a simple smartphone can produce polished houseplant photographs.